Cockpit is a simple, lightweight, mobile-friendly remote manager for Linux based servers developed by Red Hat. It’s easy to start containers, visualize performance, administer storage, configure networks, inspect logs, etc. Cockpit is lightweight because, while active it only uses memory and CPU. However, while being inactive also, there seems to be no extra load on your server.
This blog is explaining cockpit installation and usage in Ubuntu 18.04 server. In Ubuntu 18.04 and above, cockpit comes inclusive in the official repositories, making the installation simpler and safer.
Installation
To install cockpit from official repositories, run the following command:
sudo apt-get update && sudo apt-get install cockpit
Within a few minutes, cockpit will get installed on your server.
If you want to manage container, install the extra addon for docker by using
sudo apt-get install cockpit-docker
Usage
By default, the cockpit will use port 9090 for its web interface. To launch the user interface, open a browser and type “localhost:9090” (Use server public IP instead of localhost for access server from another system). This will open below the login page. Minimum client browser versions for cockpit: Mozilla Firefox 52, Google Chrome 57, Microsoft Edge 16, Apple Safari 10.3, Opera 44.
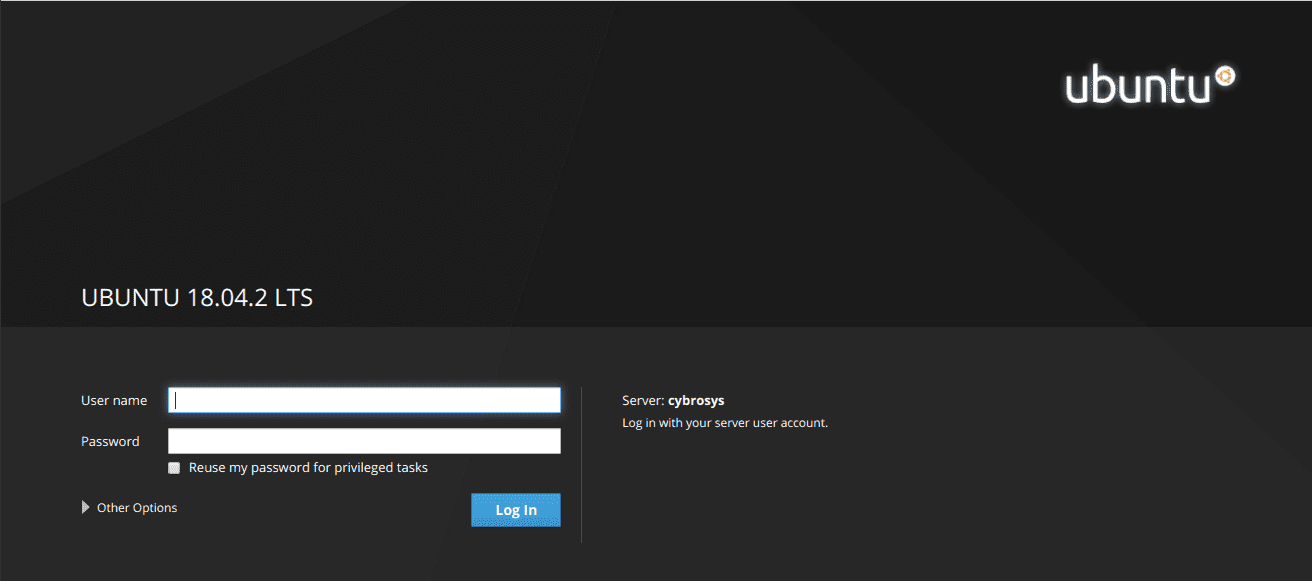
You can log in to the server with ubuntu user name and password. Cockpit requires administrative access for using many of the standard tools. So, a standard user won’t be able to work with some of the tools. To overcome this, you can login with the root user on Ubuntu. However, be careful while using root user because you are bypassing the security system.
In this blog, I am showing each tool and user interfaces by logging in as a standard user.
For container management, you don’t need root permission. The only caveat to this is that the regular user should be belonging to the Docker group.
sudo usermod -aG docker regular_user_name
By using the above command, you can add regular user to the Docker group. Also, don’t forget to restart the docker post changes.
Dashboard
Here it is what Cockpit dashboard looks like
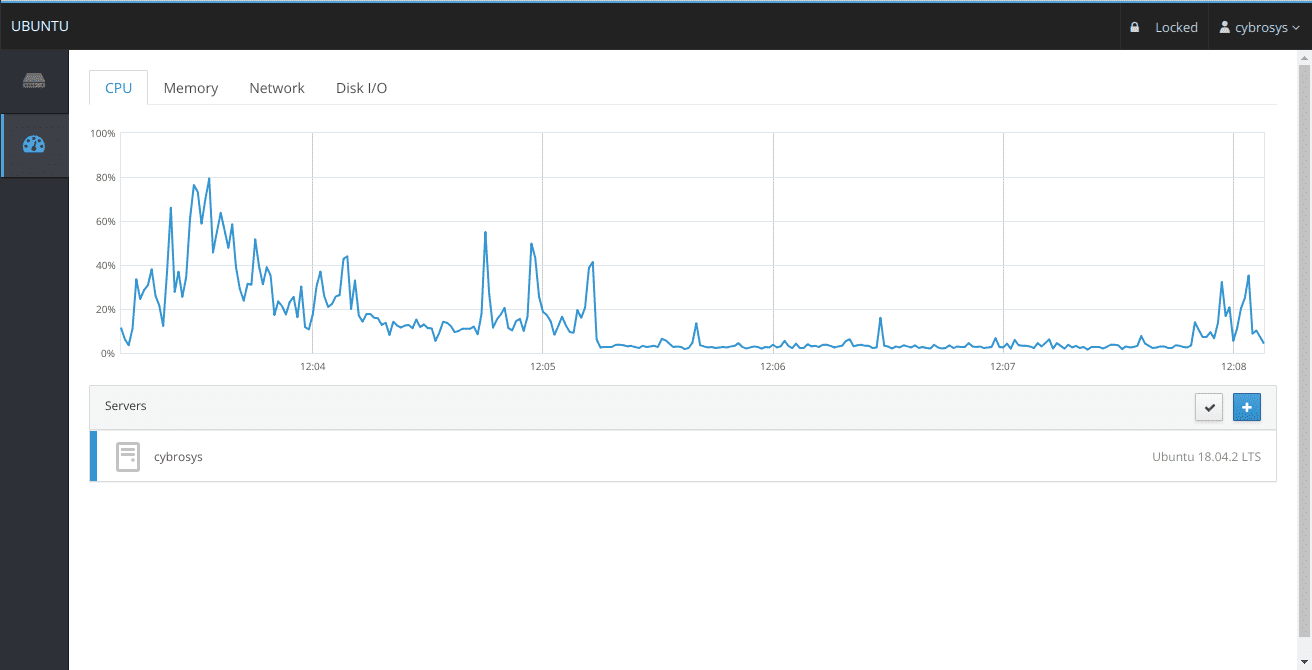
You can monitor basic server performance from the dashboard and also can add additional servers by clicking the “+” button.
System
System menu will show detailed system hardware configuration and simple monitoring graphs of Memory, DIsk, CPU & Network. System power options control (Power off/ Restart) is available in this window.
Logs
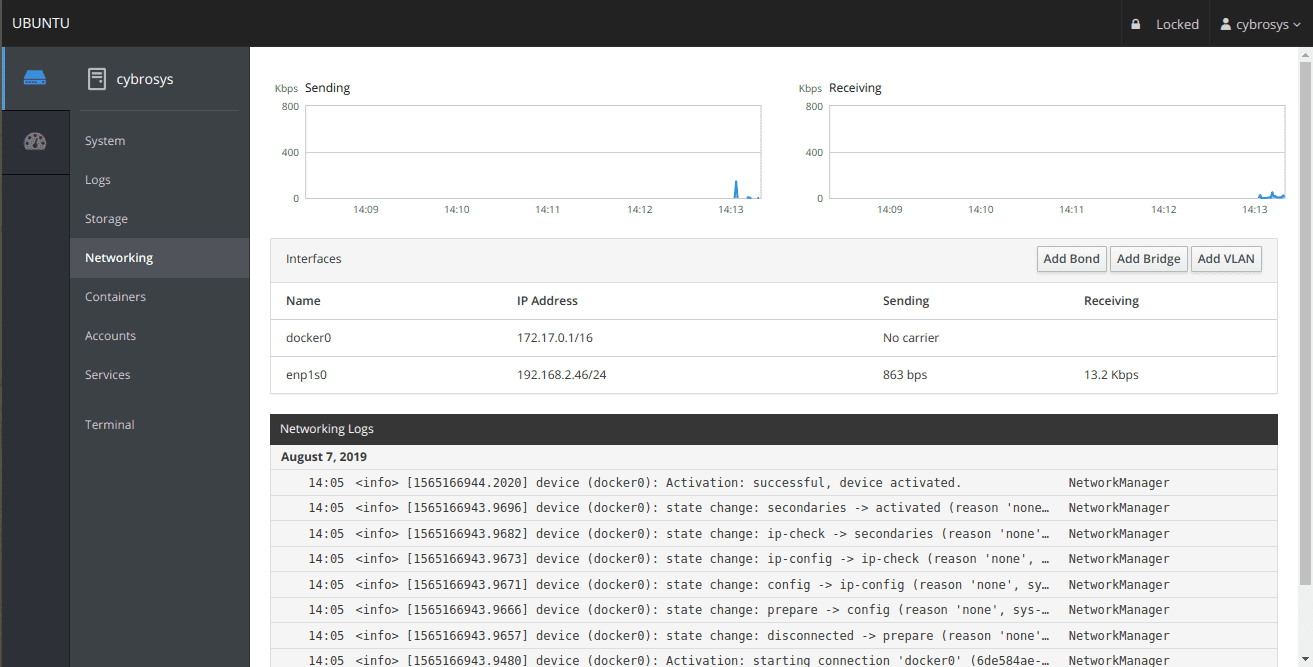
Cockpit will provide indexed log data from systemd journal as well as from various other places while configuring services, storage, networking and so on.
Storage
Cockpit picturizes server storage in a neat manner with tree view structure. You can analyze each partition in deep as much as you want. Also, can mount new storage, create partition table easily.
Networking
Containers
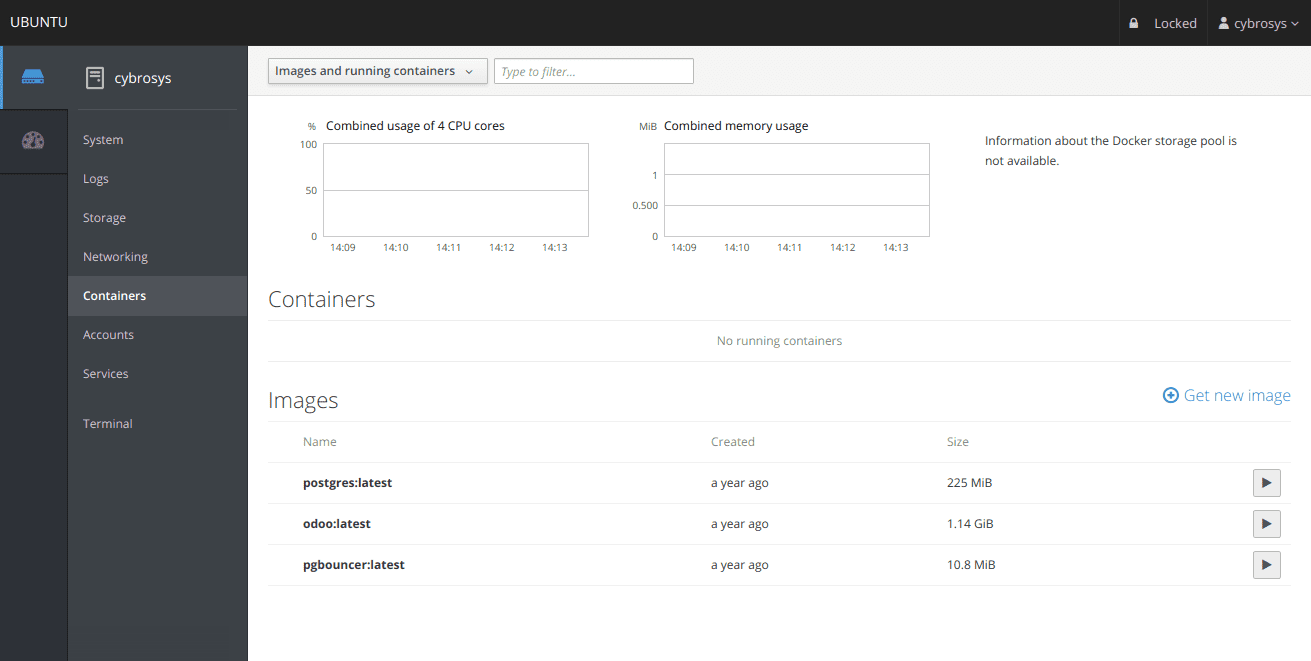
Containers section displays the current running contains as well as the available images. If you have root access, you can add new images from this window via clicking “Get new image” and type image name. A search result will display with details of available images. From the list, download one.
To start an image, simply locate the image and click the associated start button.
Accounts
Accounts window help to create and modify local user accounts
Services
Service section provides a list of all system services. You can view its log, do operations like stop, start, restart, etc.
Terminal
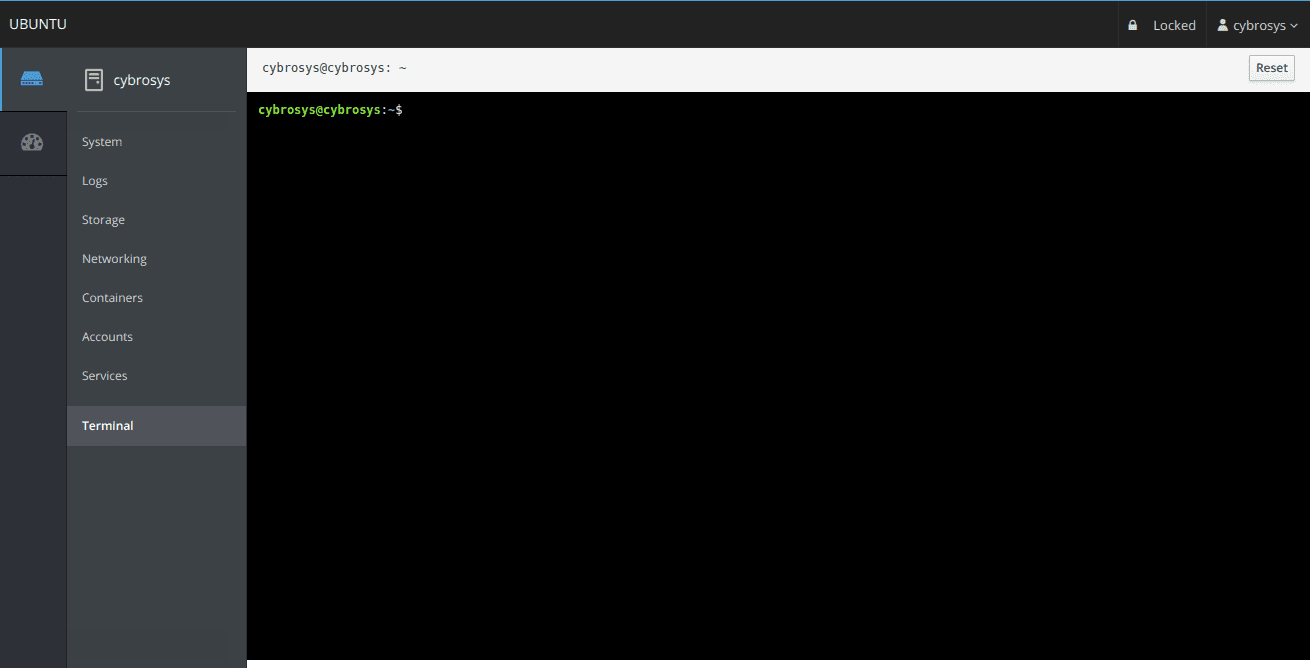
Cockpit gives a standard shell in a terminal.
So you don’t need SSH or any other SSH tools like putty. You can directly
install any software from the Cockpit Terminal. You can do any terminal
operations using this virtual terminal from any browser (Mobile browsers also
support this).