In Odoo 18, Gantt views offer a visually engaging way to represent project timelines and tasks, helping businesses track schedules, production plans, and other time-sensitive activities. This feature, available through the web_gantt module in the Enterprise edition, is often displayed as a horizontal bar chart, which provides a clear overview of tasks and events. The ability to group, filter, and track progress enhances its usability, making it an invaluable tool for project managers and schedulers.
To extend the capabilities of the Gantt view, JavaScript plays a key role in customizing and adding dynamic features beyond the standard options. By leveraging JavaScript classes, users can modify the default Gantt view logic to introduce custom behaviors such as new event handlers, UI modifications, or unique task interactions. This enables the creation of tailored Gantt views that align with specific business needs, offering businesses greater flexibility in project management and real-time interaction with the displayed data.
In this example, we will start by extending the AppointmentBookingGanttRenderer class to add a custom button. We'll use the patching mechanism (patch()) to enhance the behavior of the existing class without altering the core code.
Javascript :
/** @odoo-module **/
import{AppointmentBookingGanttRenderer} from "@appointment/views/gantt/gantt_renderer";
import { _t } from "@web/core/l10n/translation";
import { patch } from "@web/core/utils/patch";
patch(AppointmentBookingGanttRenderer.prototype, {
    getPopoverButtons(record) {
        const buttons = super.getPopoverButtons(record);
        buttons.push({
            class: "o_appointment_booking_delete_status btn btn-sm btn-danger",
            onClick: () => {
                if (this.model.metaData.canEdit && record.appointment_status) {
                    this.orm.unlink("calendar.event", [record.id]).then(() => {
                        this.model.fetchData();
                    });
                }
            },
            text: _t('Delete Appointment'),
        });
        return buttons;
    }
});
This code enhances the AppointmentBookingGanttRenderer class by introducing a custom delete button in the Gantt view pop-up. When the button is clicked, it removes the related appointment and reloads the data.
Code Breakdown:
* patch(): This function is used to modify or extend the functionality of existing classes in Odoo. In this case, we are using it to modify the behavior of the AppointmentBookingGanttRenderer class and add our custom functionality.
* getPopoverButtons(record): This method defines the buttons that appear in the Gantt view's pop-up for appointments. By overriding this method, we can inject custom buttons like "Delete Appointment" into the pop-up.
* super.getPopoverButtons(record): This line calls the original getPopoverButtons method to retain the default buttons, such as "Edit" and "Close", before adding our custom button.
* Custom Delete Button: The new button triggers an action to delete the selected appointment from the calendar. After the deletion, it triggers a data refresh to ensure the Gantt view is updated.
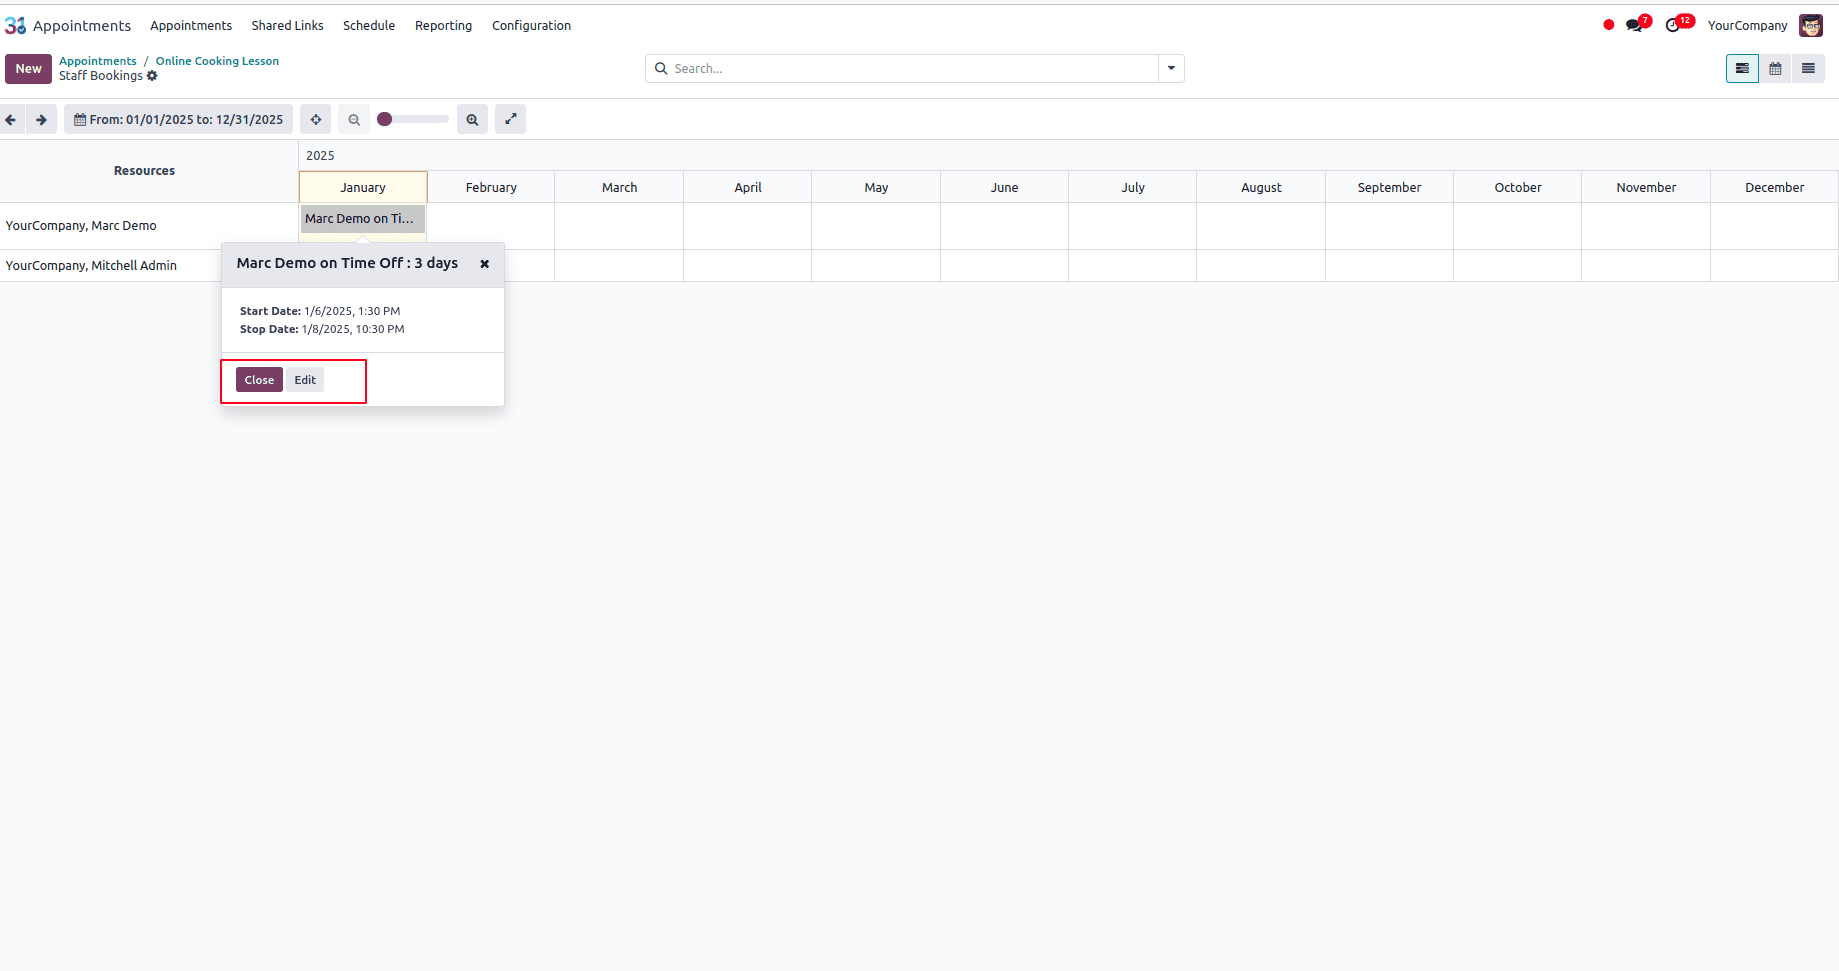
Before installing the module, the appointments Gantt view appears as shown below, with the buttons "Edit" and "Close" displayed, as shown in the figure.
After installing the corresponding custom module with the provided JavaScript, a new button named "Delete Appointment" will be added to the Gantt view popup, as shown in the figure below.

After clicking the "Delete" button, it will delete the corresponding appointment. Similarly, by extending the JavaScript class for the Gantt view, we can customize any button or view as needed.
Extending JavaScript classes in Odoo 18 provides a flexible and efficient way to adapt the system to unique business requirements. By utilizing the patch() method, Odoo developers can intercept and modify the behavior of existing components, ensuring that custom features are added without altering the underlying codebase. This allows for the integration of custom actions, buttons, or enhanced functionality, like additional interactivity in Gantt views or other modules.
This approach is particularly advantageous for businesses looking to tailor Odoo to their specific needs while maintaining the stability of the default functionality. It allows developers to customize existing views, add new workflows, and create a more user-centric experience without the risk of affecting core system updates or functionality. The ability to extend the system in this way offers businesses greater flexibility in adapting Odoo to their unique processes and objectives. Whether it’s introducing custom tools or optimizing existing features, patching JavaScript classes ensures seamless integration of new functionalities.
To read more about How to Create Gantt View in Odoo 18, refer to our blog How to Create Gantt View in Odoo 18.