Odoo POS (Odoo Point Of Sale) is the ideal all-in-one solution for managing your restaurants, retail stores, accounting, and sales. It is a clear, user-friendly interface that may be found on laptops, tablets, and iPods. Let's explore the Odoo Point of Sale (POS) interface.
In this blog, we can take a look at how to override a widget in odoo16 pos. Before detailing how to override a widget, first, you need to know what a widget is. The most crucial component of a user interface is a widget, or as we might say, In Odoo, most of the components in the user interface are controlled using a widget. In essence, a widget can be linked to a template. Let's examine how it functions now. At initialization, the widget will render the template and add it to the user interface.
Now, let’s check how to override a widget, here I am overriding the widget. First of all, we can create a new module for it.
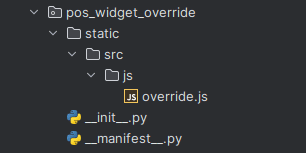
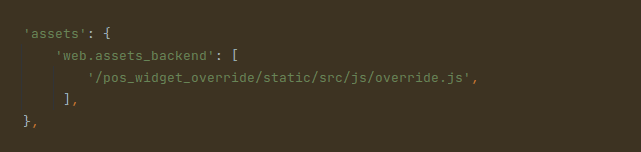
For overriding a widget, we need only a single js file that can be created under the pos_widget_override > static > src > js directory. And also, don't forget to add the js file to the manifest file.
Next, add the below js code to the override.js file
The below code is the basic structure of extending a widget. Inside that, we can add functions related to the operations that we do.
odoo.define('pos_widget_override.override', function (require) {
'use strict';
const useState = owl.hooks;
const AbstractAwaitablePopup = require('point_of_sale.AbstractAwaitablePopup');
const Registries = require('point_of_sale.Registries');
const useAutoFocusToLast = require('point_of_sale.custom_hooks');
const Orderline = require('point_of_sale.Orderline');
var core = require('web.core');
var _t = core._t;
  const WidgetsOverride = (Orderline) =>
      class extends Orderline {
             };
  Registries.Component.extend(Orderline, WidgetsOverride);
 return Orderline;
});
Below code is for extending the widget and adding a function inside that.
odoo.define('pos_widget_override.override', function (require) {
'use strict';
const useState = owl.hooks;
const AbstractAwaitablePopup = require('point_of_sale.AbstractAwaitablePopup');
const Registries = require('point_of_sale.Registries');
const useAutoFocusToLast = require('point_of_sale.custom_hooks');
const Orderline = require('point_of_sale.Orderline');
var core = require('web.core');
var _t = core._t;
  const WidgetsOverride = (Orderline) =>
      class extends Orderline {
          selectLine()  {
              var self = this;
              const line = this.props.line;
              const { confirmed } =  this.showPopup('ConfirmPopup', {
                       title: this.env._t(line.product.display_name),
                       body: _.str.sprintf(this.env._t('Price : %s - invoice_policy : %s'), line.product.lst_price,
                       line.product.invoice_policy),
               });
          }
   };
  Registries.Component.extend(Orderline, WidgetsOverride);
 return Orderline;
});
Here, we have overridden the widget Orderline, which is the widget that shows the ordered product on the PoS.

First of all, we have extent the Orderline widget and click on any one of the products from the order line that will be shown in a popup.
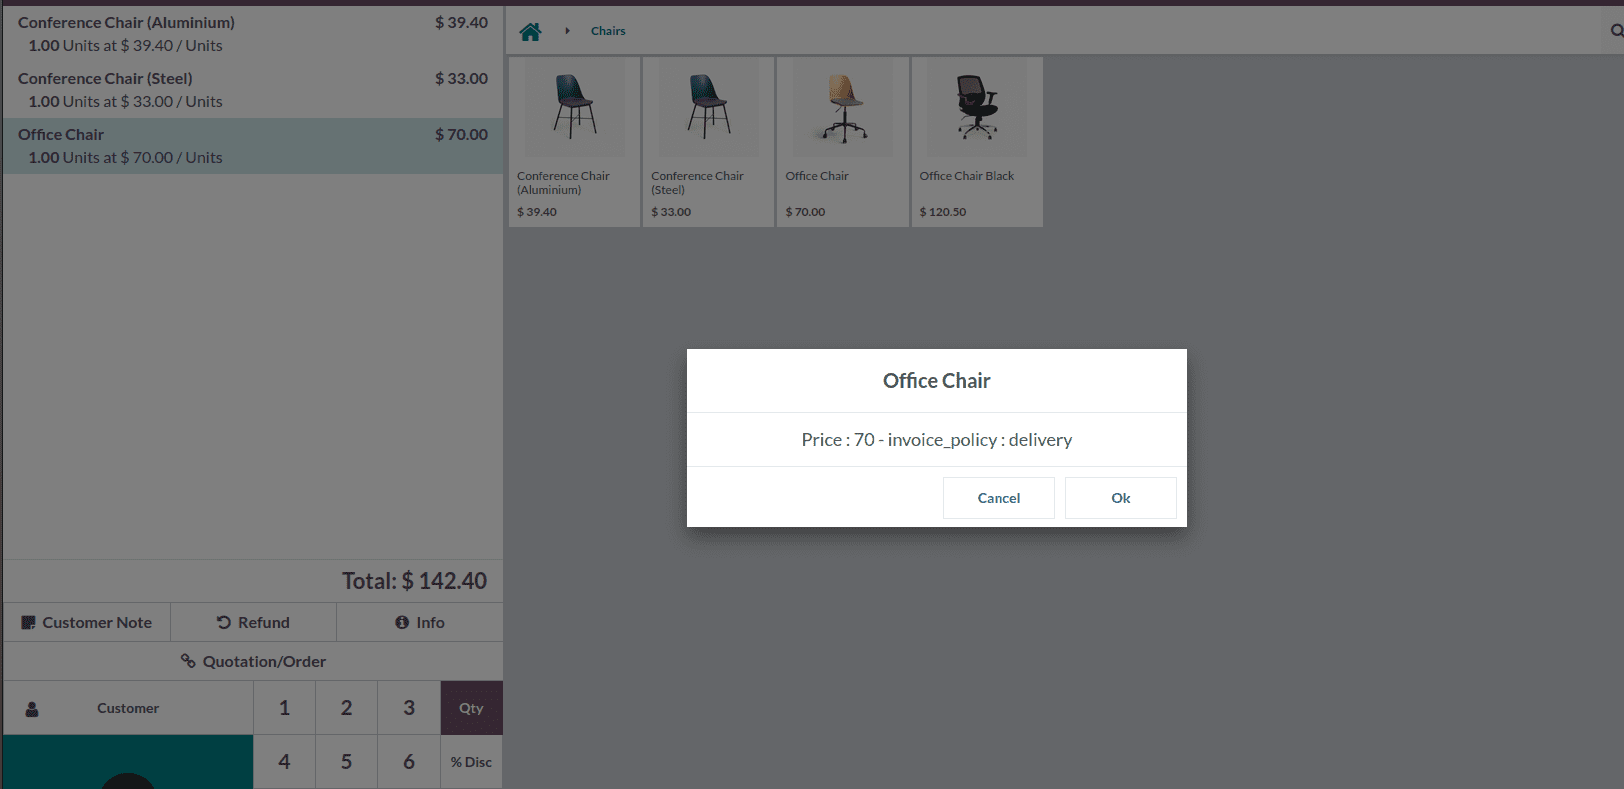
By clicking on the product office chair, you will get a pop-up window as shown in the image above. Here I have added a popup to show how to override a widget in odoo 16. This is how we can override an already existing widget in odoo16. I'm hoping you'll find this Blog useful.