--In Odoo, controlling access to different models and data is crucial for maintaining security and ensuring that users only have access to the information they need. This is achieved through security groups and access rights. Permissions are assigned to security groups, which are then linked to users, dictating what actions they can perform on various models.
Let's walk through the process of configuring access rights in a custom module in Odoo 17. We'll use a module named tuition_center and we can manage models named tuition.student and tuition.teacher as an example.
Defining the Model
First, within the tuition_center module, you'll need to define the tuition.student and tuition.teacher model. This model includes basic fields that describe the properties you want to manage.
The below code blocks show a simple example for tuition.student and some basic fields.
from odoo import fields, models

class TuitionStudent(models.Model):
   _name = 'tuition.student'
   _inherit = ['mail.thread', 'mail.activity.mixin']


   registration_code = fields.Char()
   name = fields.Char()
   course_id = fields.Many2one('tuition.course')
   enrollment_date = fields.Date()
   state = fields.Selection(
       selection=[('draft', 'Draft'), ('register', 'Register')], default='draft', tracking=True,
       copy=False)
Now, we can create another model named, tuition.teacher
from odoo import fields, models
class TuitionTeacher(models.Model):
    """
    Model representing a teacher in the Tuition Center.
    """
    _name = 'tuition.teacher'
    _description = 'Tuition Teacher'

    name = fields.Char()
    course_id = fields.Many2one('tuition.course')
Setting Up Security
To manage access rights, you'll need to create a security directory within your custom module. Inside this directory, create a file named ir.model.access.csv. This CSV file will define the access permissions for your model.
Creating the CSV File
The ir.model.access.csv file contains the access rights configuration. Here’s a basic example of what it might look like:
id,name,model_id:id,group_id:id,perm_read,perm_write,perm_create,perm_unlink
access_tuition_student,access.tuition.student,model_tuition_student,,1,1,1,1
access_tuition_teacher,access.tuition.teacher,model_tuition_teacher,,1,1,1,1
Each line represents a record in the ir.model.access model, specifying which group has what kind of access to a particular model. The columns include:
* id: A unique identifier for the access rights record.
* name: A name for the access rights record.
* model_id/id: The model for which access is being granted, referenced by its external ID.
* group_id/id: The security group that will have these permissions.
* perm_read, perm_write, perm_create, perm_unlink: Boolean fields indicating whether the group has read, write, create, or delete permissions.
Applying Security Groups
Next, let’s restrict access to the tuition.teacher model to a specific group. To do this, you’ll need to define a new group in an XML file, which you’ll place in the security directory.
<odoo>
   <record id="tuition_center_manager_group" model="res.groups">
       <field name="name">Tuition Center Manager</field>
       <field name="category_id" ref="base.module_category_hidden"/>
   </record>
</odoo>
This XML snippet creates a new group called "Tuition Center Manager." Once this group is created, you can reference it in your CSV file by its external ID.
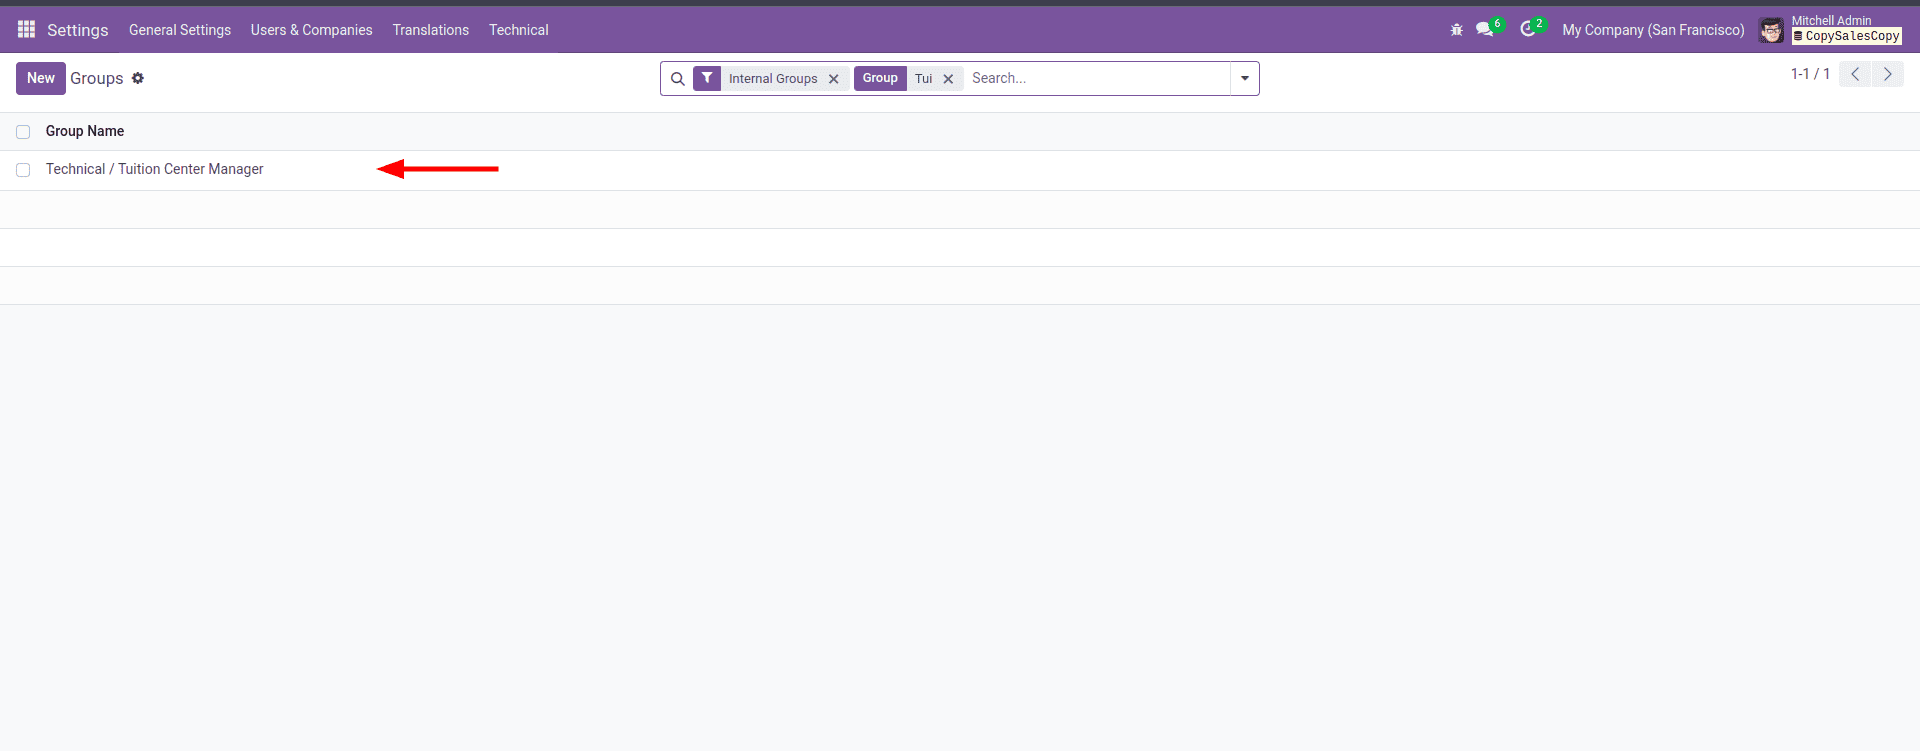
Once you created the security group through the code, you can see the security group under the groups menu in the general settings; in the image below, you can see that our created group, Tuition Center Manager, is here.
Assigning Access Rights to the Group
Now, update your ir.model.access.csv file to assign access rights for the tuition.teacher model to the "Tuition Center Manager" group:
id,name,model_id:id,group_id:id,perm_read,perm_write,perm_create,perm_unlink
access_tuition_student,access.tuition.student,model_tuition_student,,1,1,1,1
access_tuition_teacher,access.tuition.teacher,model_tuition_teacher,tuition_center_manager_group,1,1,1,1
Verifying Access in the User Interface
After setting up the access rights, you can test them by logging into your Odoo instance. Let’s walk through the steps:
Initially, when logged in as Mitchell Admin, you will notice that the "Teachers" menu is visible in our custom module.
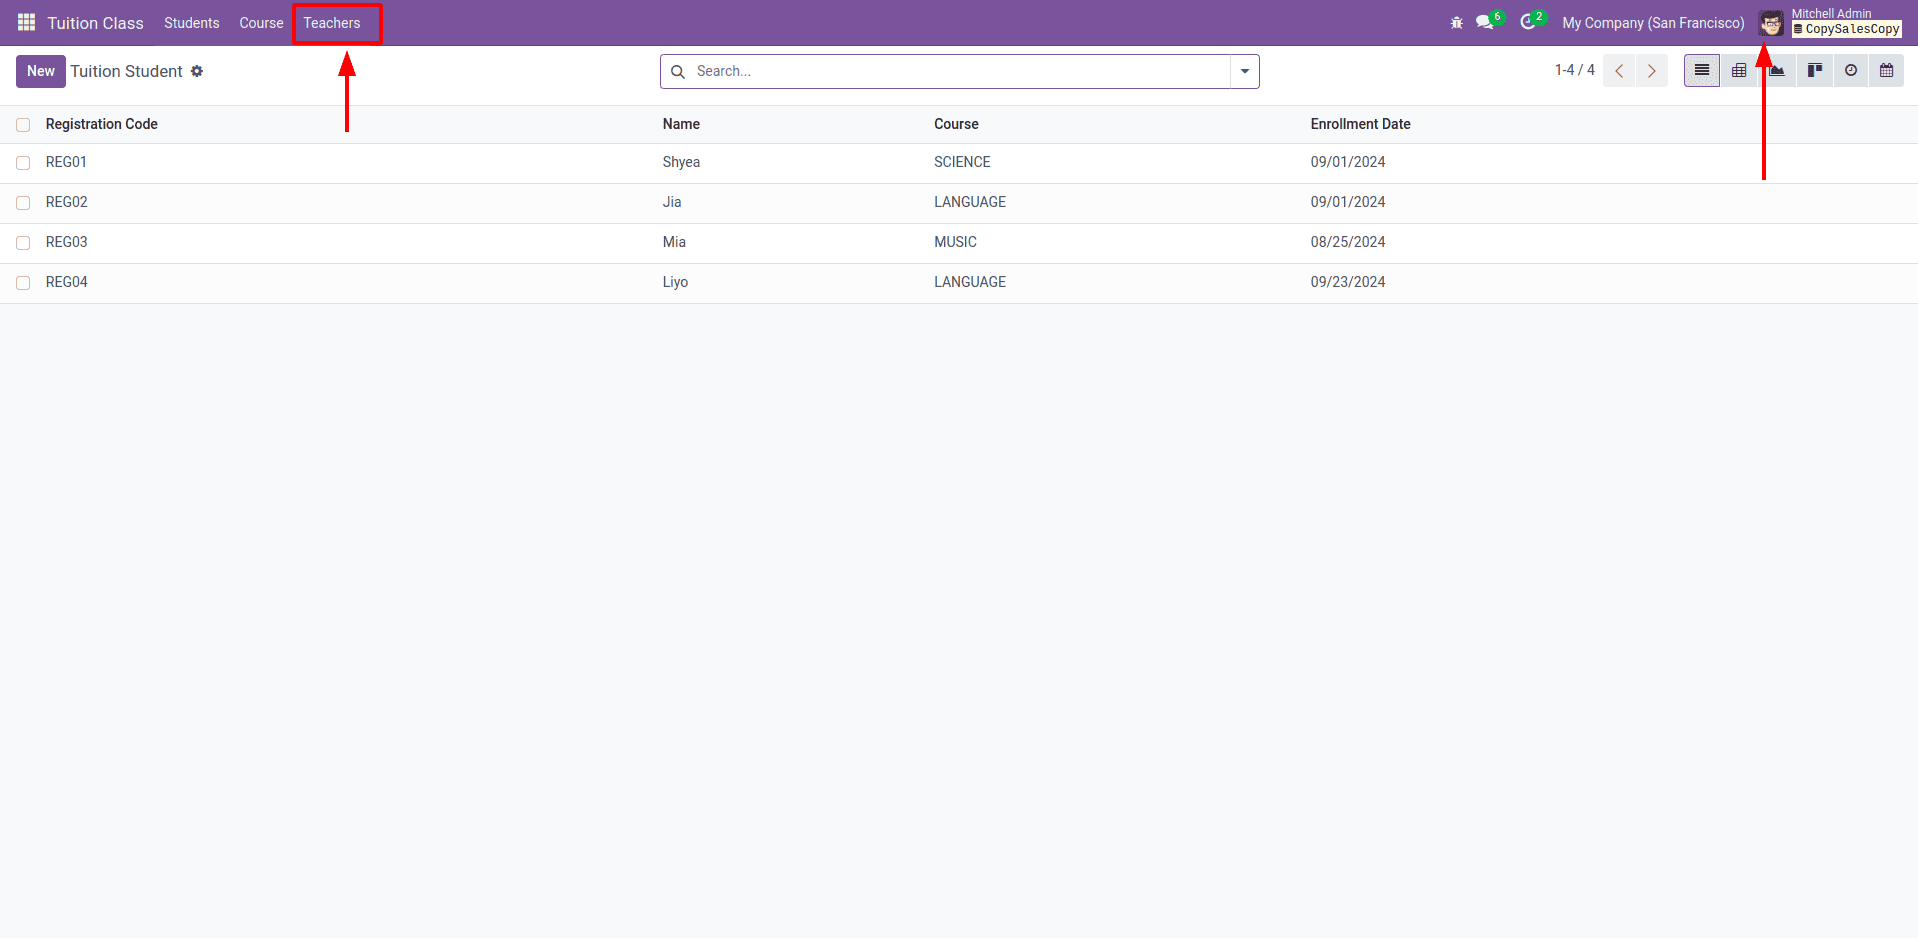
Next, log in as Marc Demo. At this stage, Marc Demo can also see the "Teachers" menu in the module.

Now, let’s assign users to our custom-created user group, "Tuition Center Manager." Add Mitchell Admin to this group, and then check the menu in the UI.
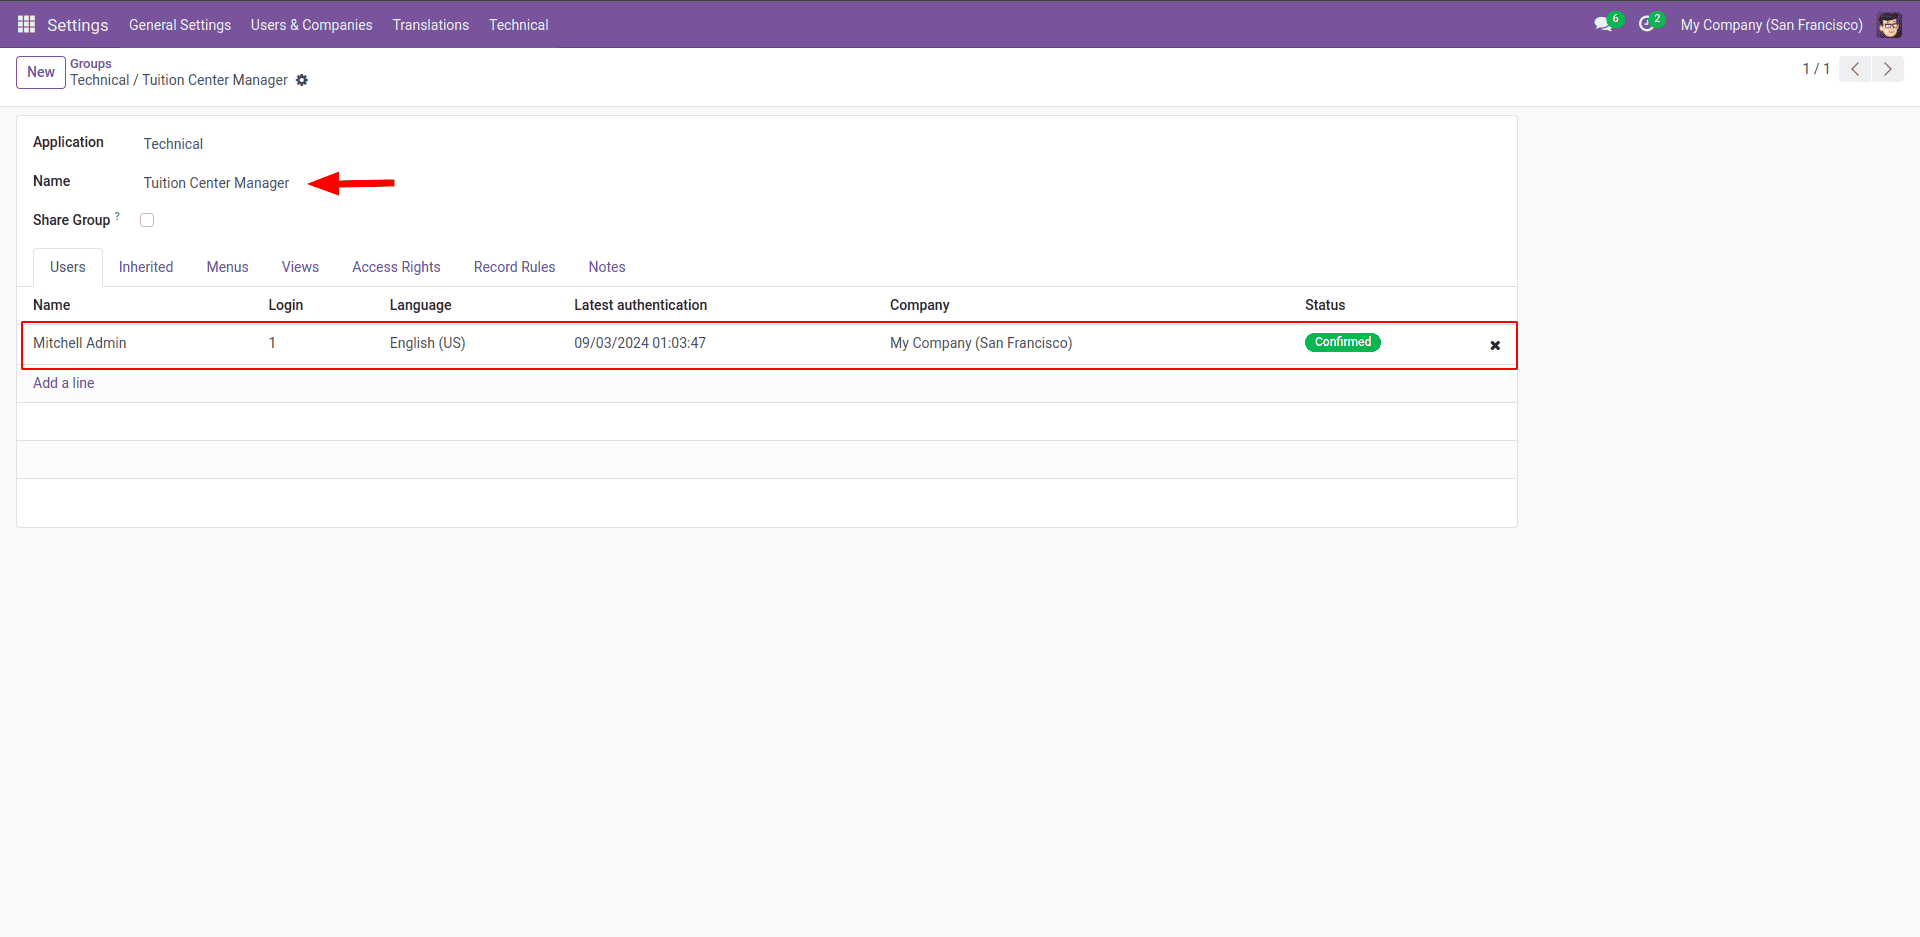
When logged in as Mitchell Admin, the "Teachers" menu remains visible in the module.
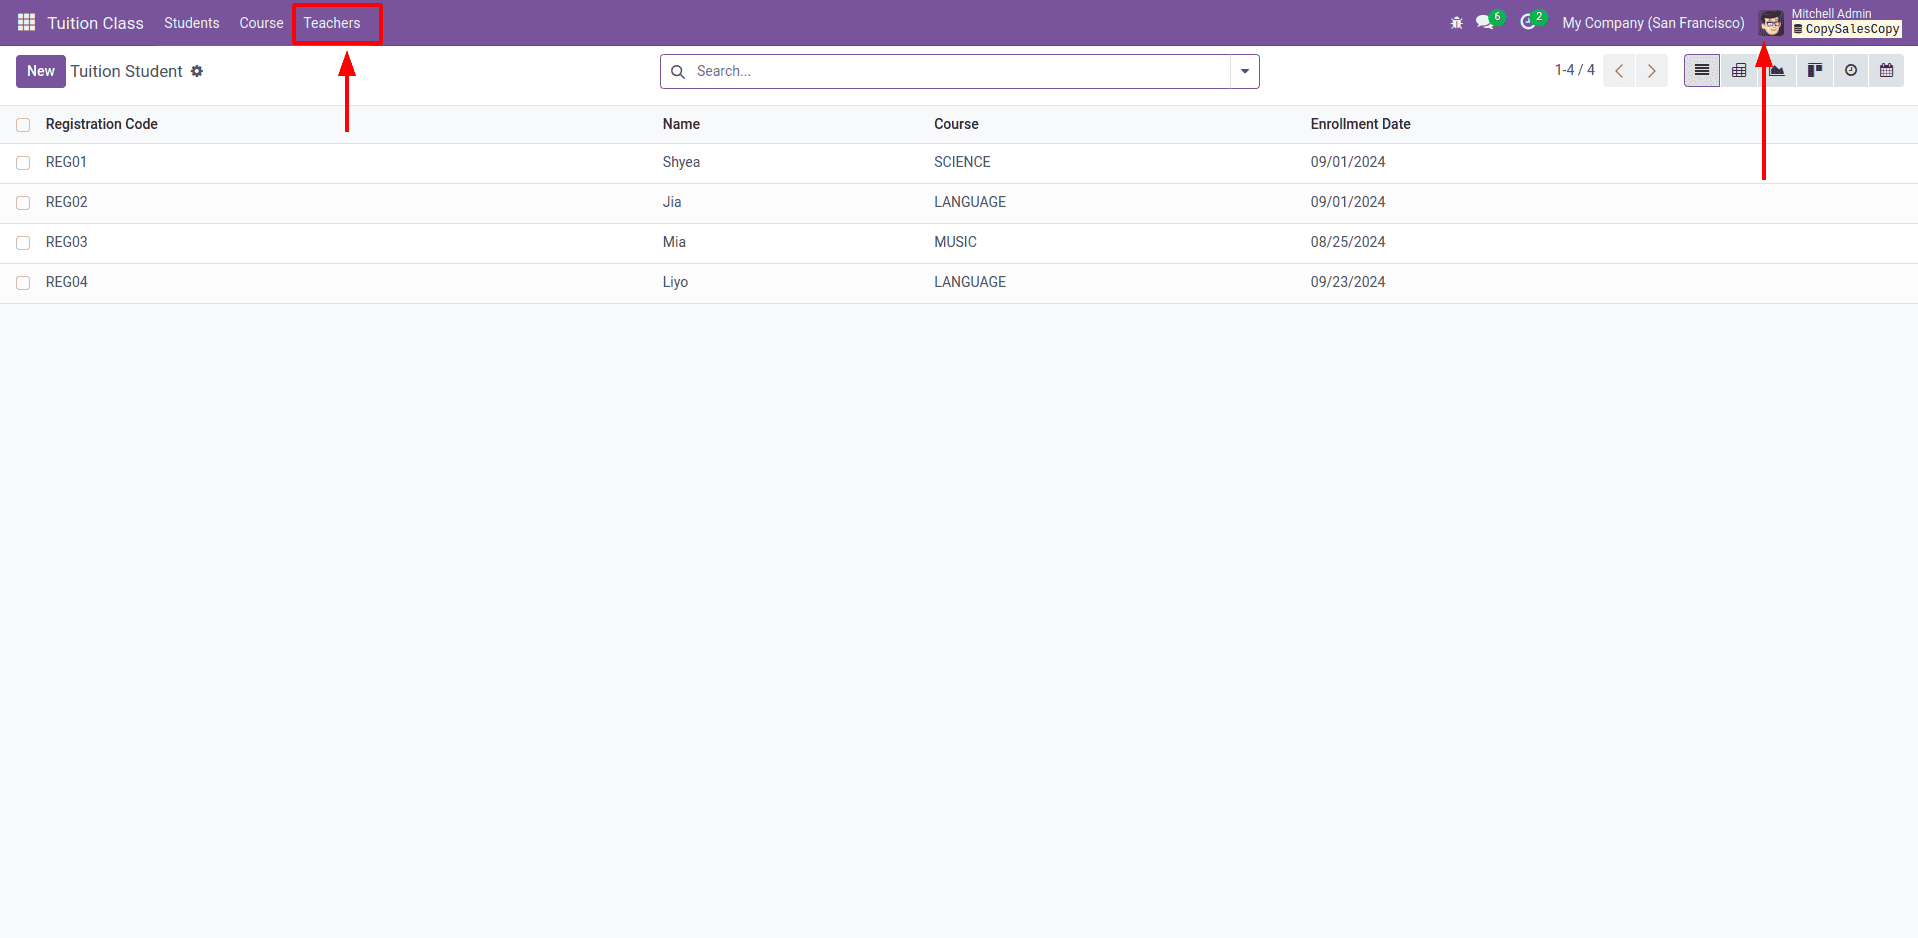
However, if you log in as Marc Demo again, you'll notice that the "Teachers" menu is no longer visible. This is because Marc Demo has not been added to the custom security group, and the security settings applied to the "Teachers" model restrict access for users outside the "Tuition Center Manager" group.
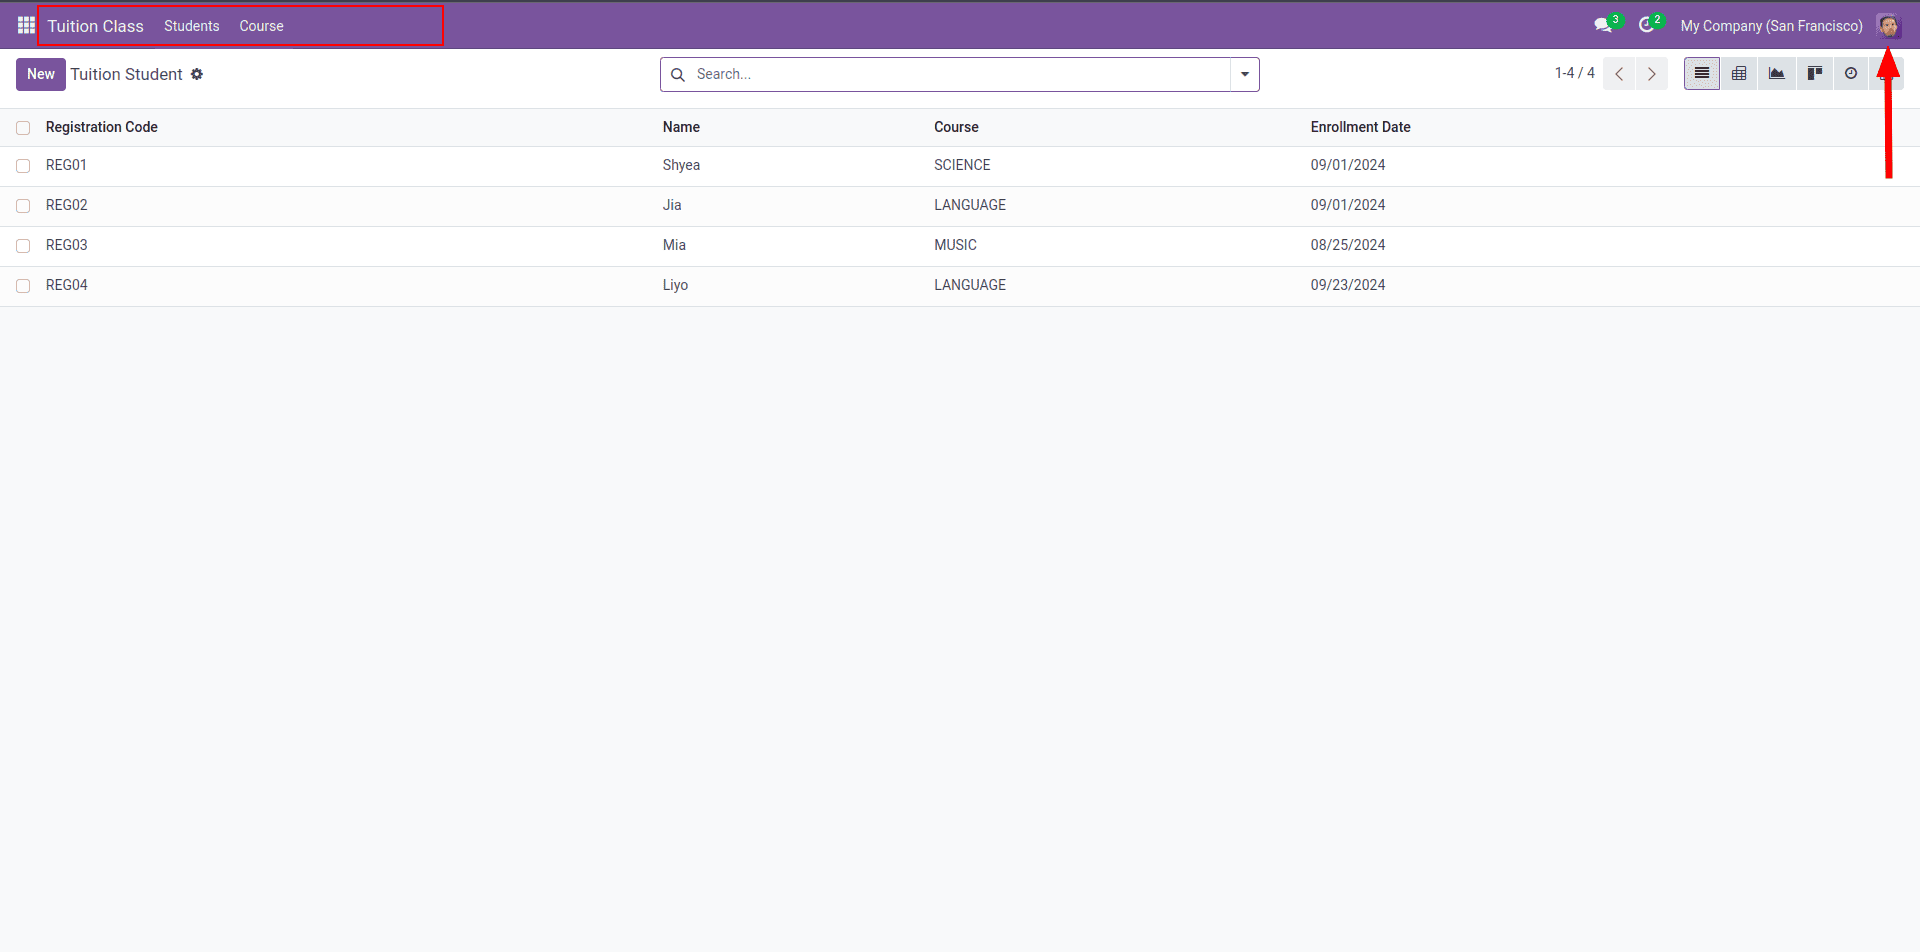
This approach ensures that only authorized users can interact with sensitive data, maintaining the security and integrity of your Odoo application.
To read more about Security Groups & Access Rights in Odoo 16, refer to our blog Security Groups & Access Rights in Odoo 16.