In Odoo 18, the calendar view is a powerful interface for managing and visualizing time-based data, commonly used for appointments, deadlines, tasks, meetings, and similar scheduling needs. It provides an intuitive, graphical layout that shows records across days, weeks, and months, making it especially useful for modules like Project, Sales, and CRM. Key features include flexible scheduling, tools for effective resource management, integration with other Odoo applications, extensive customization capabilities, and mobile access. Whether used by sales teams, project managers, or resource coordinators, Odoo 18's calendar view enhances scheduling efficiency, supports effective time management, and boosts productivity across the organization.
Here’s how to set up a calendar view in Odoo 18.
Start by defining the models and relevant fields needed for the calendar view. Once these fields are defined, the below will be the form view for the model.

To create the calendar view, we need to set up the calendar view in XML. This involves defining XML files within the module’s ‘views’ directory. In these files, we specify the calendar view using the <calendar> tag.
Now, let’s look at the code required to set up a calendar view.
<record id="student_view_calendar" model="ir.ui.view">
   <field name="name">student.student.view.calendar</field>
   <field name="model">student.student</field>
   <field name="arch" type="xml">
       <calendar date_stop="end_date"
                 date_start="start_date"
                 string="Student Events"
                 color="user_id"
                 event_open_popup="true"
                 quick_create="0"
                 mode="year"
       >
           <field name="user_id"  avatar_field="avatar_128"/>
           <field name="dob"/>
           <field name="class_no"/>
           <field name="division"/>
       </calendar>
   </field>
</record>
After that, we need to define the calendar as the view type within the action configuration.
<record id="student_action" model="ir.actions.act_window">
   <field name="name">Student</field>
   <field name="res_model">student.student</field>
   <field name="view_mode">list,form,calendar</field>
   <field name="help" type="html">
       <p class="o_view_nocontent_smiling_face">
           No data found!
       </p>
   </field>
</record>
In the calendar view, there are several attributes available, such as date_start and date_end. Let’s go through them one by one.
* date_start - This attribute specifies the starting date of the calendar event. If we provide a date field from the model in this attribute, it will be used as the event's beginning date in the calendar view.
* date_stop - This attribute specifies the ending date of the calendar event.
* mode - The calendar view can be displayed on a daily, weekly, or monthly basis. By default, it shows the calendar's default view mode when the page loads. The available options for this view are day, week, year, or month.
* color - This assigns colors to different events based on a specified field (usually a Many2one field). Records that share the same value in this field will be displayed with the same color.
* event_open_popup - When this is enabled, the event will open in a popup. Specifically, if event_open_popup="true", the calendar view will display the event in a popup. If not, the event will open in a form view.
* quick_add - This field allows for the quick creation of events.
In the view, we can see that the calendar icon (view) has been added.

Upon selecting the calendar view, the records will be displayed as shown in the view.
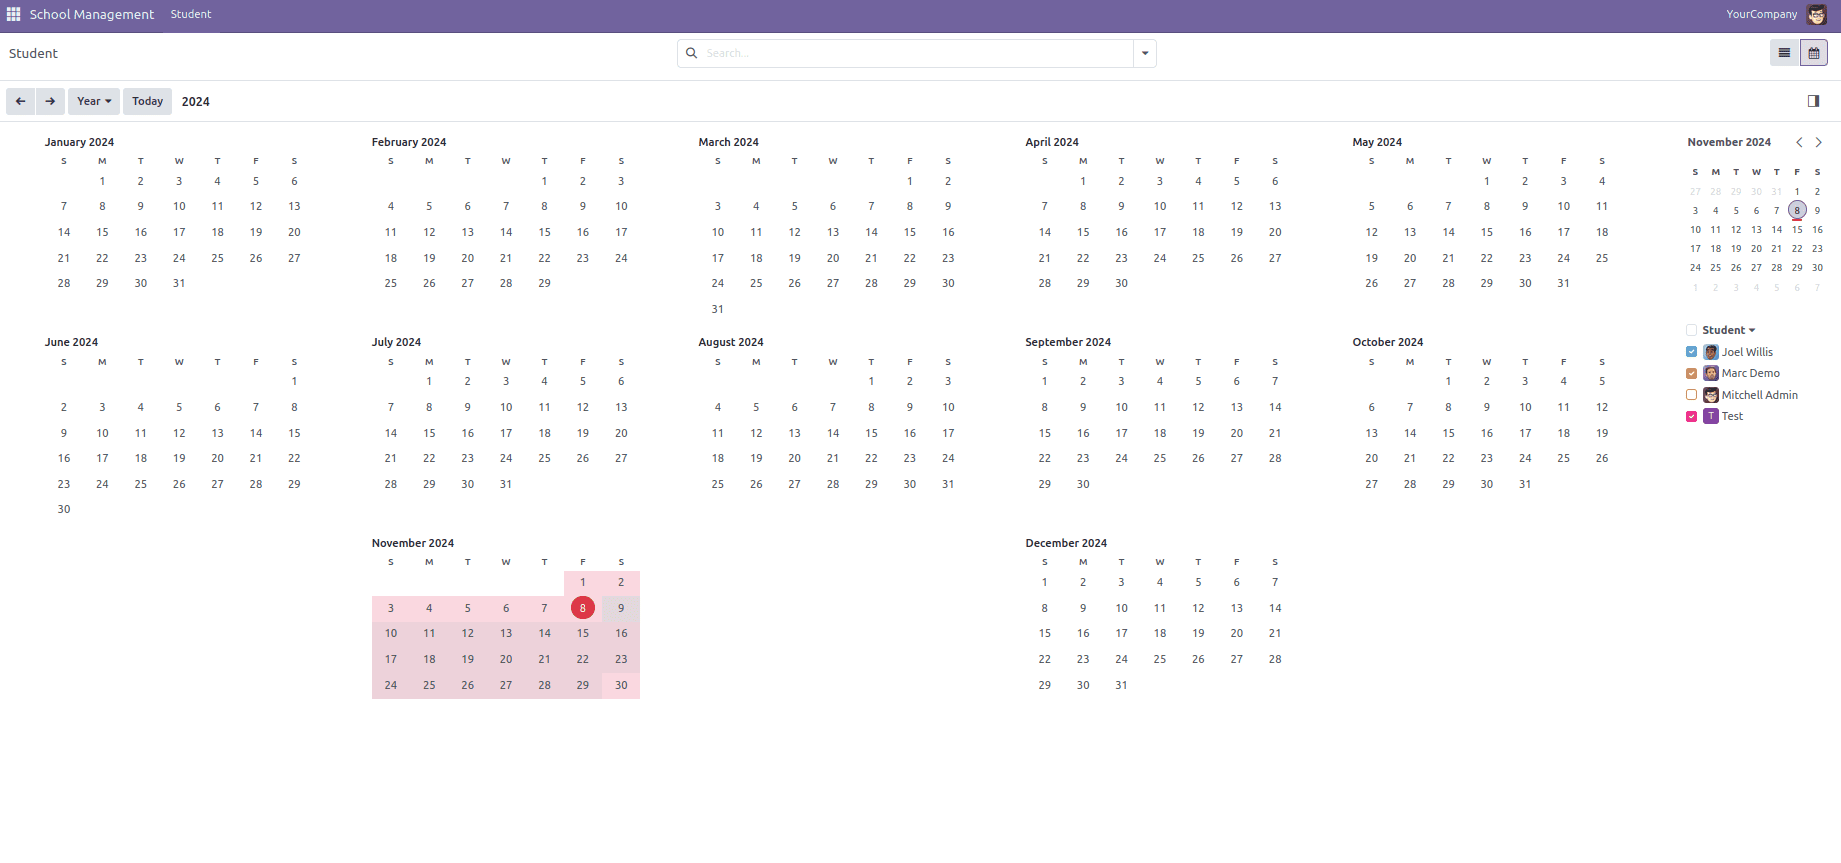
The colored area shows that the records fall within that date range. In the image, the records are filtered by month, but this can be adjusted to display by day, week, or year.
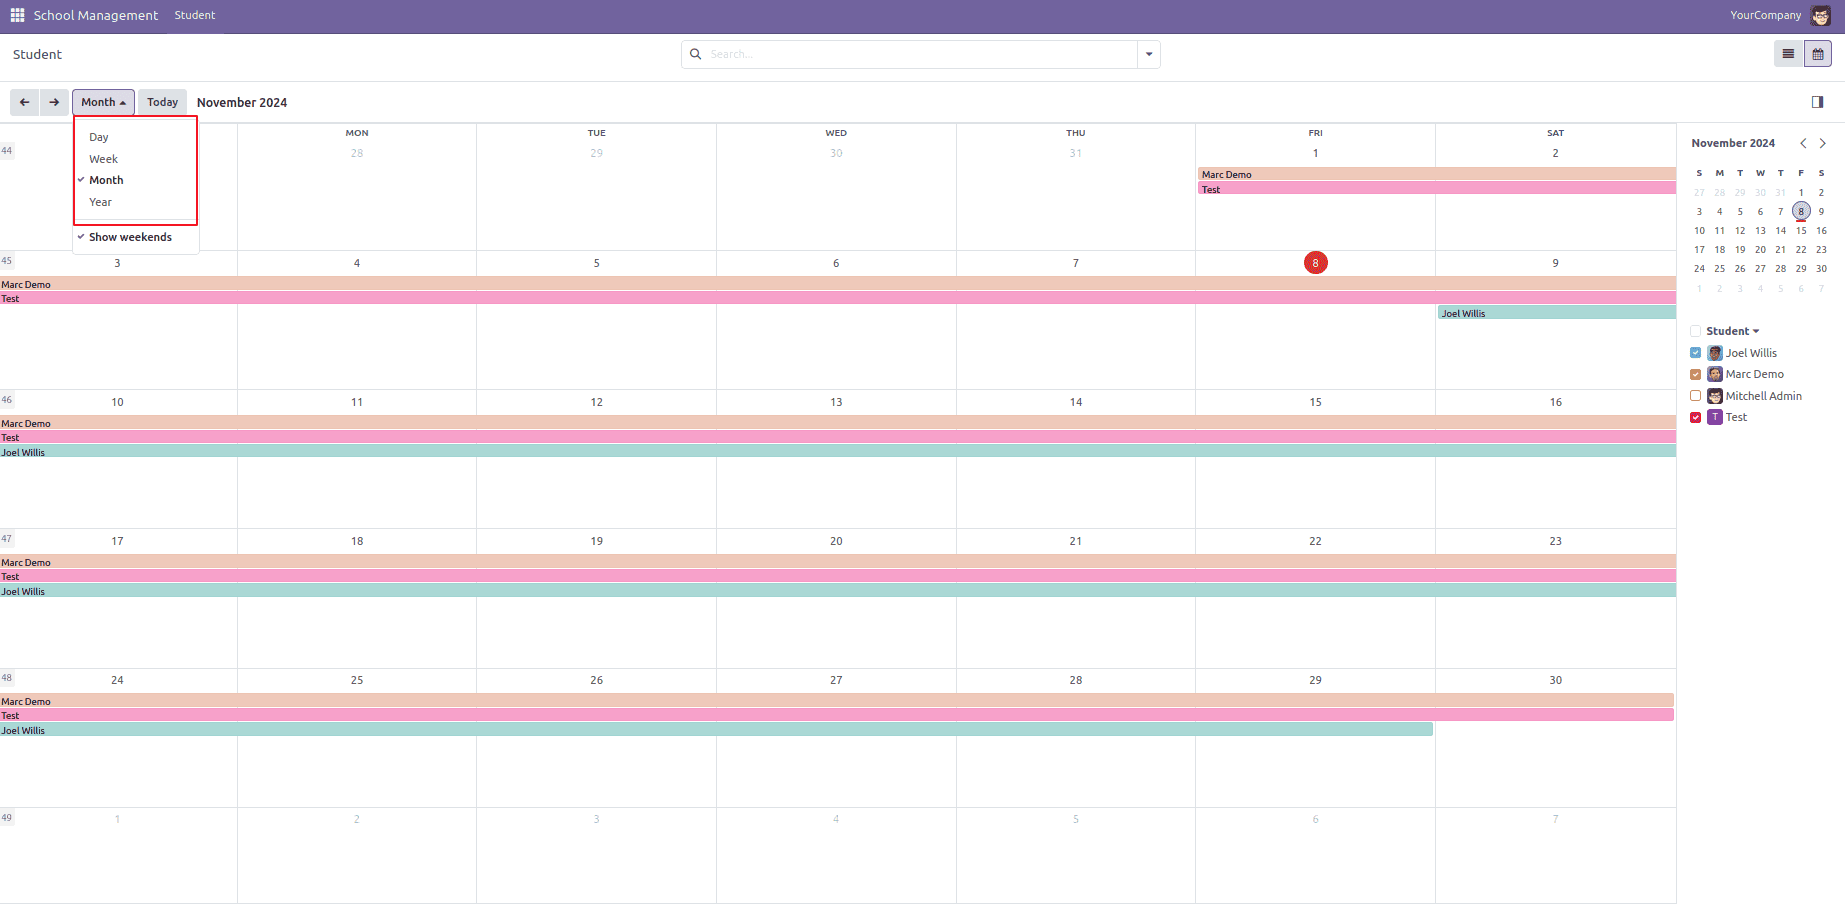
Additionally, we can filter the records based on the Many2one field set as the avatar_field. Here, it is the student field.
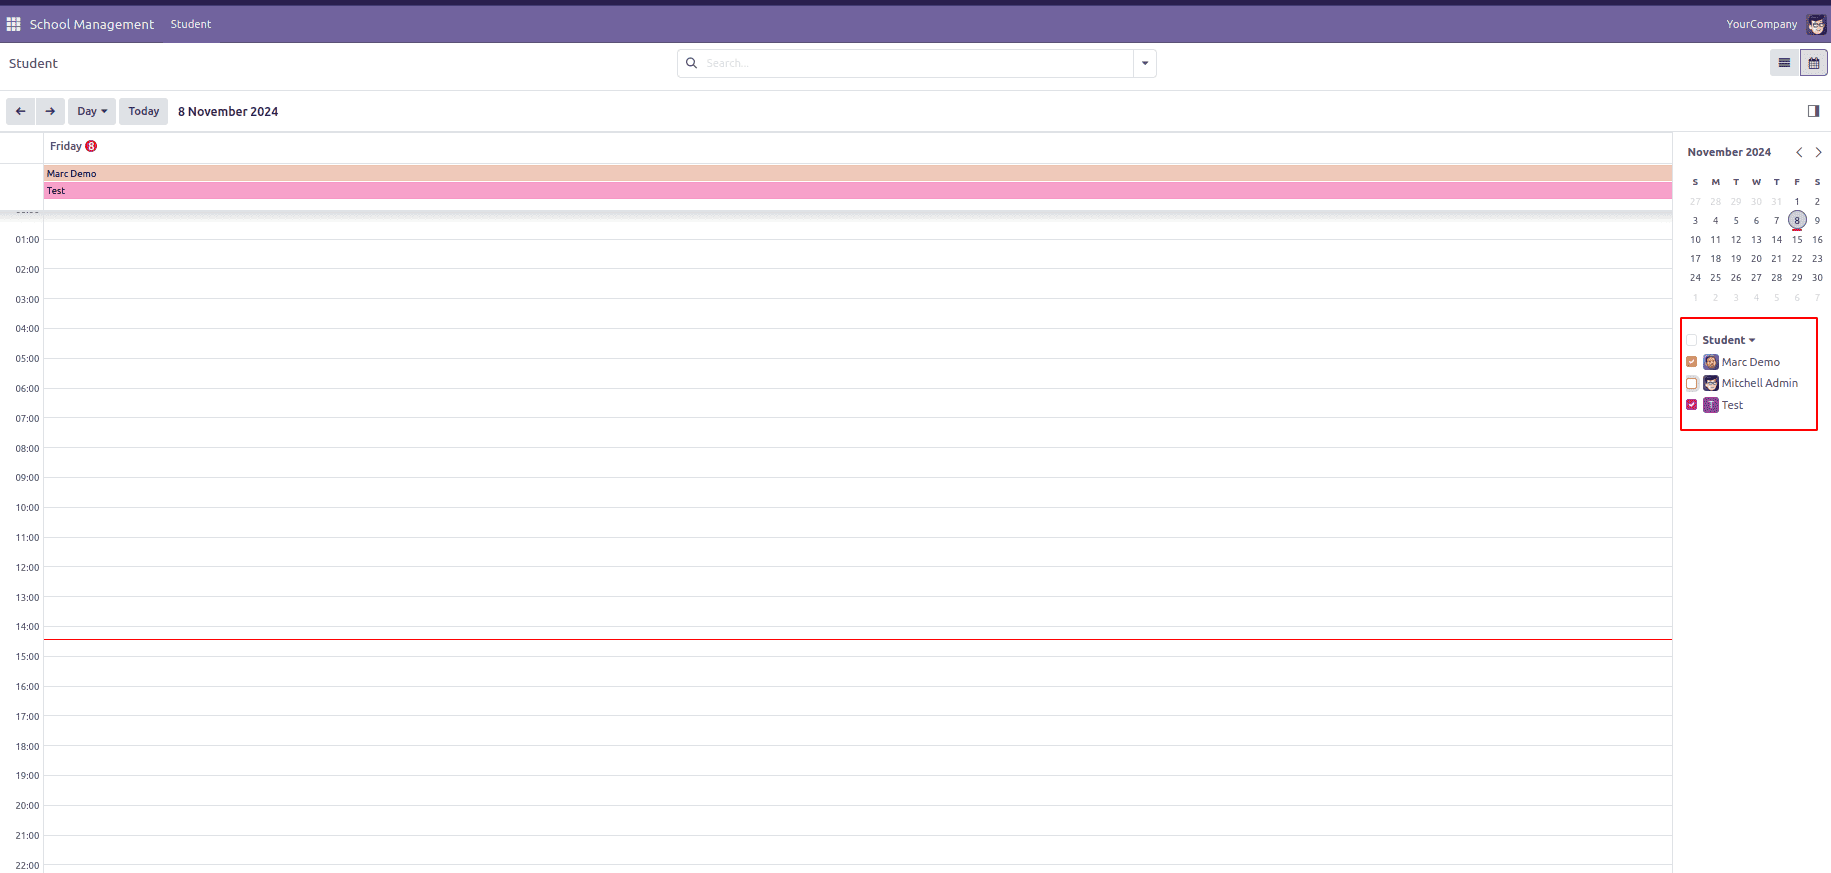
In the image above, only Marc Demo’s and Test students' records are visible because the checkbox for that avatar_field has been selected for them only.
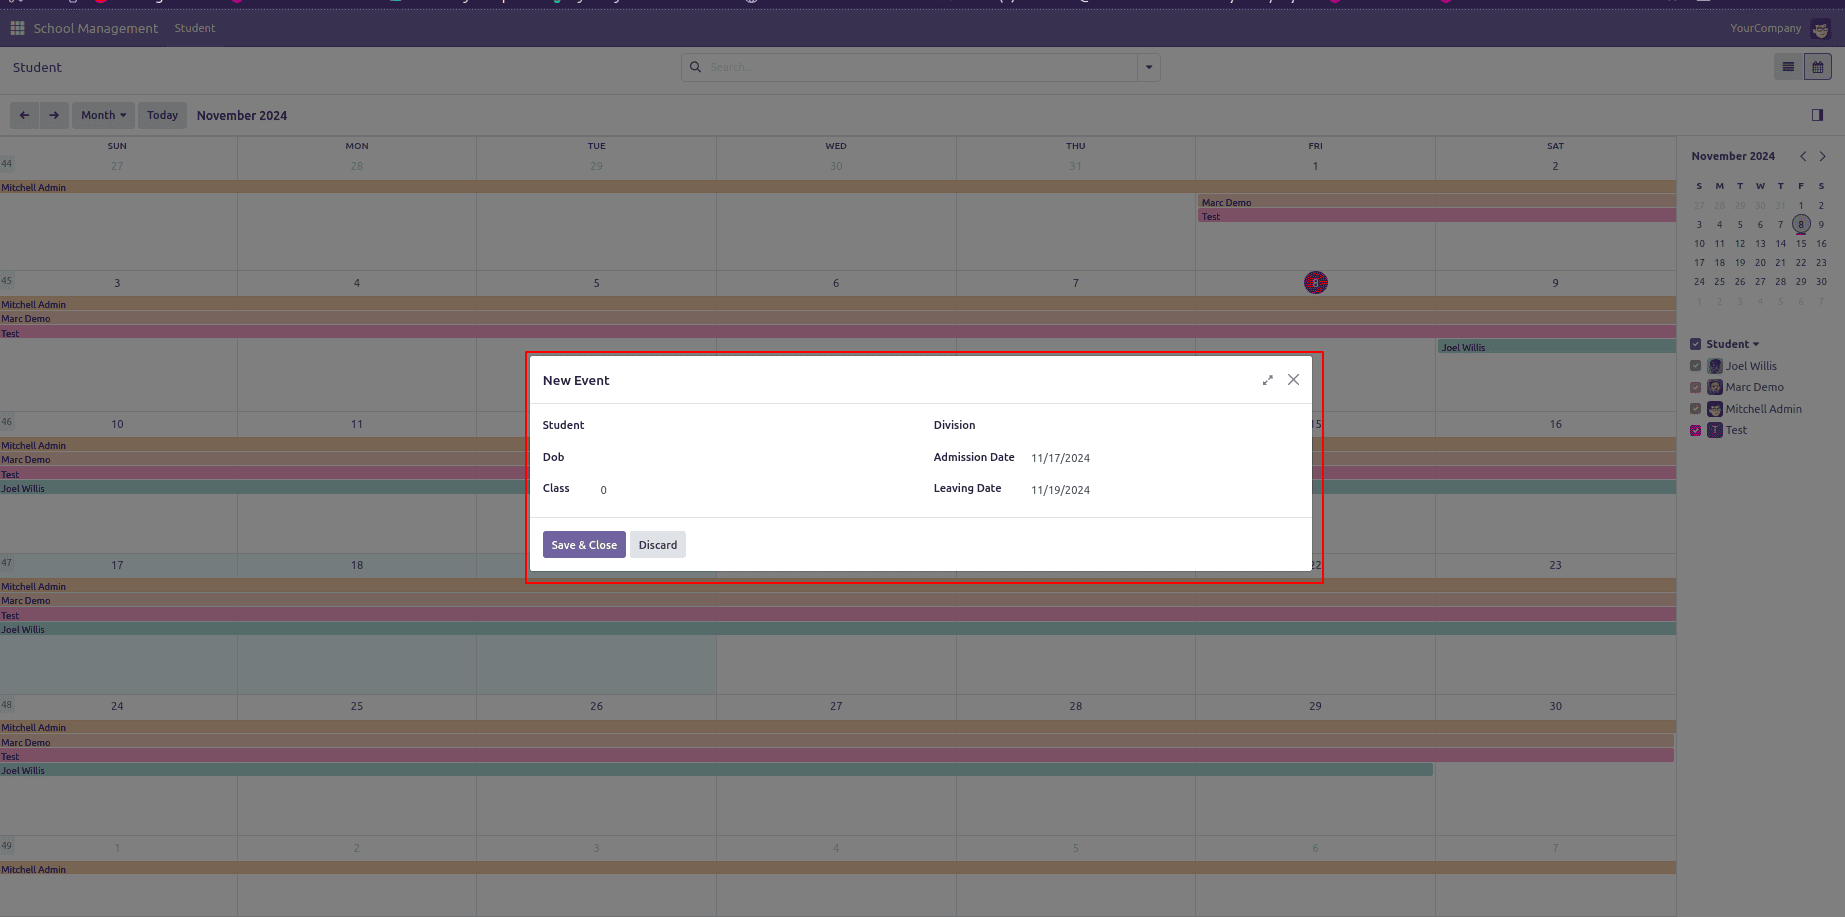
Additionally, we can view the records details by clicking on them.
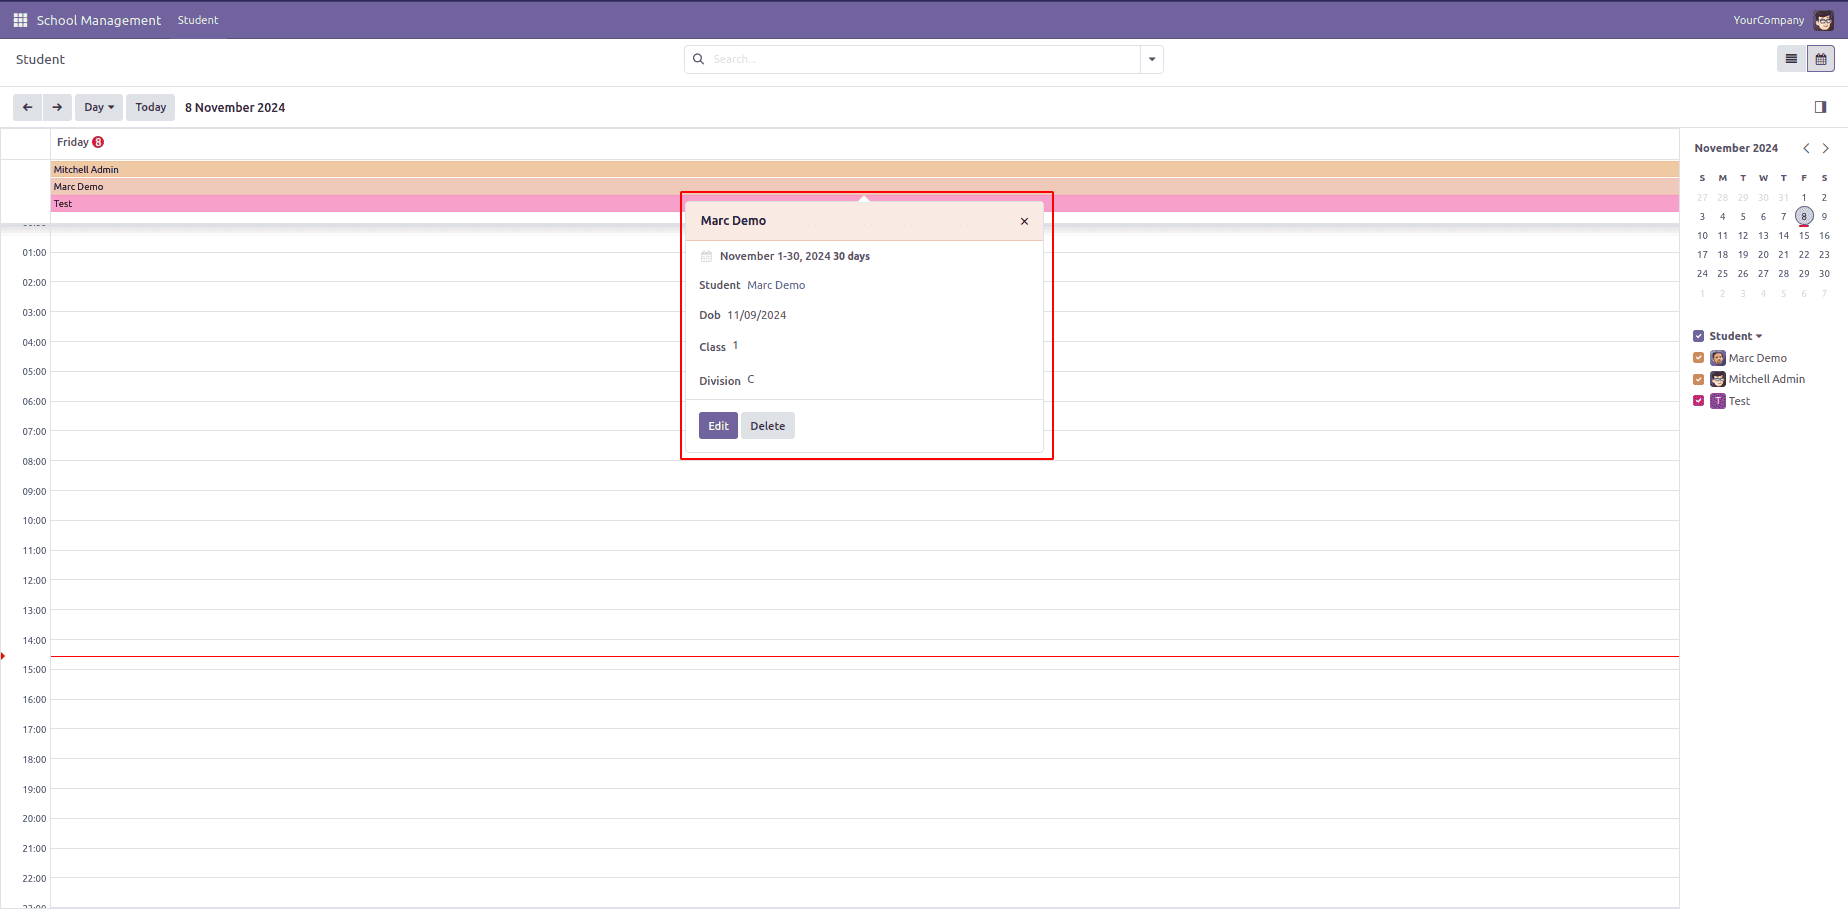
We can easily create a new record by clicking on the desired date.
In Odoo 18, the calendar view provides a versatile and intuitive solution for scheduling and managing resources. With its built-in features, customization options, and mobile accessibility, it helps businesses enhance their operations and increase productivity. Leverage this tool to streamline your scheduling and elevate your business to greater efficiency and success.
To read more about How to Create Calendar View in Odoo 17 ERP, refer to our blog How to Create Calendar View in Odoo 17 ERP.