In Odoo, we have different types of views. Views are the best ways to define the objects to the user. Form, Tree, Kanban, Gantt, Calendar are some of them. Here we are going to discuss the Odoo calendar view. Odoo Calendar view provides a systematic timeline/schedule for the data information in a business organization based on Day, Week, and Month.
Here in this blog, let us see how to create a Calendar view in Odoo 15.
Here is an example of a calendar view from the project.task model.
<record id="view_task_calendar" model="ir.ui.view">
   <field name="name">project.task.calendar</field>
   <field name="model">project.task</field>
   <field eval="2" name="priority"/>
   <field name="arch" type="xml">
       <calendar date_start="date_deadline" string="Tasks" mode="month" color="user_ids" event_limit="5"
                 hide_time="true" js_class="project_calendar" event_open_popup="true" quick_add="false">
           <field name="project_id" filters="1"/>
           <field name="user_ids" widget="many2many_avatar_user"/>
           <field name="partner_id" attrs="{'invisible': [('partner_id', '=', False)]}"/>
           <field name="priority" widget="priority"/>
           <field name="date_deadline"/>
           <field name="tag_ids" widget="many2many_tags" attrs="{'invisible': [('tag_ids', '=', [])]}"/>
           <field name="stage_id"/>
           <field name="kanban_state"/>
       </calendar>
   </field>
</record>
We have to define the fields inside the calendar tag.
Calendar view Attributes:
date_start - It indicates the starting date of the calendar event. If we provide a date field from the model for which we are creating the calendar view in this field, It will take as the starting date of the calendar event. In the example, the date_deadline field from the project.task model is provided as this attribute value.
From the above example, the date_start is provided as the date_deadline field from the project.task model.
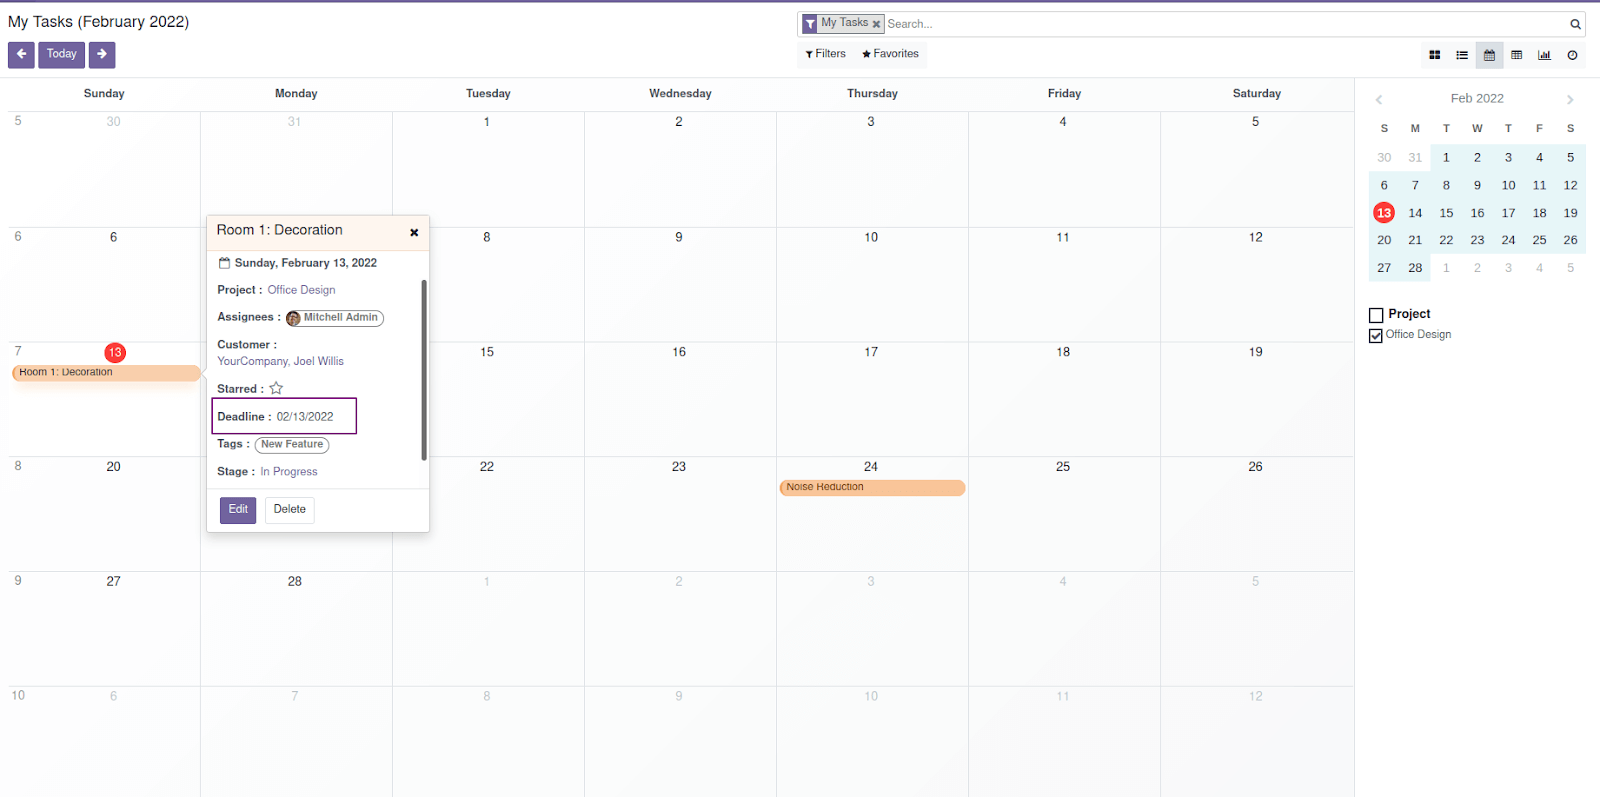
date_stop - It indicates the ending date of the calendar event.
date_delay - It indicates the time in hours for a record. It has a higher preference than date_start and date_stop. If date_delay is specified, then date_start and date_end will be ignored.
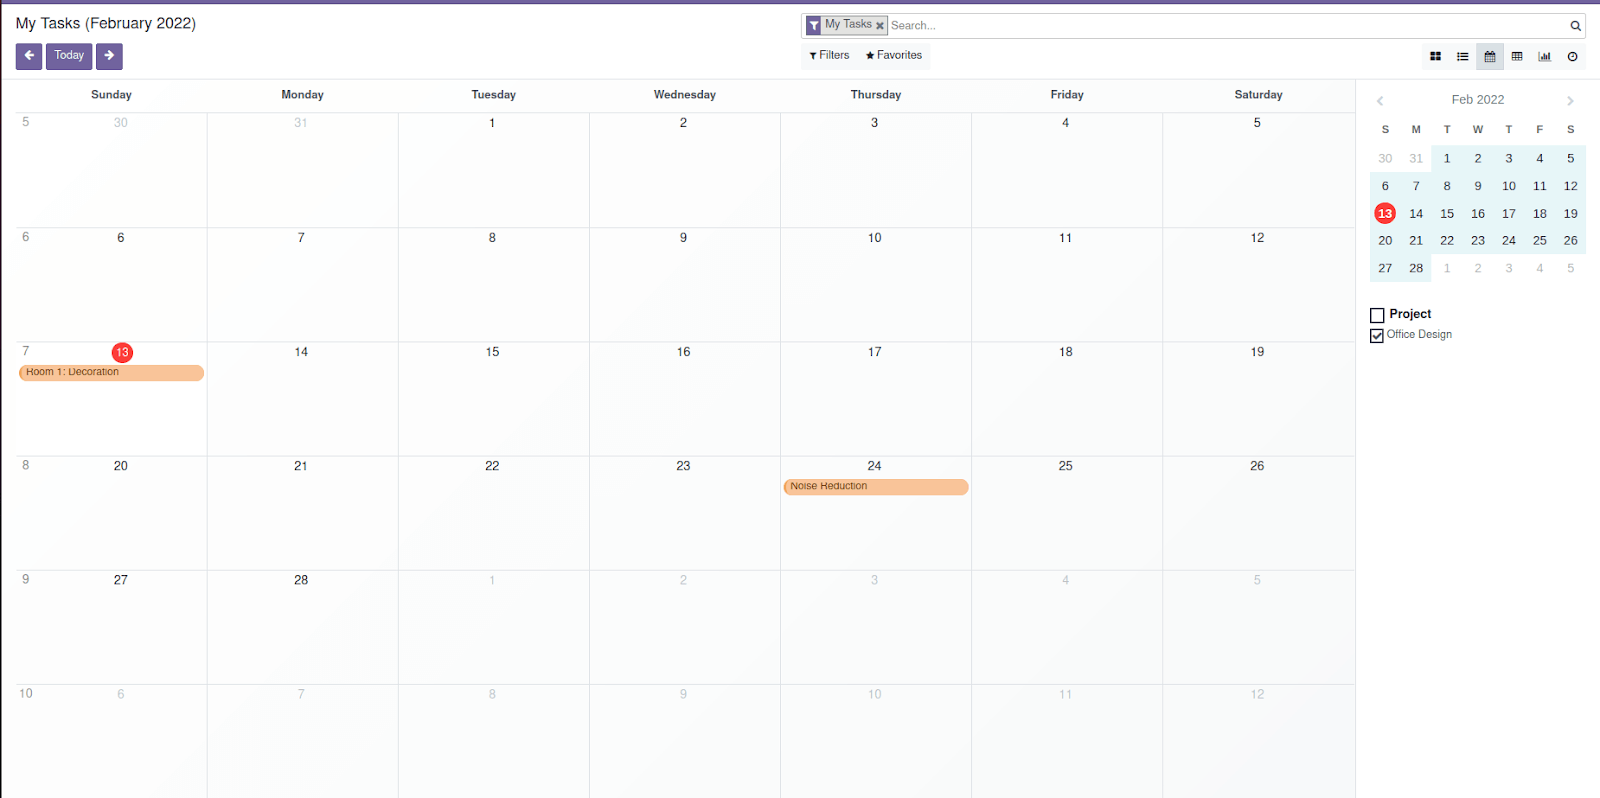
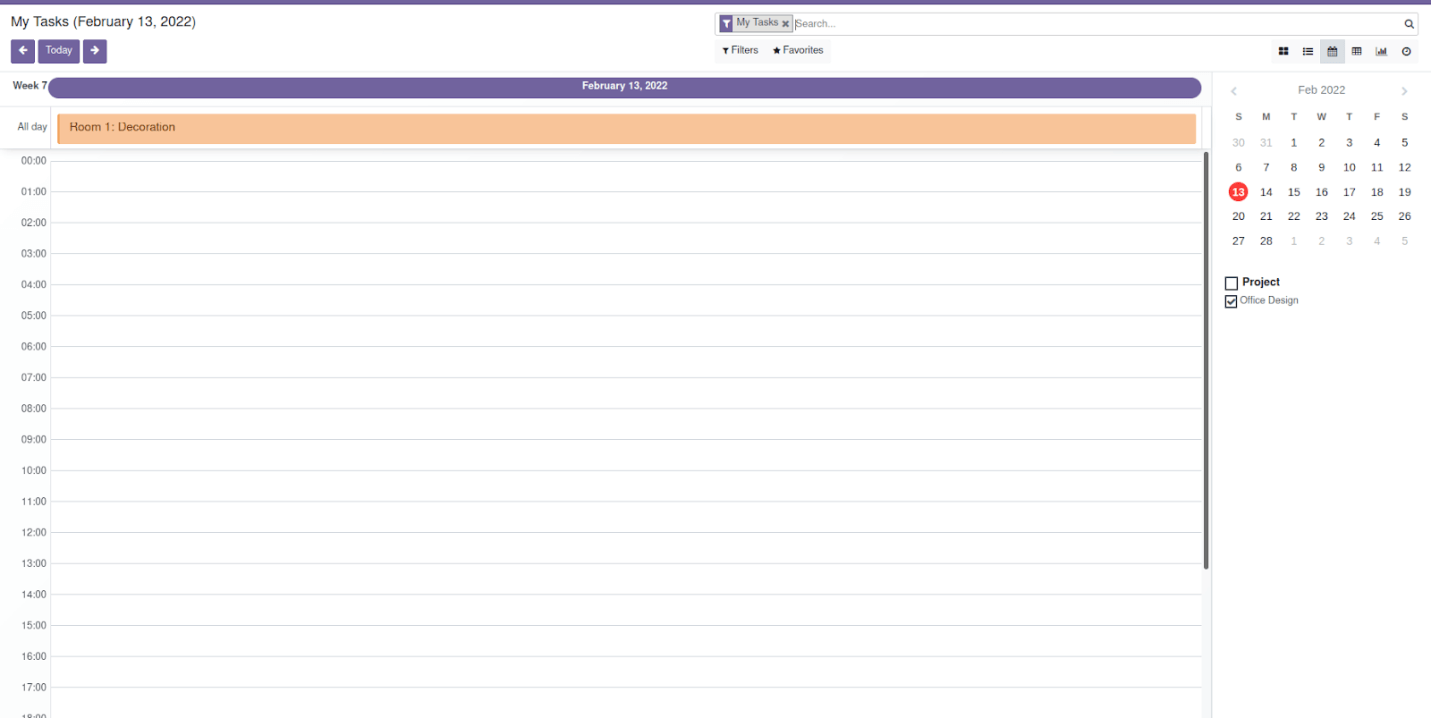
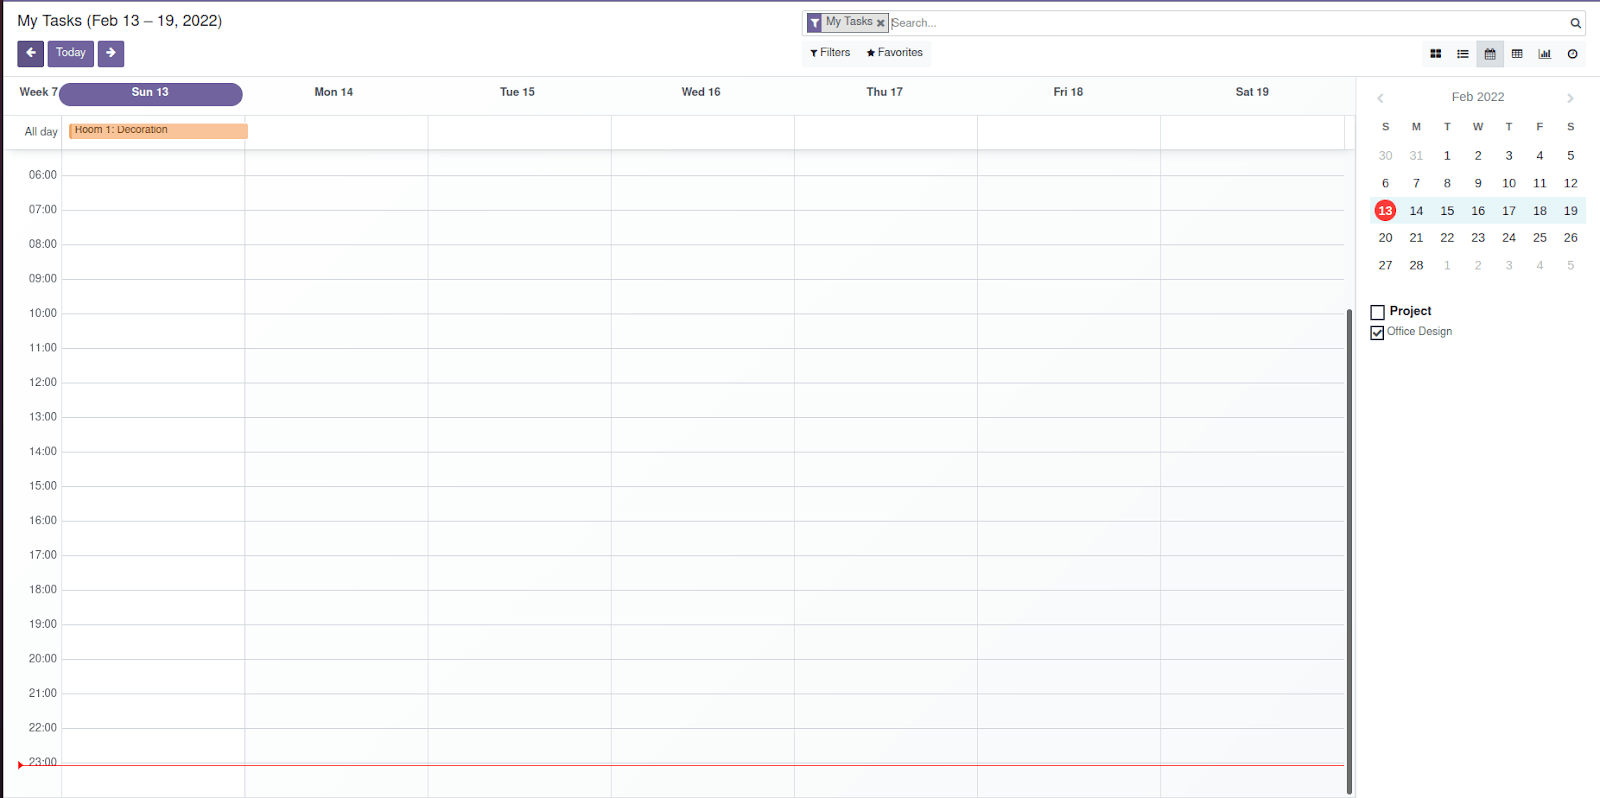
mode - Calendar view provides a view on a daily, weekly, and monthly basis. It indicates the default view mode of the Calendar view when the page is loaded. The values for this attribute can be Day, Week, Month. In the example below, we can see the Calendar view opens a window with the current month because this attribute has the value.
If the mode was given mode = 'day', then the view will be like this:
If mode='week':
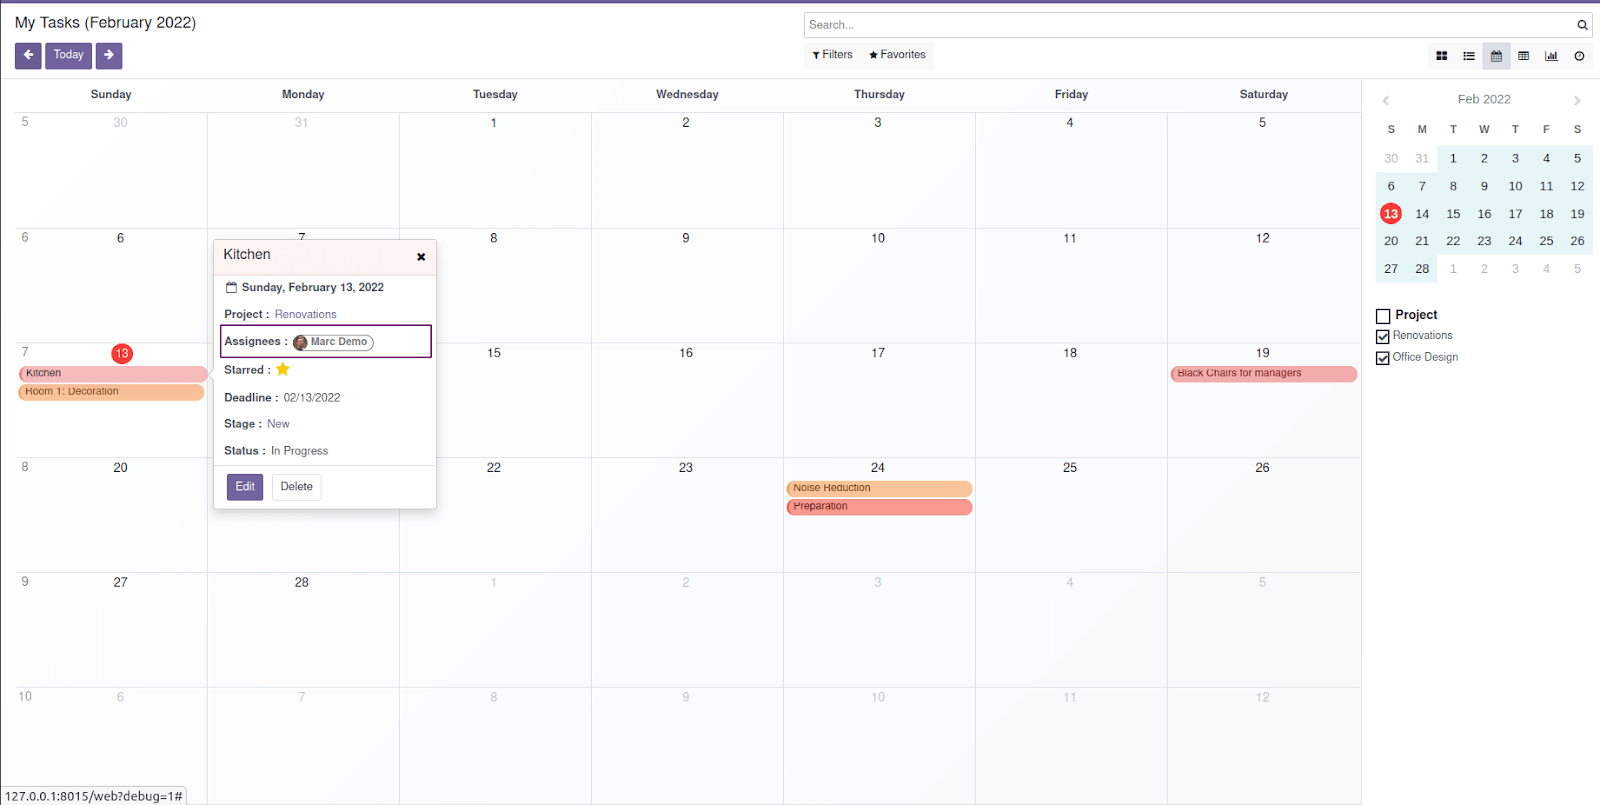
color - This gives color for different events based on the specified field(generally many2one). Records with the same value for this field will show the same color. In our example, the field user_ids is given as the value for this field. The event has the same users will show in the same color.
day_length: An integer value that helps to indicate working day duration. Default is 8 hours.
form_view_id: It will open the form view we specified in this field. If a form view already opens from the calendar event, this will overwrite the current one. When we click on the calendar event from the view, it will open a small popup with an Edit button. When we click on that edit button, it will redirect to a form view. The desired form view that we want to open from the calendar event can be specified here.
event_open_popup:
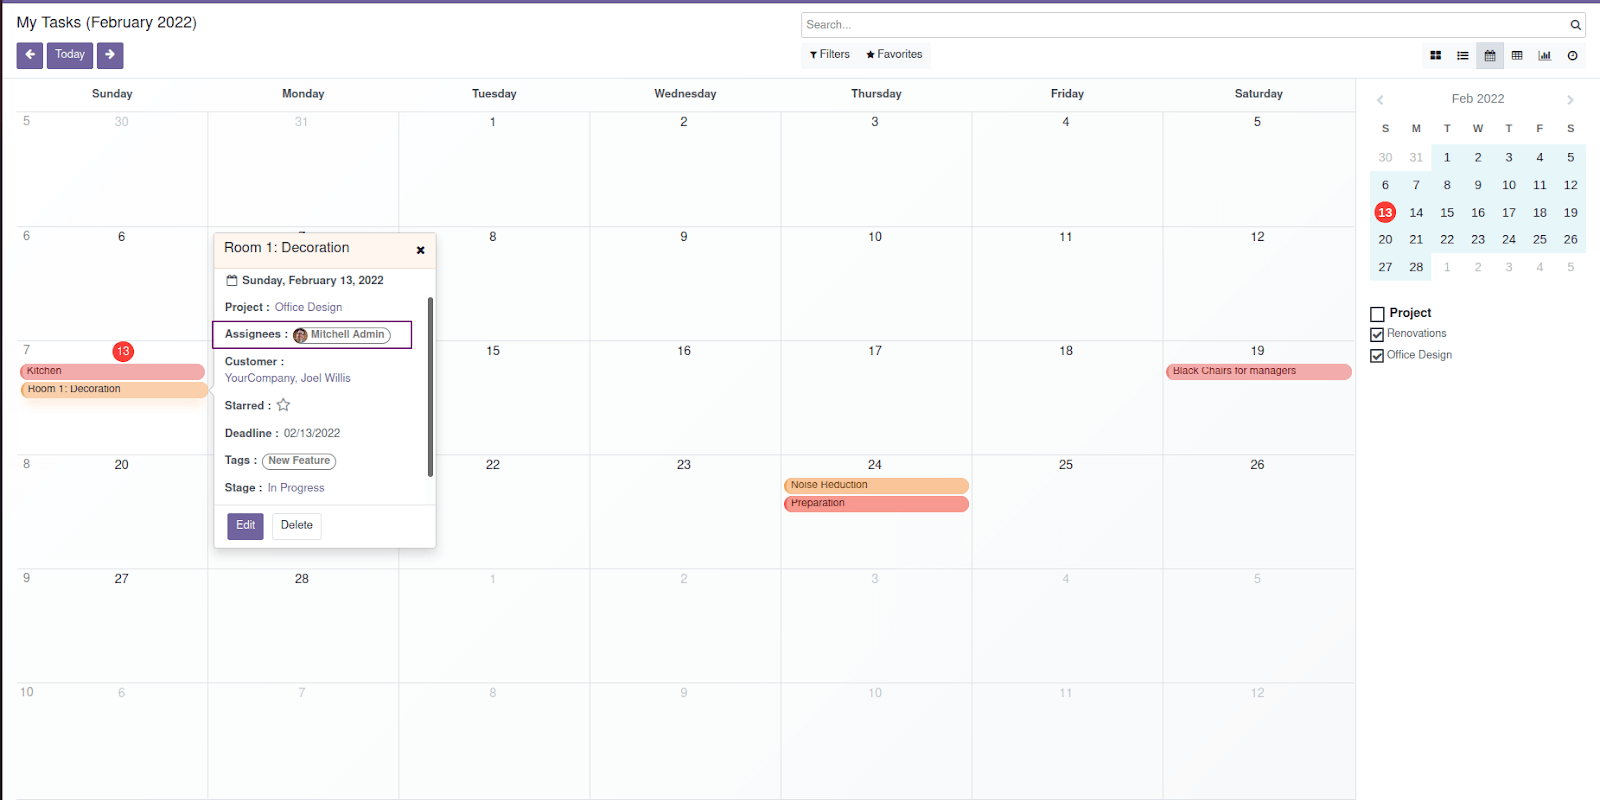
If this is set, then the event will open as a popup. That is if the event_open_popup="true" then the view that extends from the calendar will open as a popup. Otherwise, it will open events in a form.
quick_add:
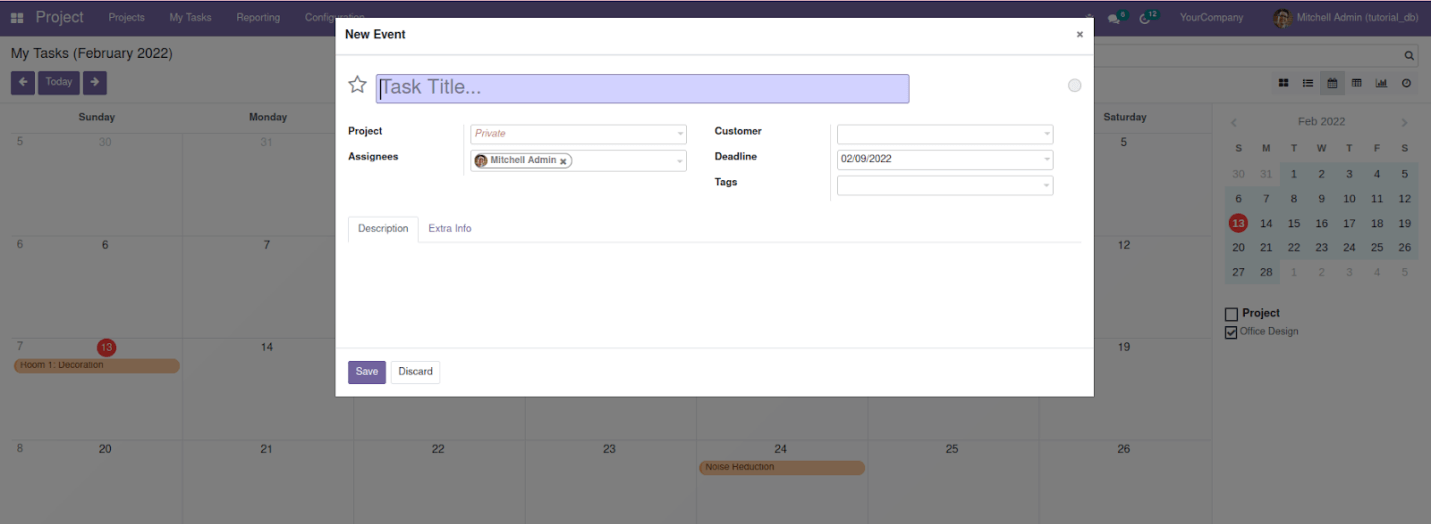
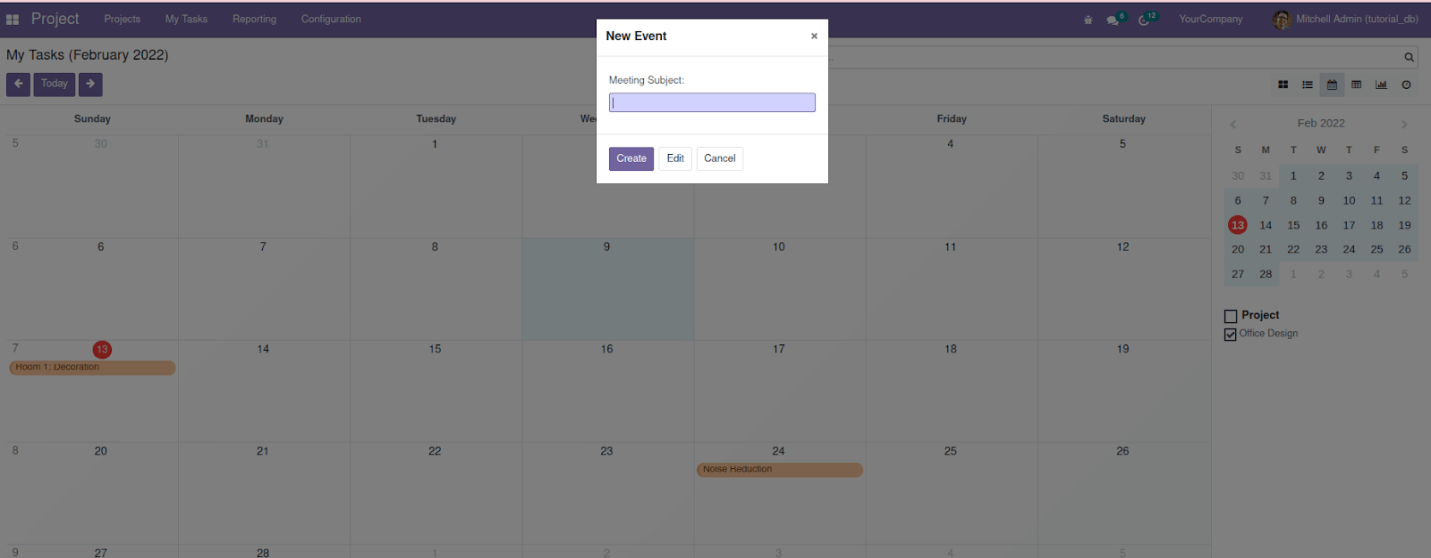
This field can do instant event creation. Here, the user provides their name along with time which in turn helps in creating new events instantly, and if the quick creation fails, it returns to a full form dialogue.
Now, this attribute is false for the project. task calendar view. So when we click on the calendar and create a new event, the popup will be like:
If it is quick_add = 'True', the view will be:
all_day: This record boolean field indicates that the event which corresponds to day-long is irrelevant for the duration.