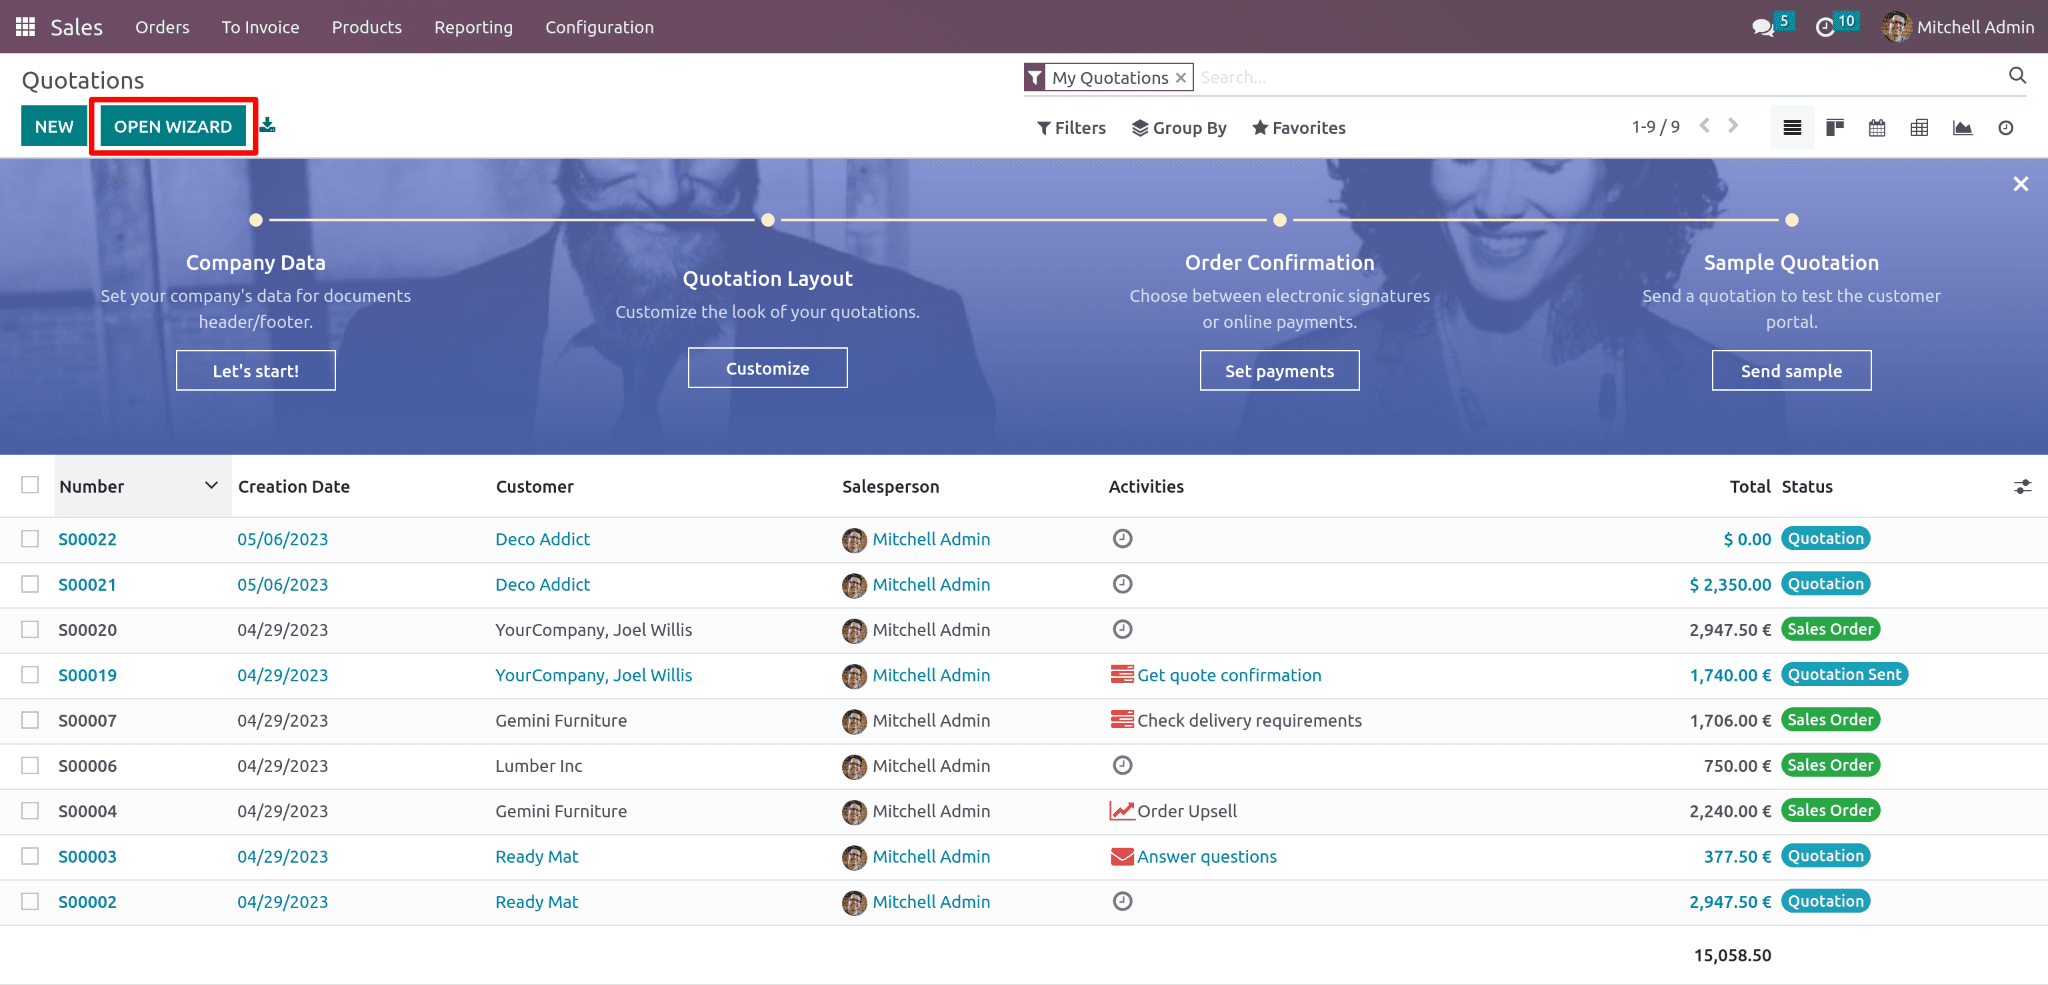
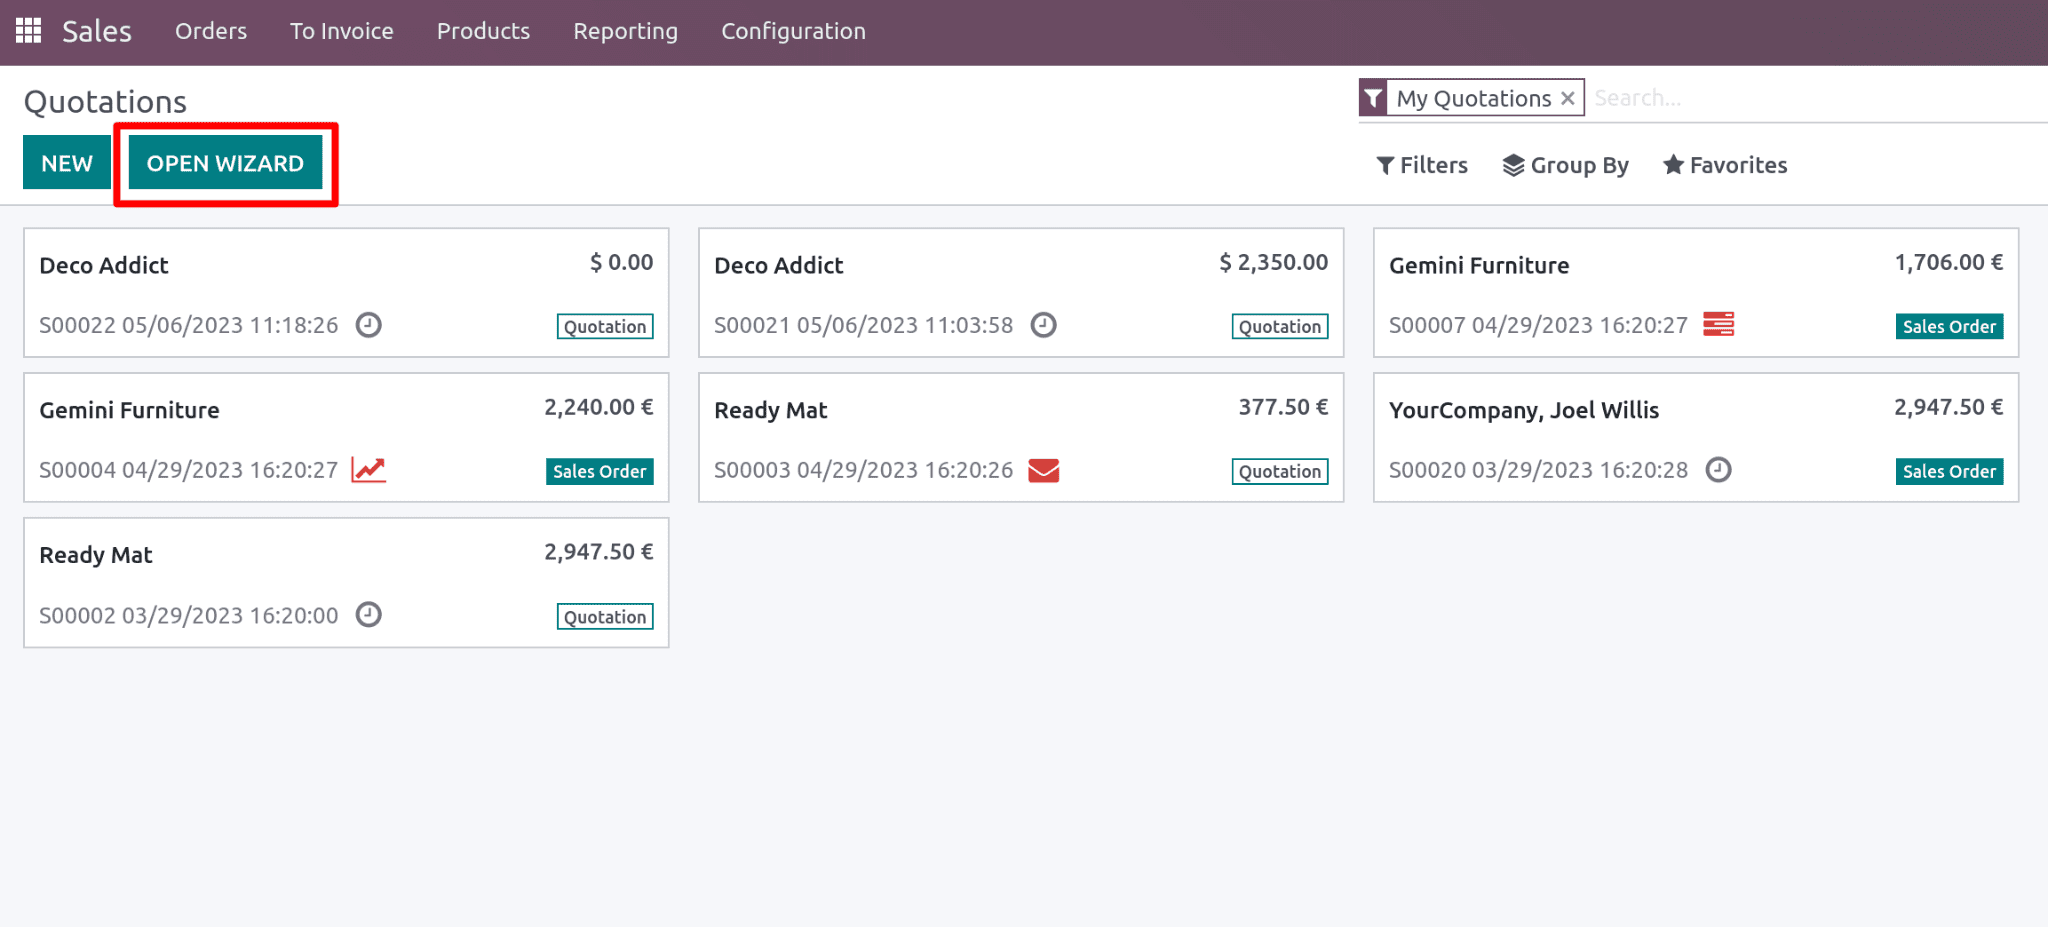
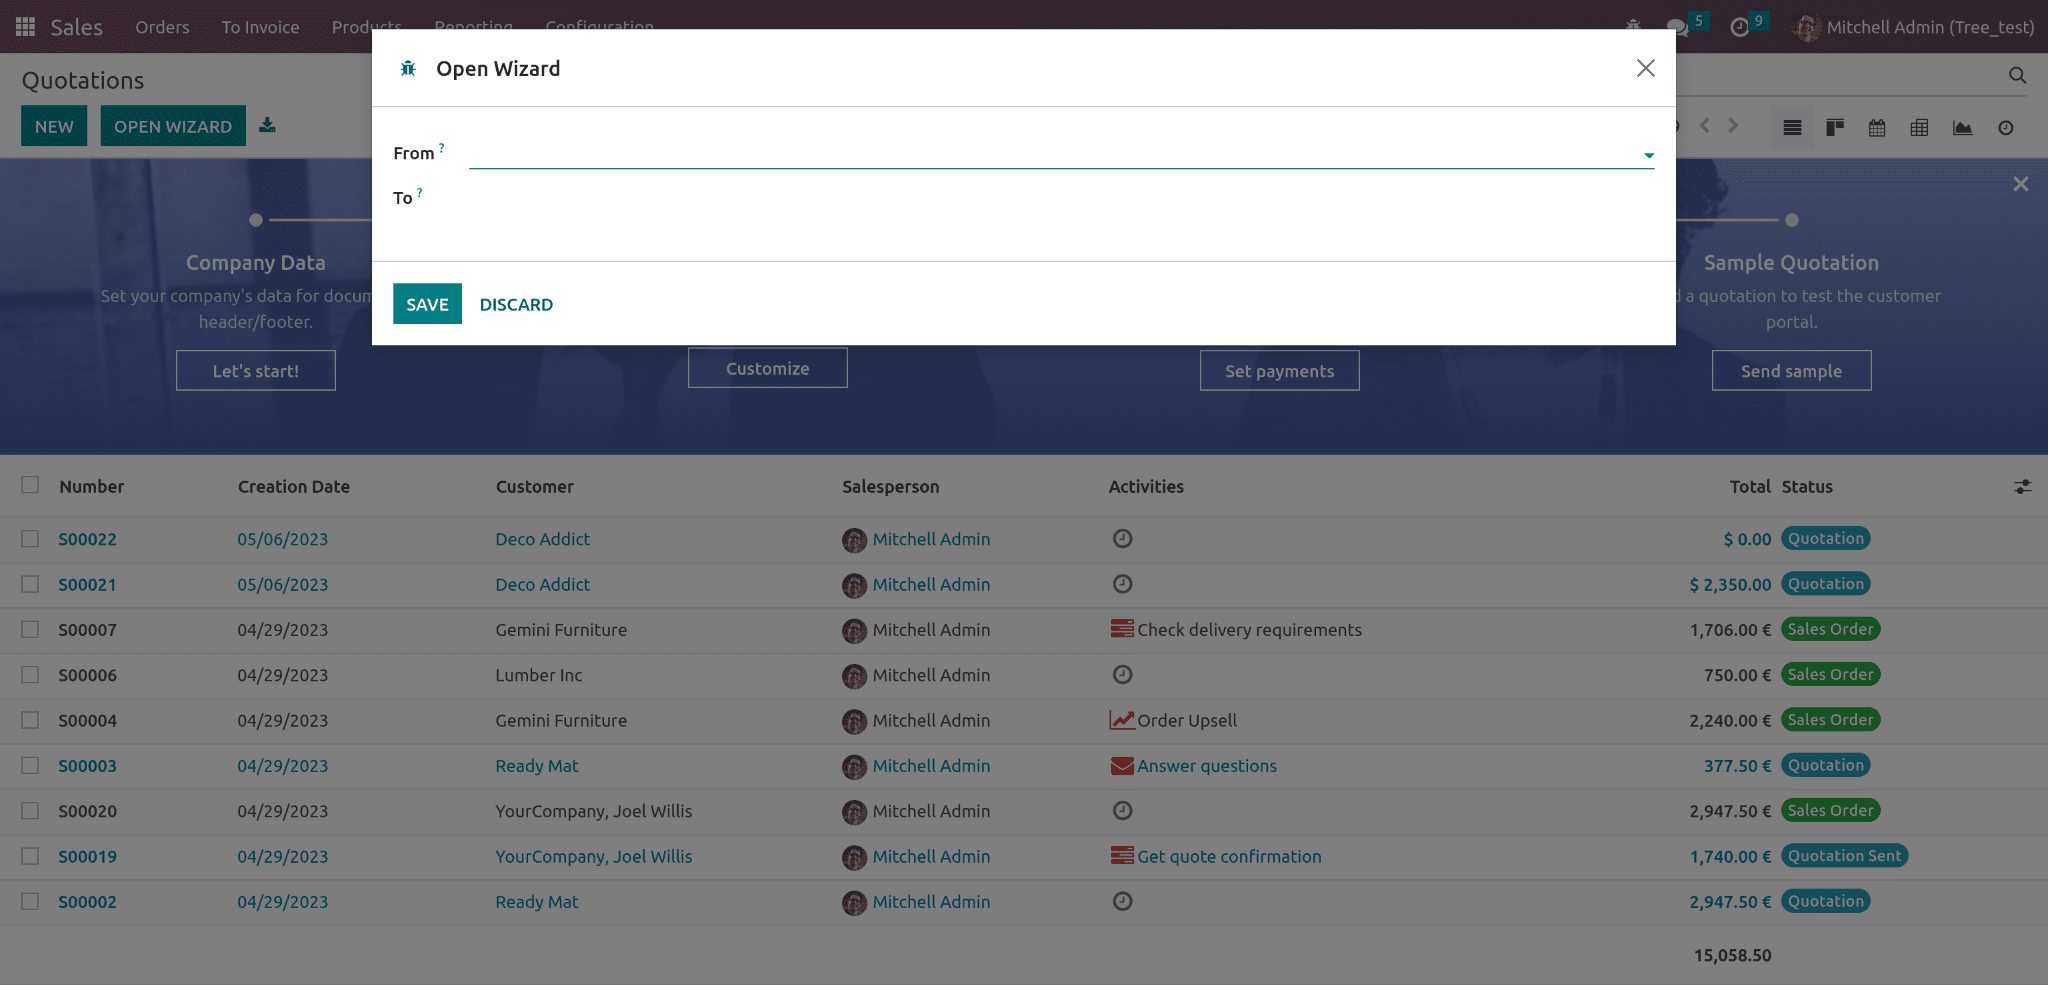
Here we are checking to add a new button in the tree or kanban header view on the click action to popup a wizard.
Let's create an XML file to extend the tree view and add a new button
Tree view:
create a new XML file in the path- static/src/xml/sale_list_button.xml
<?xml version="1.0" encoding="utf-8"?>
<templates>
   <t t-name="button_sale.ListView.Buttons" t-inherit="web.ListView.Buttons">
       <xpath expr="//*[@class='btn btn-primary o_list_button_add']" position="after">
           <button type="button" class="btn btn-primary" style="margin-left: 10px;"  t-on-click="OnTestClick">
               Open Wizard
           </button>
       </xpath>
   </t>
</templates>
In the above XML code inherited the “web.ListView.Buttons” and added a button open wizard position after the New button in Tree view for loading the template add this file path in 'web.assets_backend'
__manifest__.py:
'assets': {
   'web.assets_backend': [
       '/button_test_controller/static/src/js/sale_tree_extend.js',
       '/button_test_controller/static/src/js/sale_kanban_extend.js',
       '/button_test_controller/static/src/xml/sale_list_button.xml',
       '/button_test_controller/static/src/xml/sale_kanban_button.xml'
   ]
},
Now let’s create the js file, from where we’ll add the functionality to our new button. Create the js file in the path static/src/js/sale_tree_extend.js
Add this js file in ‘web.assets_backend’
/** @odoo-module */
import { ListController } from "@web/views/list/list_controller";
import { registry } from '@web/core/registry';
import { listView } from '@web/views/list/list_view';
export class SaleListController extends ListController {
   setup() {
       super.setup();
   }
   OnTestClick() {
       this.actionService.doAction({
          type: 'ir.actions.act_window',
          res_model: 'test.wizard',
          name:'Open Wizard',
          view_mode: 'form',
          view_type: 'form',
          views: [[false, 'form']],
          target: 'new',
          res_id: false,
      });
   }
}
registry.category("views").add("button_in_tree", {
   ...listView,
   Controller: SaleListController,
   buttonTemplate: "button_sale.ListView.Buttons",
});
In this js file we are extending the ListController and adding the t-on-click function and added the new class SaleListController
OnTestClick is the function that will perform when clicking the button.
do_action will help to open the specific action window.
After this, we are adding this view to the registry by specifying the controller, ButtonTemplate, and need to specify the js_class
buttonTemplate - Here we will specify the t-name of the template.
Controller - Extended class of ListController
Now to see this new button in a specific tree view of the sale.order model, we need to specify the new class in the specific view. For that, we can use an attribute ‘js_class’ in the tree tag of the view
sale_order.xml:
<?xml version="1.0" encoding="UTF-8" ?>
<odoo>
   <record id="sale_order_tree_inherit_js_class" model="ir.ui.view">
       <field name="name">sale.order.tree.inherit</field>
       <field name="model">sale.order</field>
       <field name="inherit_id" ref="sale.view_quotation_tree_with_onboarding"/>
       <field name="arch" type="xml">
           <xpath expr="//tree" position="attributes">
               <attribute name="js_class">button_in_tree</attribute>
           </xpath>
       </field>
   </record>
</odoo>
Don’t forget to add this file in views in the manifest.
Now the button can be seen in the specific tree view of sale.order

Kanban View:
Here we are extending the kanban view and adding a new button and on click redirecting to a wizard
The process is somewhat similar to what we have done for adding buttons in the tree view.
First create the xml file inside static/src/xml/sale_kanban_button.xml
<?xml version="1.0" encoding="UTF-8" ?>
<odoo>
   <t t-name="button_sale.KanbanView.Buttons" t-inherit="web.KanbanView.Buttons">
       <xpath expr="//*[@class='btn btn-primary o-kanban-button-new']" position="after">
           <button type="button" class="btn btn-primary" style="margin-left: 10px;"  t-on-click="OnTestClick">
               Open Wizard
           </button>
       </xpath>
   </t>
</odoo>
Add it in ‘web.assets_backend’.
Now let’s create the js file
** @odoo-module */
import { KanbanController } from "@web/views/kanban/kanban_controller";
import { registry } from '@web/core/registry';
import { kanbanView } from '@web/views/kanban/kanban_view';
export class SaleKanbanController extends KanbanController {
   setup() {
       super.setup();
   }
   OnTestClick() {
       this.actionService.doAction({
          type: 'ir.actions.act_window',
          res_model: 'test.wizard',
          name :'Open Wizard',
          view_mode: 'form',
          view_type: 'form',
          views: [[false, 'form']],
          target: 'new',
          res_id: false,
      });
   }
}
registry.category("views").add("button_in_kanban", {
   ...kanbanView,
   Controller: SaleKanbanController,
   buttonTemplate: "button_sale.KanbanView.Buttons",
});
Add the js file path in ‘web.assets_backend’
It has the same structure as the js file we used for the tree view button creation. Here we are extending the KanbanController and KanbanView.
Now the button can be seen in sale.order kanban view.

While clicking the new button from both the views it’ll open the specific wizard which we’ve specified in the doAction function.

To know more on the importance of how to add a new button near the create button in the tree & kanban view in Odoo 15, refer our previous blog How to Add a New Button Near the Create Button in the Tree & Kanban View in Odoo 15