How it looks like when we can test an odoo community app in odoo.sh in simple steps or by few clicks and install it and connect here we presenting odoo Deploy module in odoo.sh with features like Integrated with the GitHub, See the detailed logs in the real-time, Get shell access to a production server or a container related to a build, in one click, Drag development branches to staging, to test them with production data, Use your own domain for a production server, and our DNS subdomains for development branches.
Odoo.sh is important and helpful for testers, developers, project managers, and system administrators.
Now let’s get enter into our odoo.sh deploy
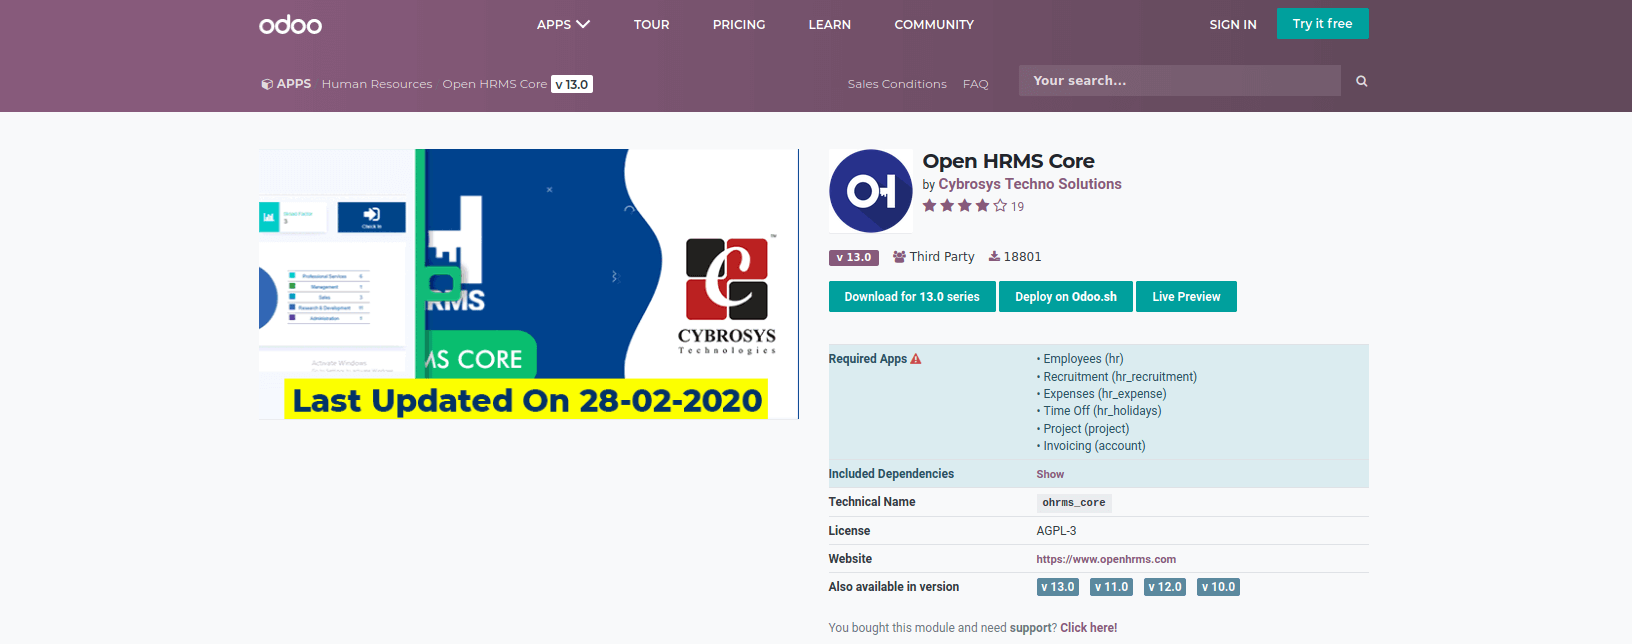
You can see a new button named Deployee on odoo.sh near to Download button in the odoo app store

The main features of the odoo.sh are,
The first main feature is its Integrated with the GitHub
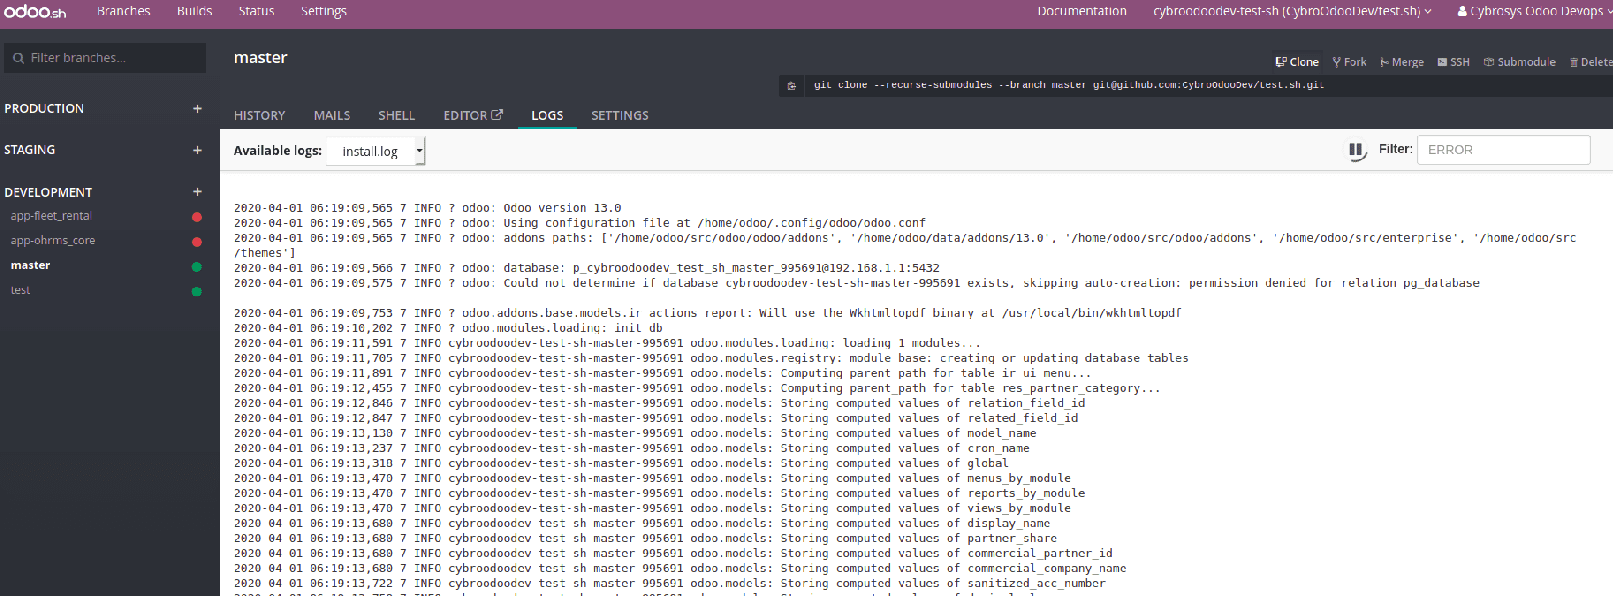
We can see the detailed logs in the real-time
Get shell access to a production server or a container related to a build, in one click
Manage dependencies with third-party modules with no pain; update when you want
Every commit goes through a battery of thousands of automated tests.
We can stay alive for a few weeks for testing, and staging branches are built with production data
It manages all servers like monitoring, backups, emails, DNS, ci, staging & production servers.
Use your own domain for a production server, and our DNS subdomains for development branches
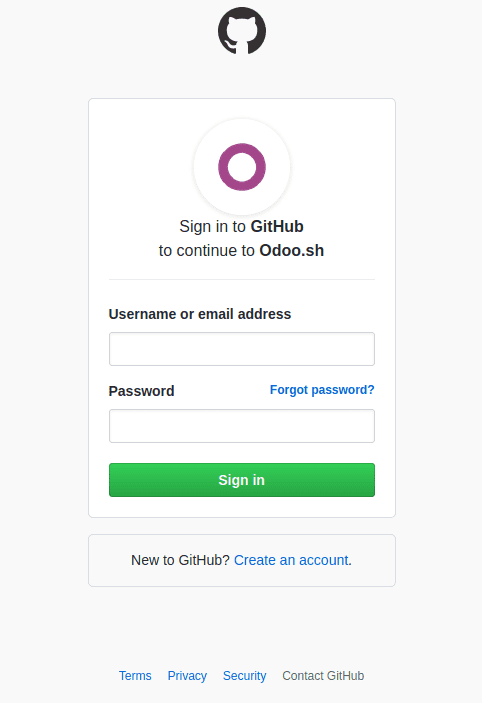
So let us start, firstly we need to sign in to our GitHub account, Before that read the Basics of Odoo Employment

Here we have to enter your GitHub username and password by clicking sign in button can connect with GitHub and we get a page with our existing repo,s and we can create a new repo,s for installing the modules

Then we can go to the odoo apps and click the Deploy in odoo.sh button or if you created a new repo then after entering the repo name and the subscription, by clicking the deploy button and after deploying you will get a screen.

Click on the button ‘continue’.
Then the processing will take place you can see the change

After completing the processing the module is taken to the 1st stage build queued,

Then the status will change to,

Then to,

Then to,

Then to,

After crossing status like above then finally to,

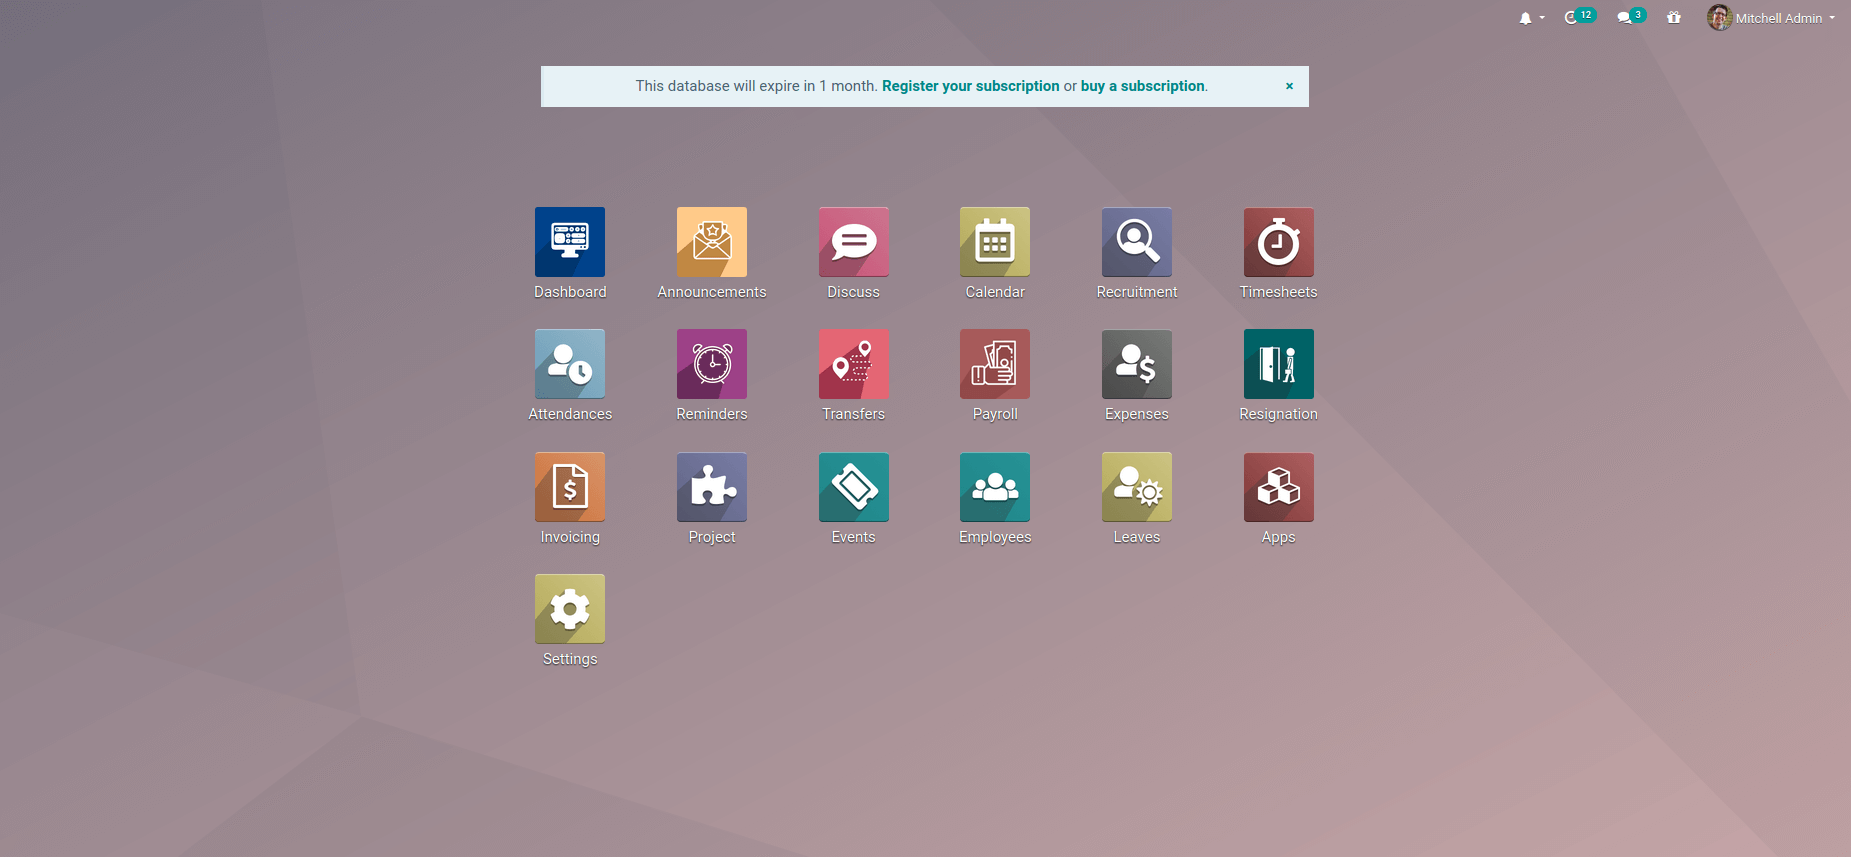
Then by clicking the connect, we can go to our database,

And in the installation time itself, we can see the installation log in the Logs tab in odoo.sh

Further reference read this blog Deploy Module Using Odoo.sh