Managing and overviewing real-time data on Work entries is necessary. Work entries are updated in the Work entries tab of the Payroll module. Work entry management is easy with the Payroll module of Odoo. The dedicated work entries features and tools of the module are highly efficient and are easy to use, which you can use to manage efficiently and overview the work entries and plan the Payslips.
This blog will provide you with a detailed note on managing Work entries with the Odoo 15 Payroll module
Work entry Types
The Work entry types can be instantly configured from the payroll module. Work entries can be configured in the configuration tab of the Payroll module. In the ‘work entries’ section, click on Work Entry types in the configuration tab. The page on the work entry type will open as shown below.
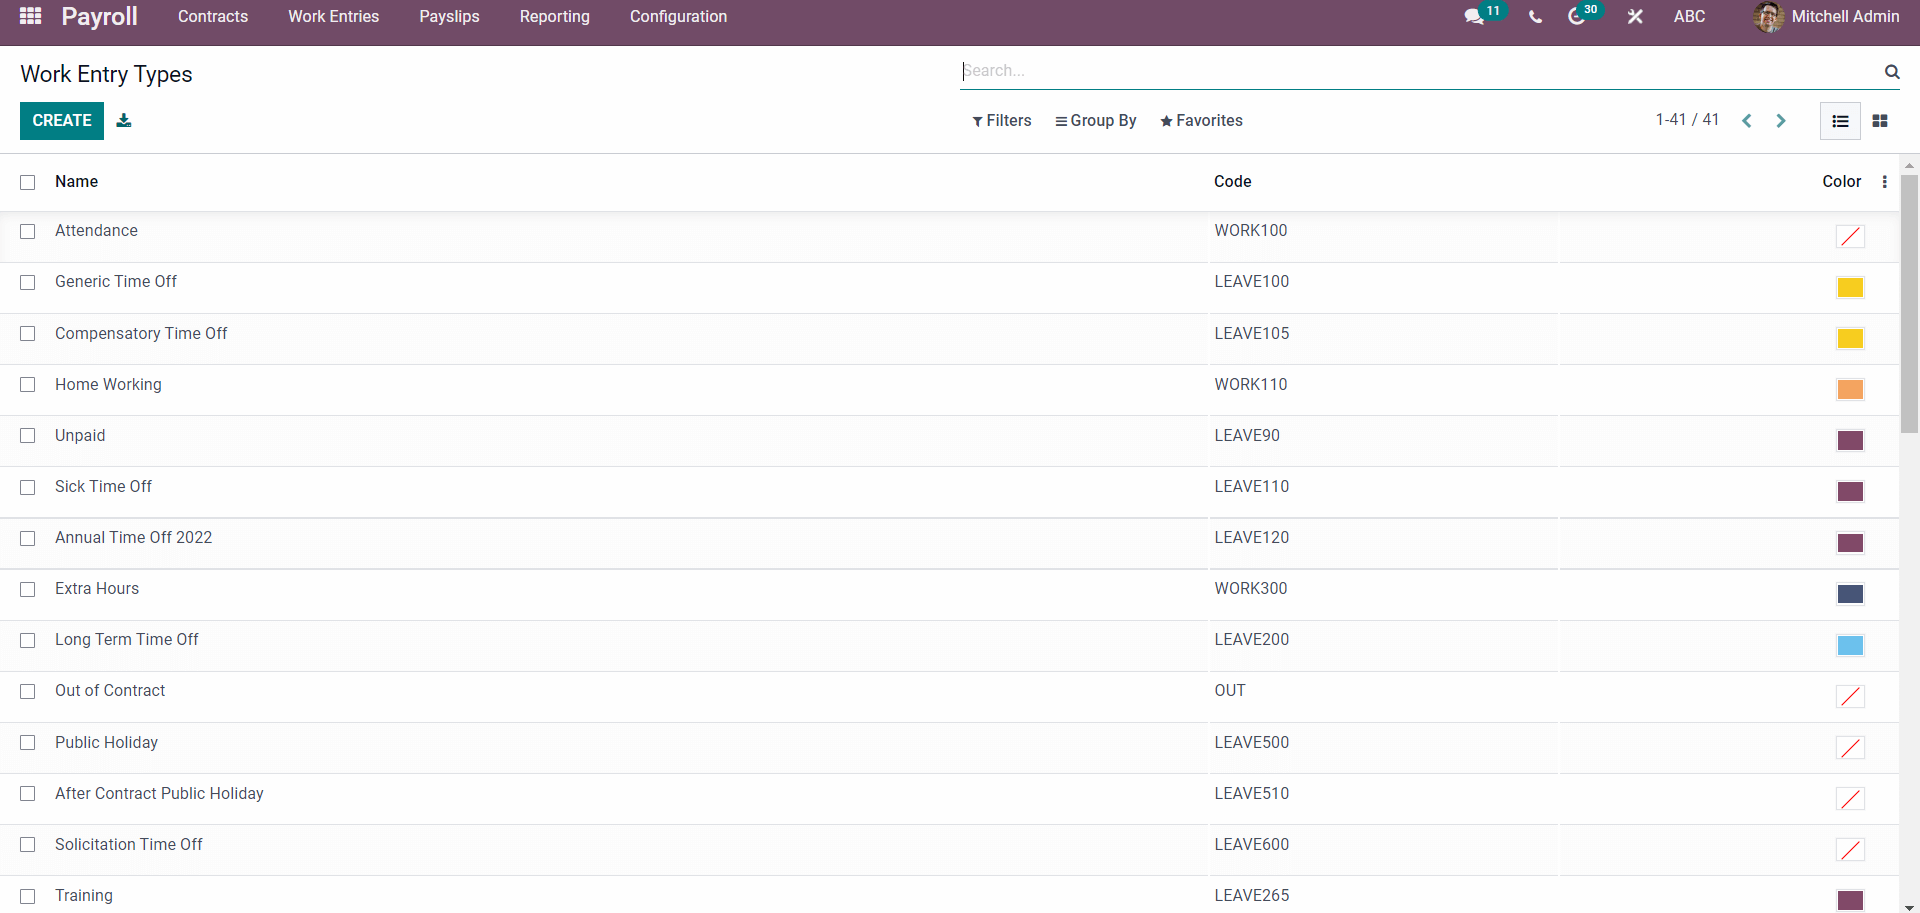
All of the created Work entry types will be displayed on this page. Click on any one of the Types to view and edit them.
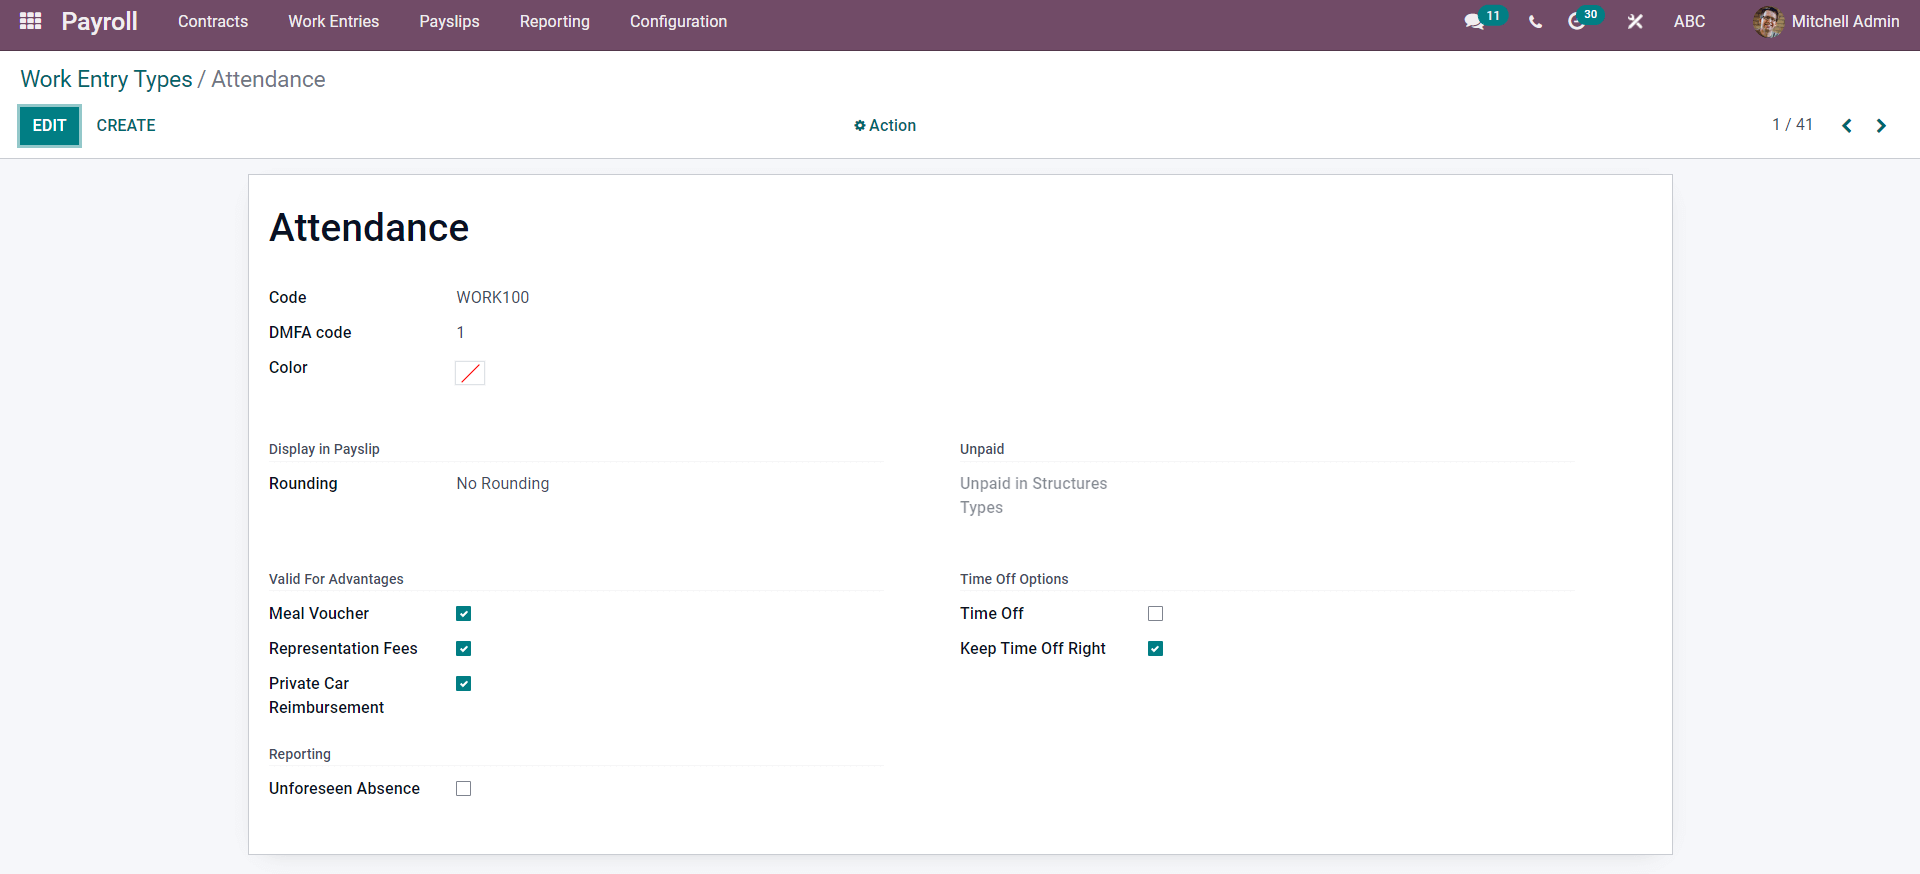
Press on the EDIT button for editing the selected Work entry type. To create one, press the CREATE button.
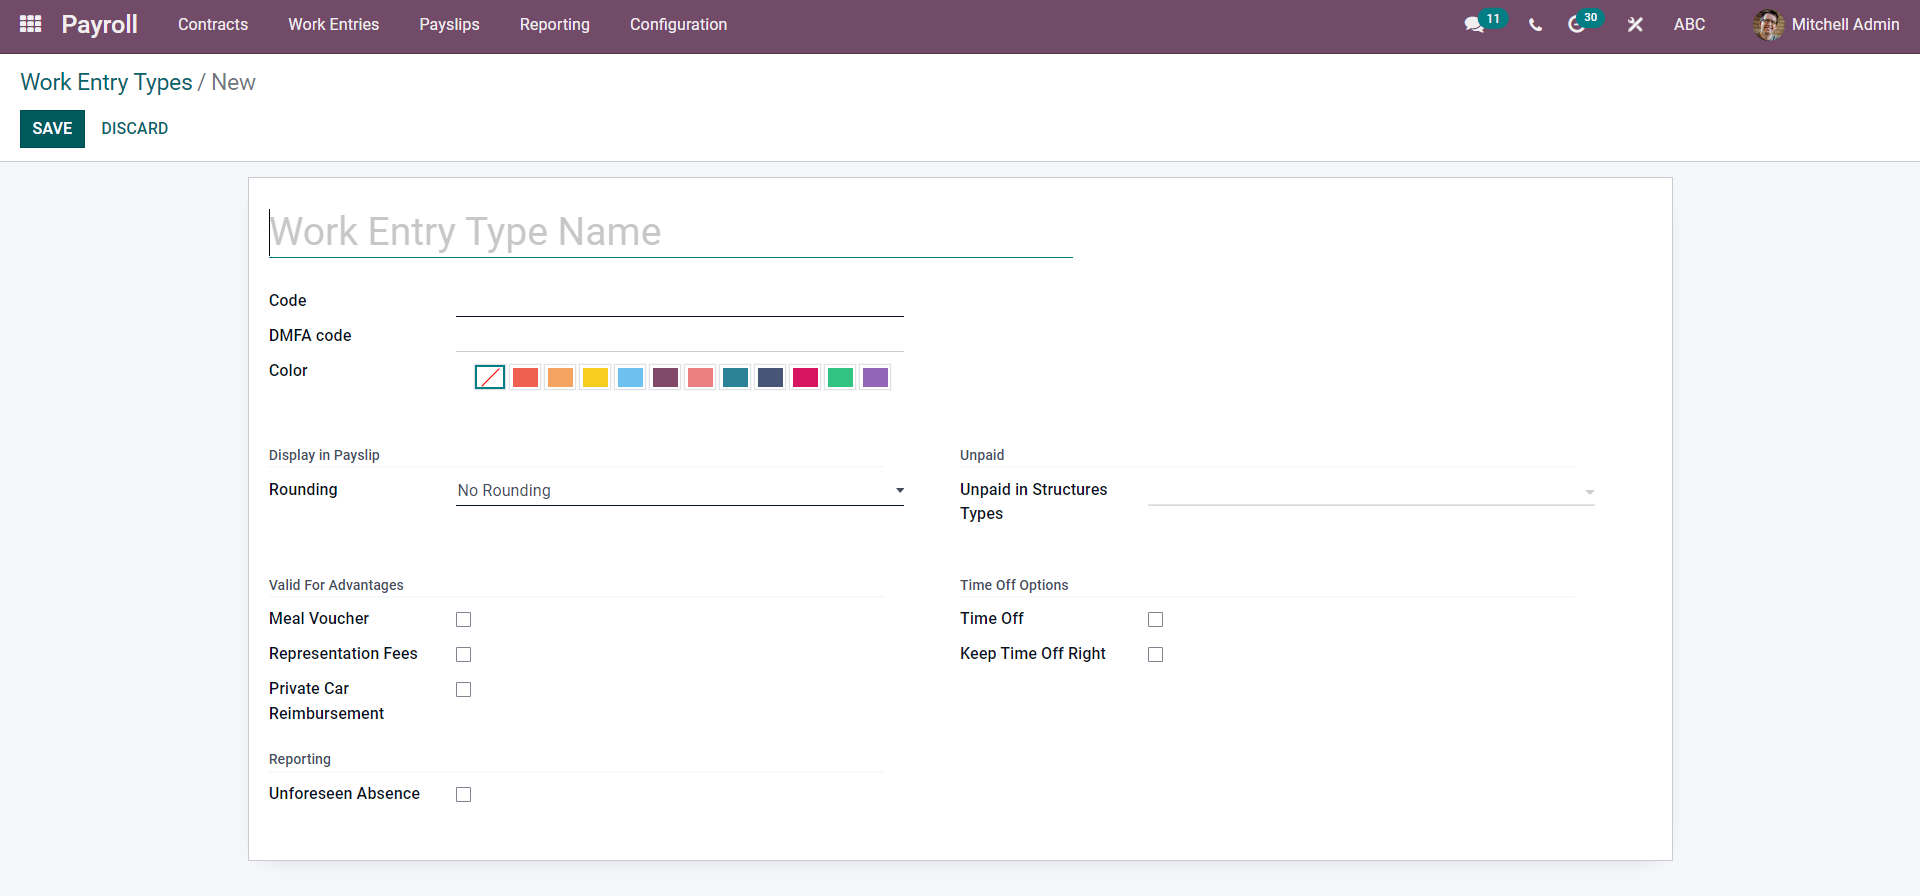
You can create a new work entry type from here. The first step is to type in the name of the new work entry type and the code.
Enter the name of the Work Entry Type along with the unique code in the Code field. Type in the DMFA code and choose the color from the Colour field section. Choose from different colors to create a unique identity for the new Work entry type. You can add the Rounding type under the Display in the Payslip section of the configuration page. There are three options available in the Rounding section. No rounding, Half day or Day. Choose from the options, and it will be displayed on the Payslip.
You can choose from the drop-down list of Unpaid structure types in the Unpaid section, as shown below
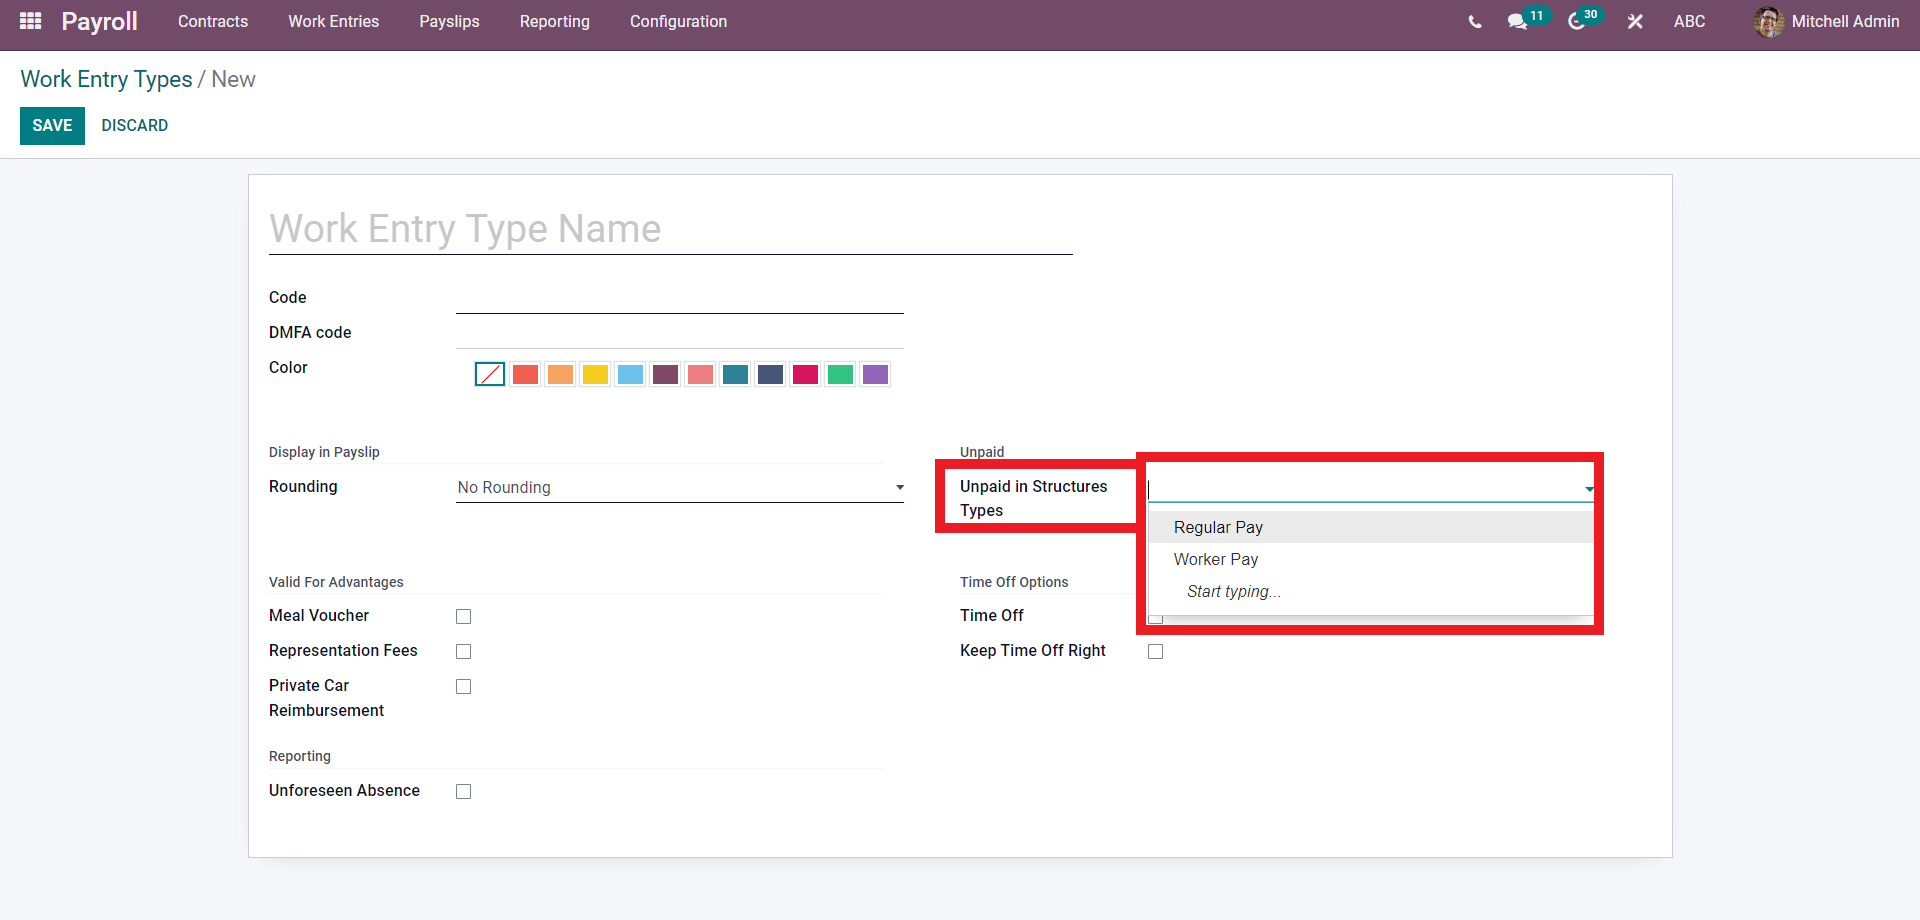
Choose from the structure types to add. After choosing the desired Unpaid in Structure type, move to the Valid for Advantages section of the configuration page as shown below.
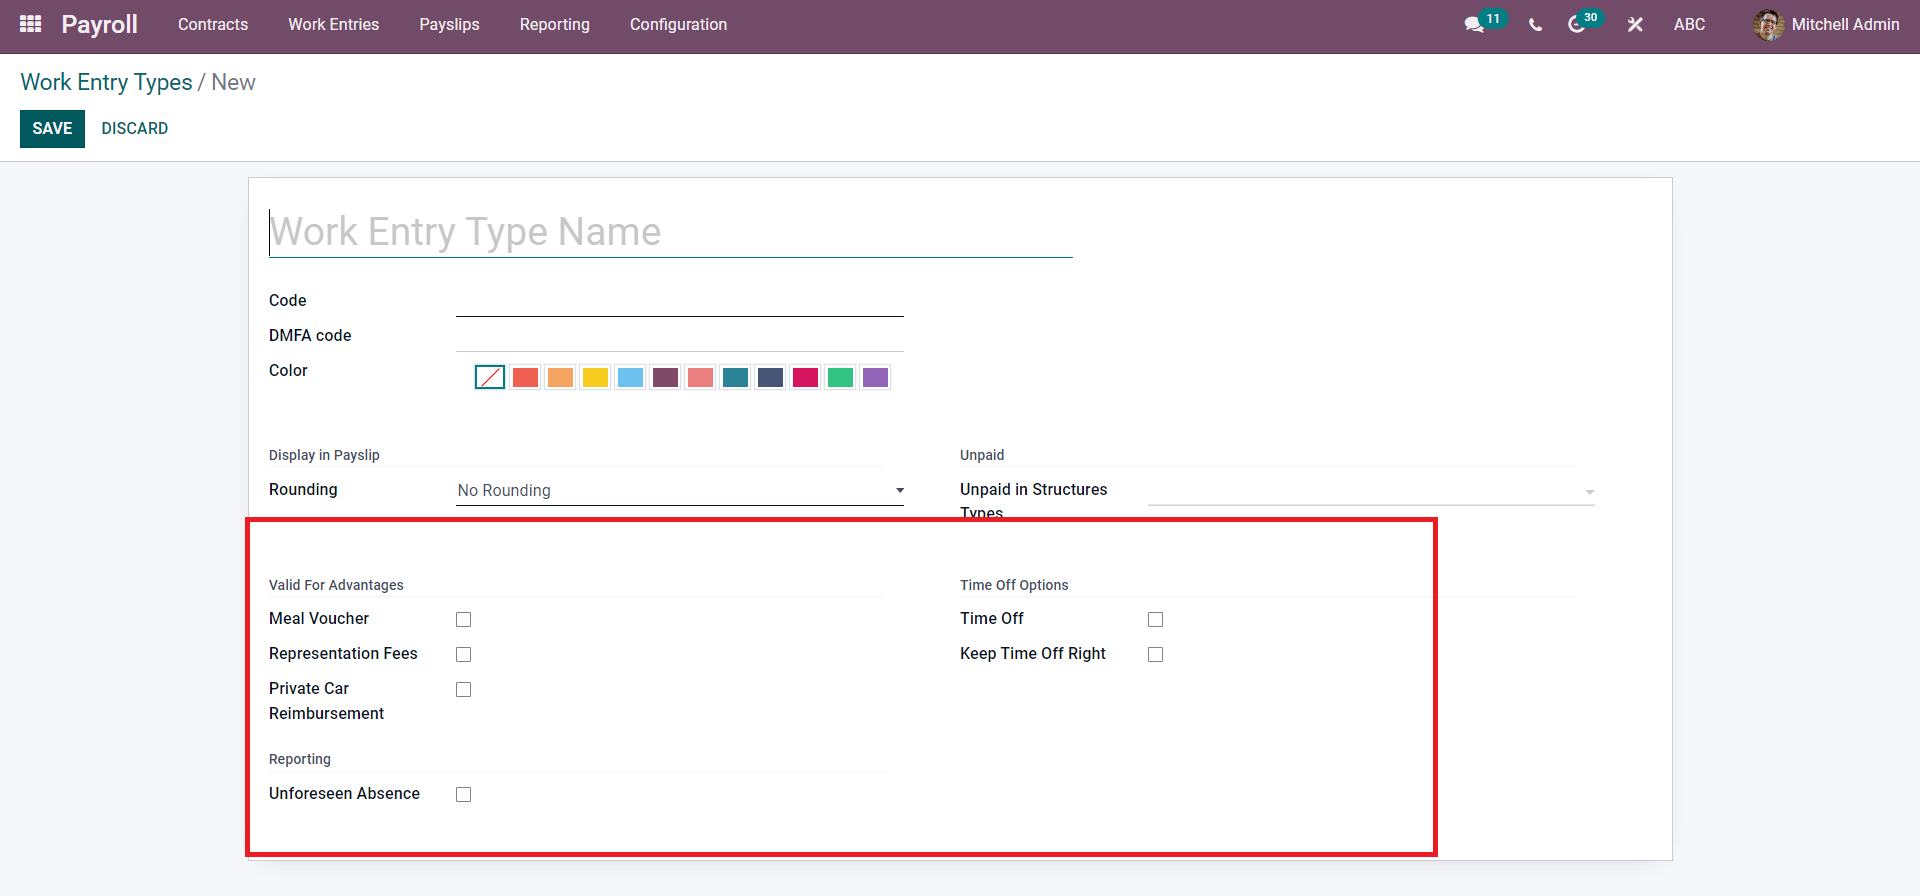
You can add all of the Advantages of the salary structure from here. Click on the checkboxes near the options to activate and include them in the structure. In the valid for advantages section, you can enable advantages on the work type. You can allow a meal voucher to allow the meal voucher. Enabling meal vouchers based on the work types is highly advantageous based on the nature of the work type.
You can choose whether to enable the registration fees as an advantage on the work type or not according to the nature of your business management style. You can even allow car reimbursement in the advantages field. In the Time off options, you can add the time off on the work type and whether to keep time off right.
The created entry type will be listed on the Entry types page for easy management and usage. This is how you create work entry types from the Payroll module of Odoo.
Work entry time
Work entry time management is an essential part of effective employee payroll management. Every organization has its own unique working time, and the employees will be working based on different time frames or working policies. The work entry time features of the payroll are very advantageous to manage various time frames. Work entry times can be easily managed and created from the payroll module of Odoo. In the configuration tab, click on work entry times from the drop-down list, and the page on work entry times will open up, as shown below.
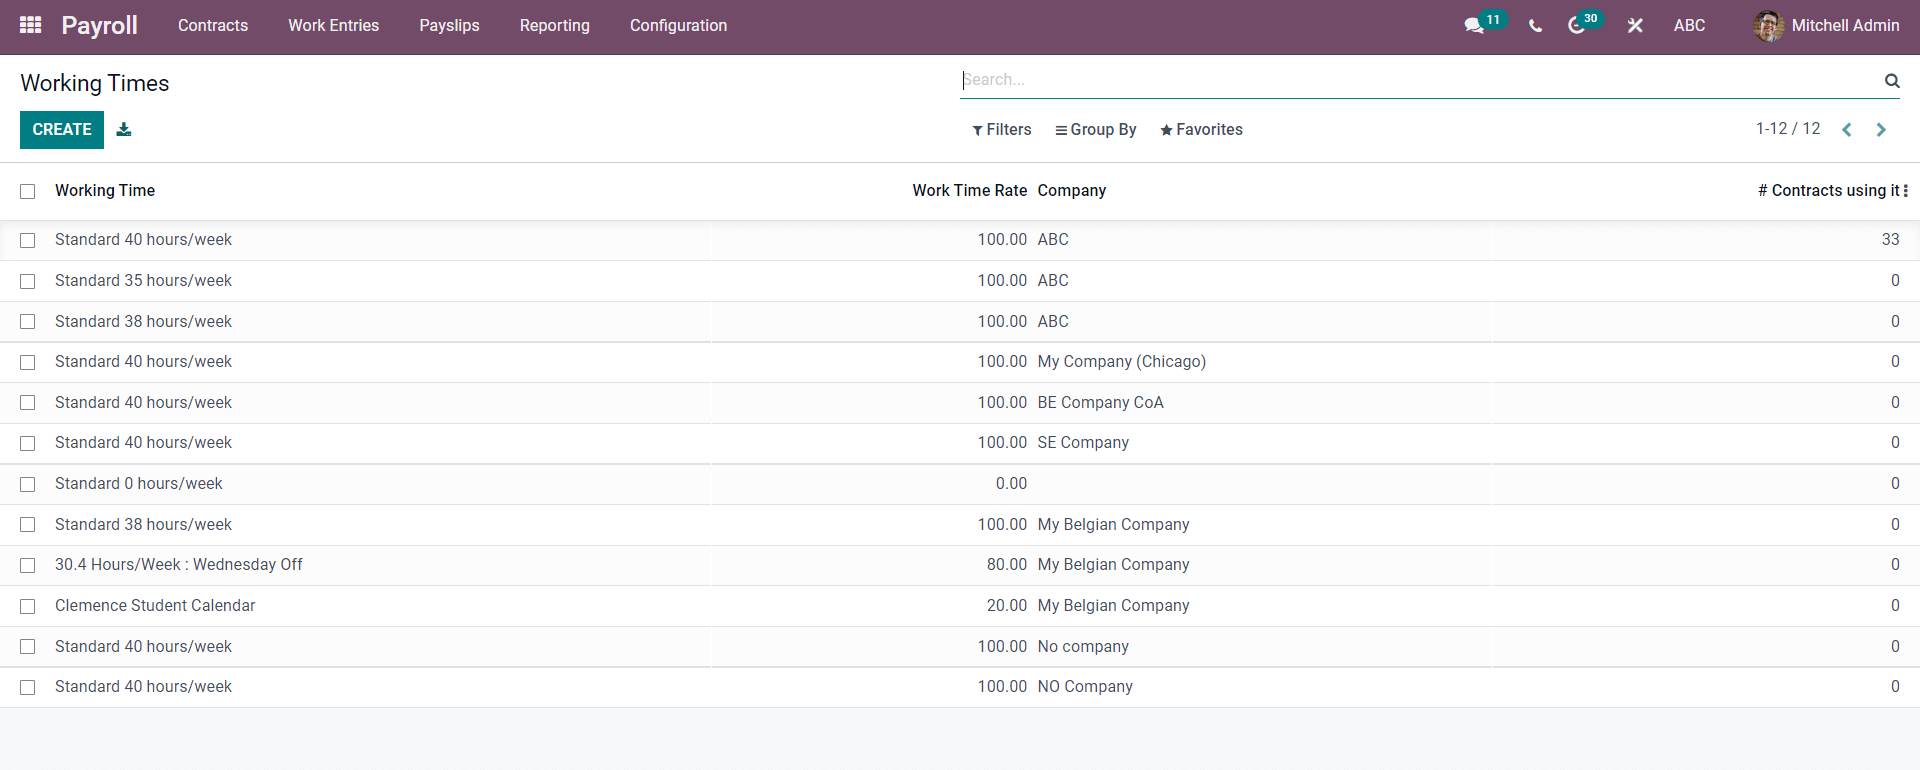
All of the work entry times will be listed on this page press on any of the already created work times to view and edit them. The page on the selected working time will open up as shown below
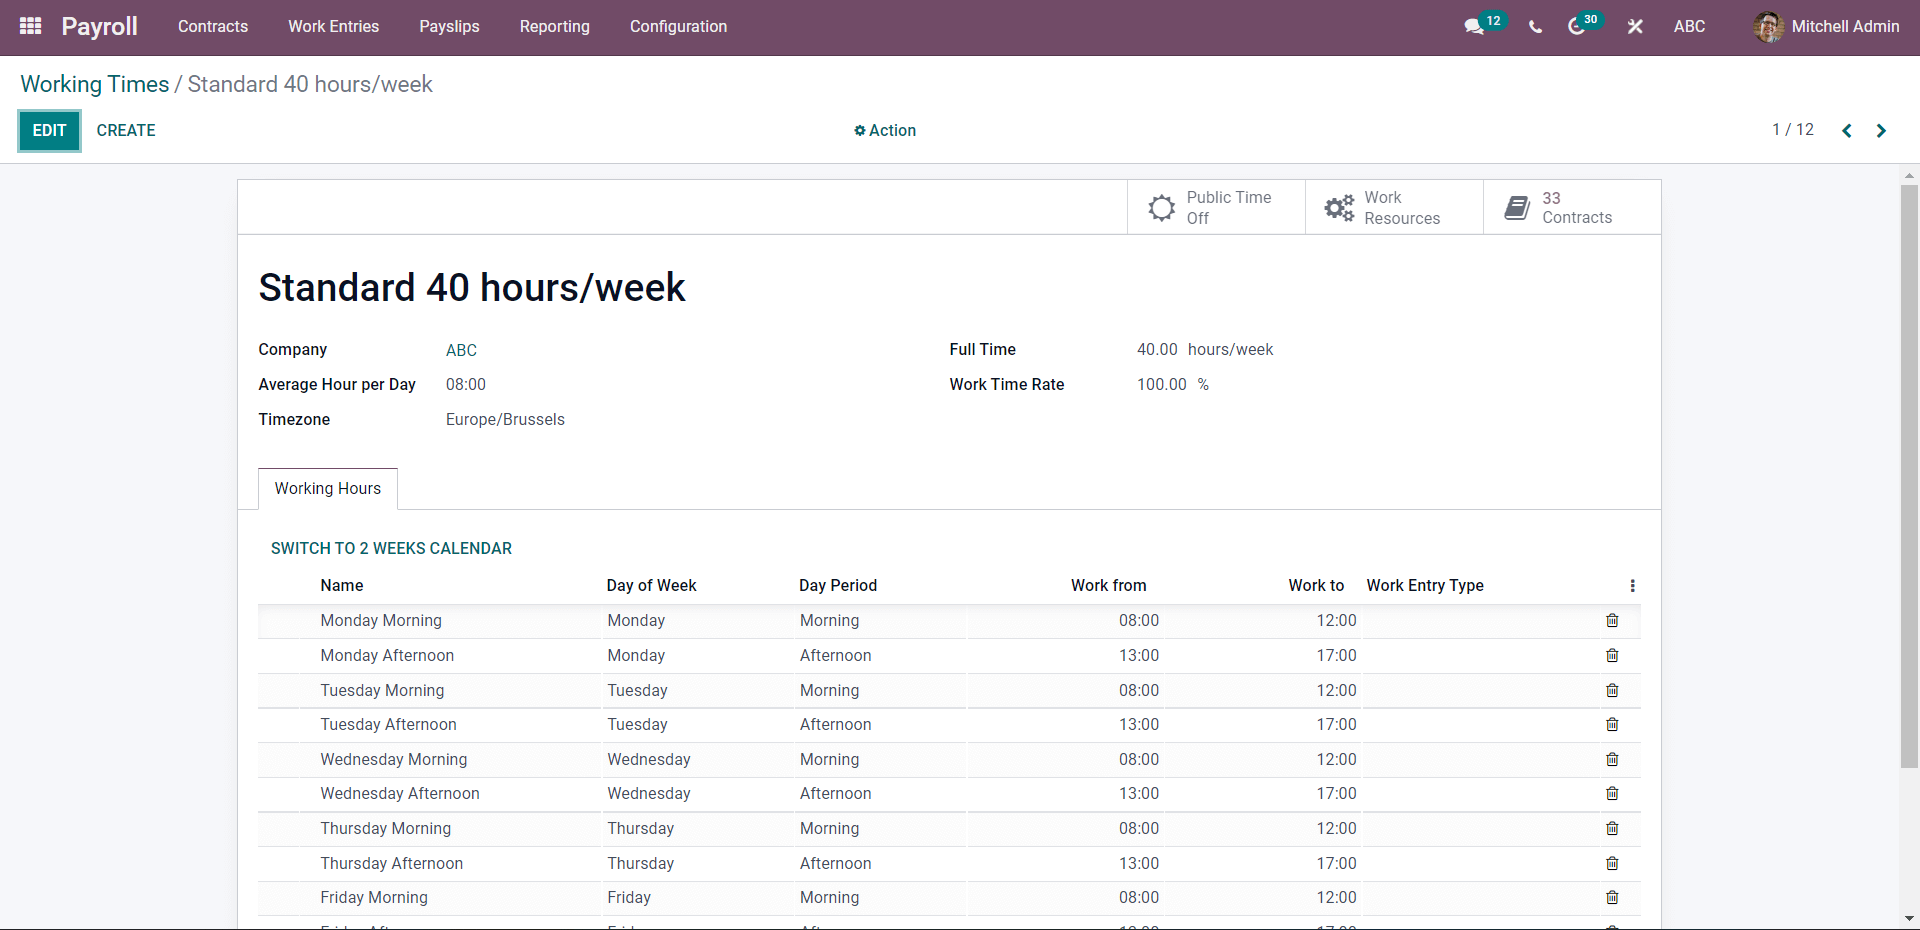
To create the new Work Time, click on the CREATE button from the Work times page and the configuration page to create the new Work time will open up as shown below.
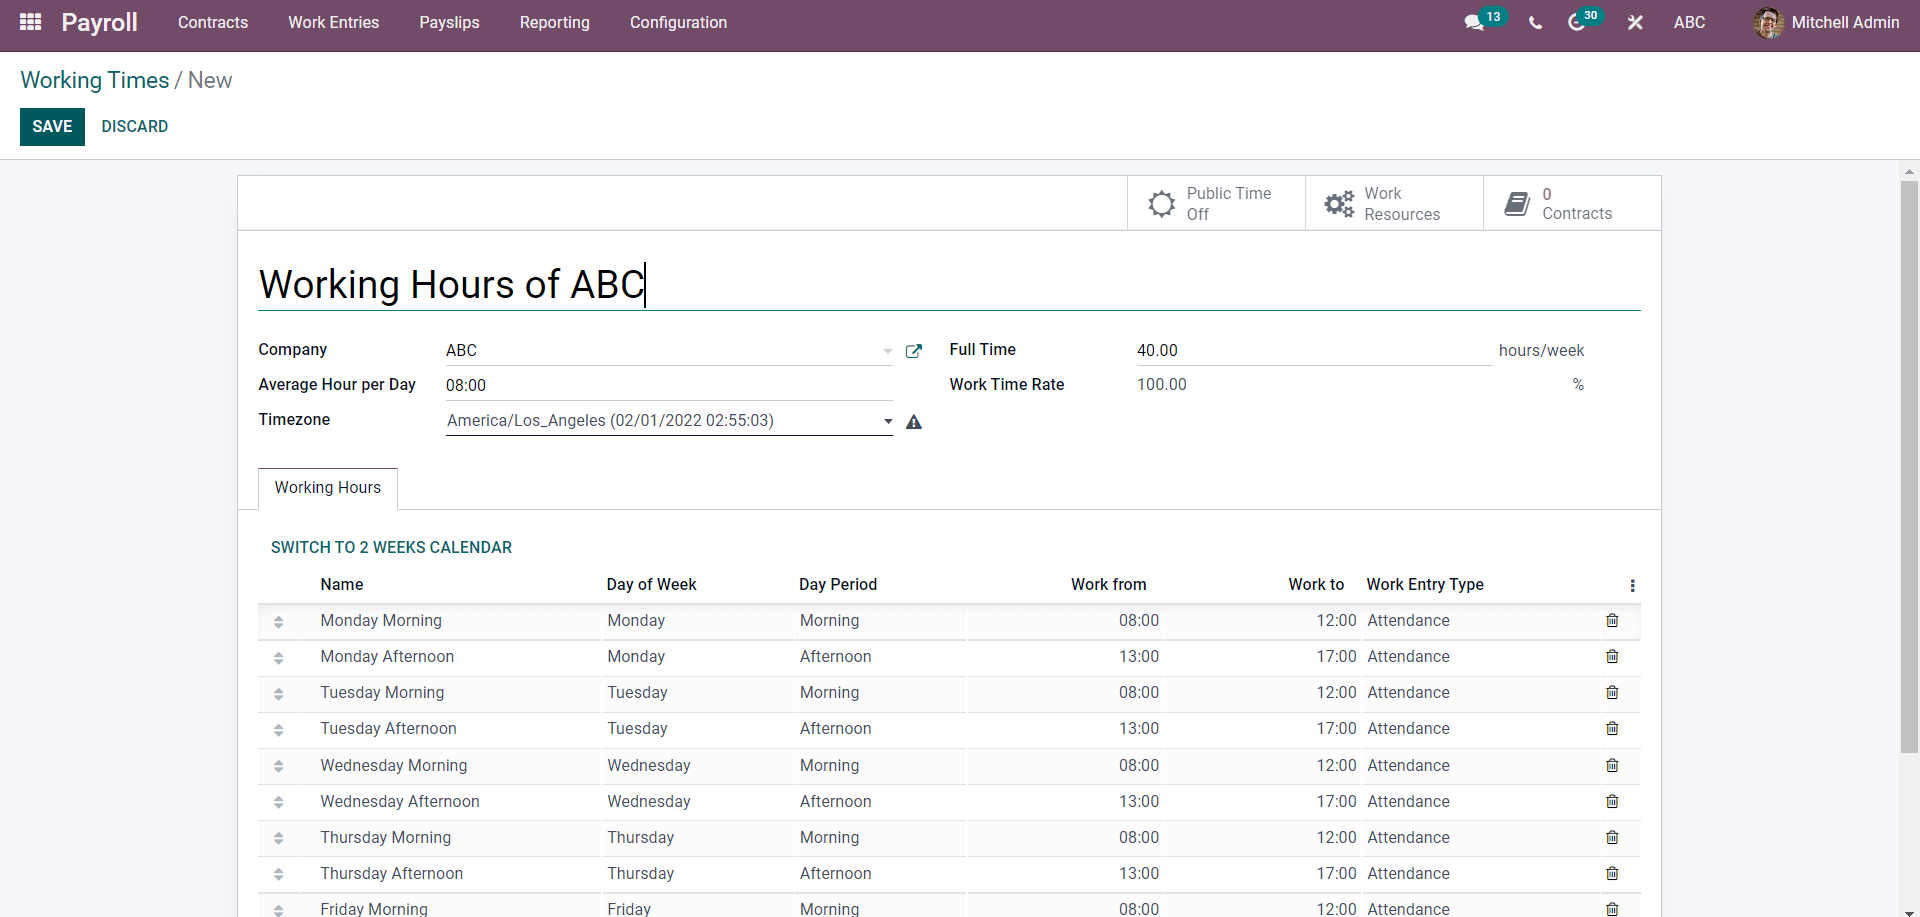
Give a name of the Work entry time. Choose the company and configure the Full time from the full-time field. A full-time week defines the working time per week. And you can also give the Work Time Rate percentage from the Work time rate field. Choose the time zone with respect to the country the business is set in. Under the Working Hours tab of the above-given image, you can find all working hours under one company called ABC.
Work entry management
The work entry tab of the Payroll module holds the work entries. Click on Workentires under the work entries tab, and the page on it will open up as shown below.
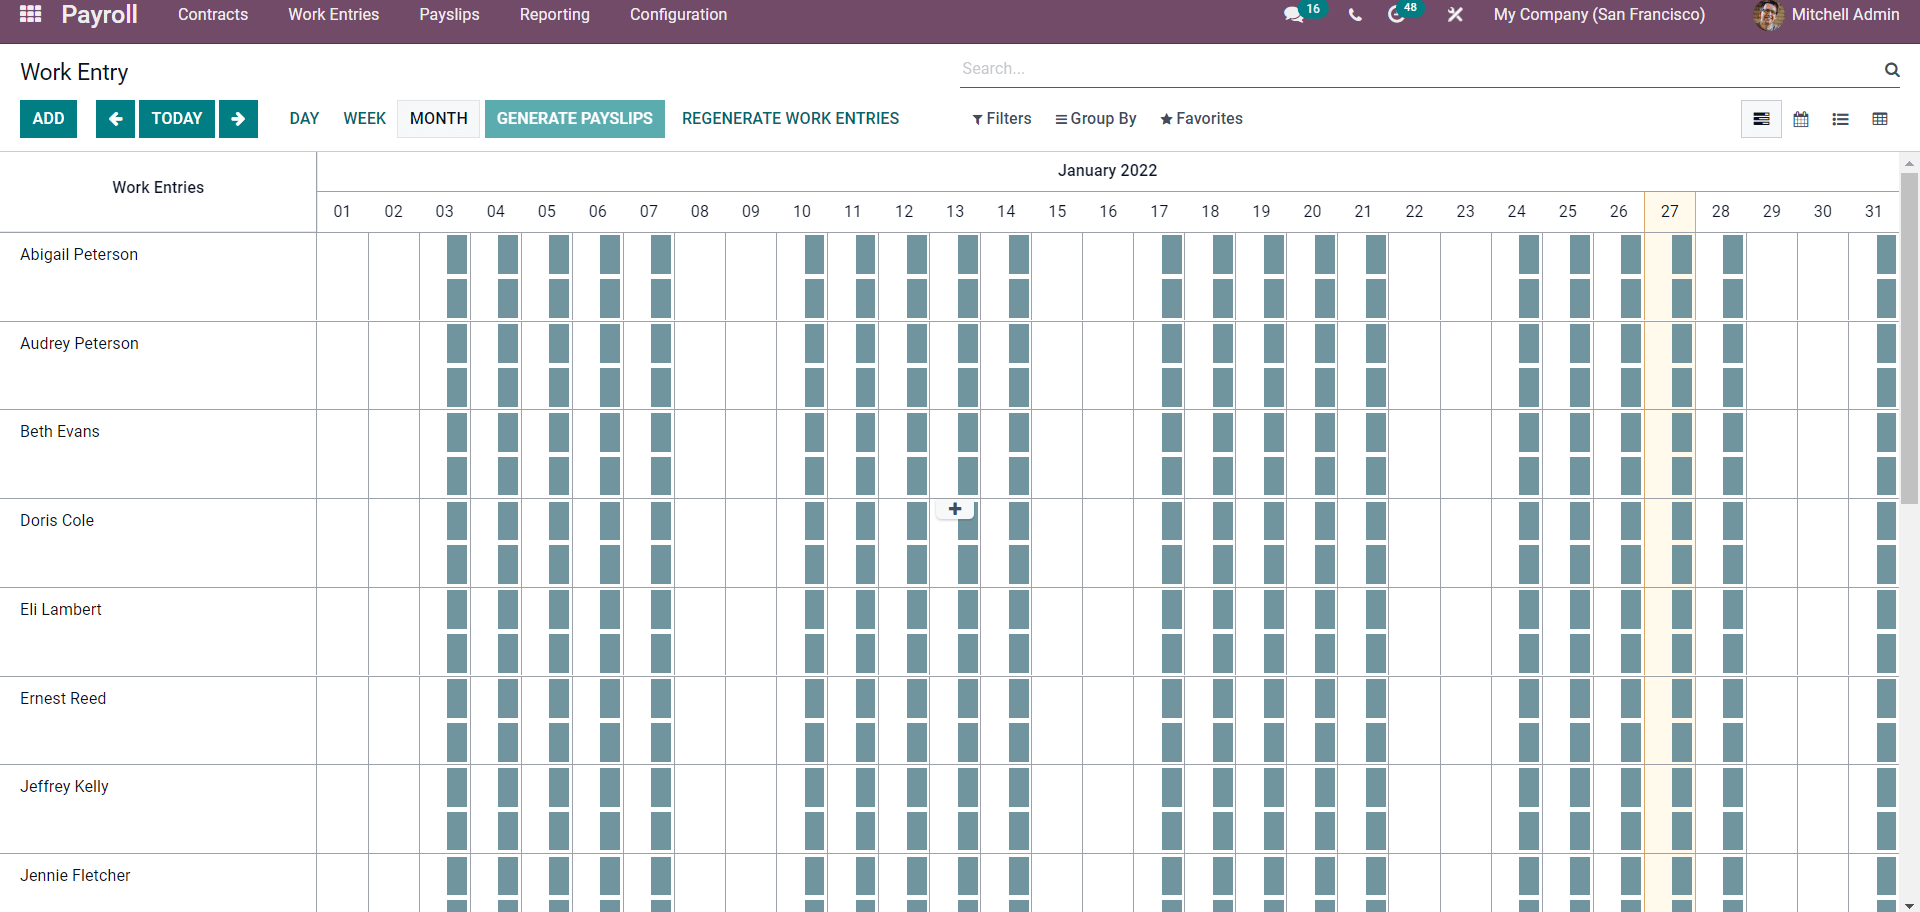
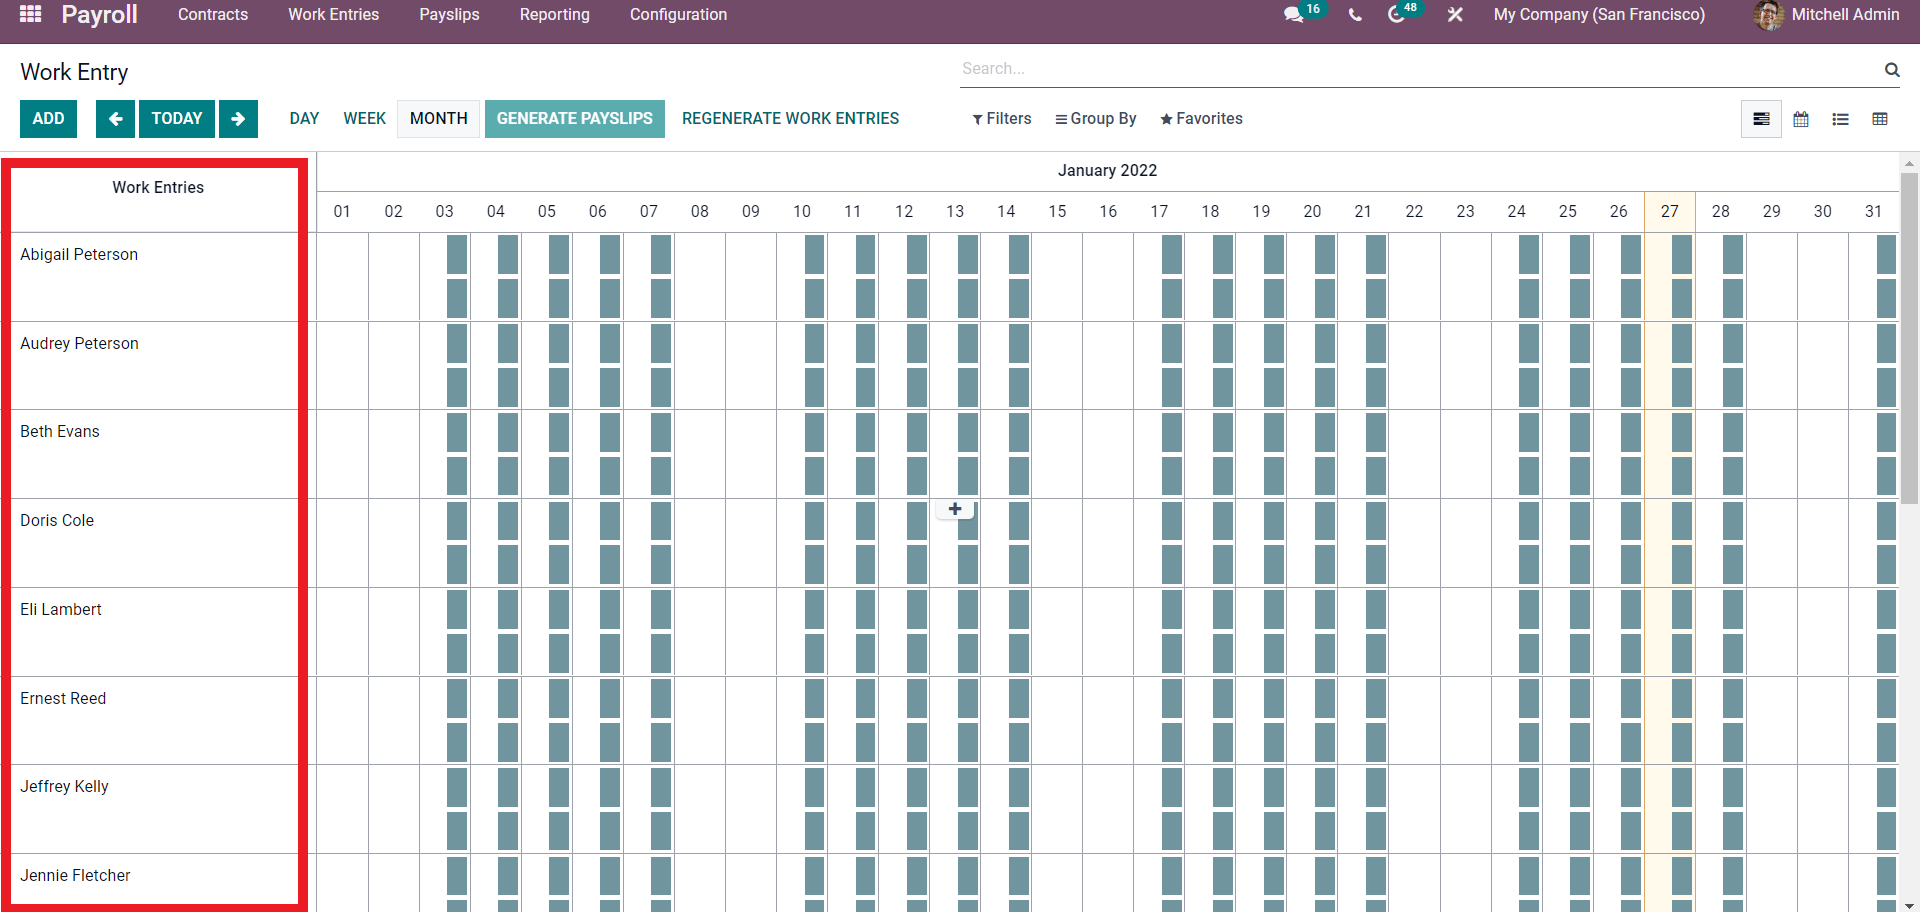
Work entries are automatically generated and are displayed on this page. All of the work entries concerning the Employees will be listed on this page, as shown above. Employee names will be listed on the page, as shown below.
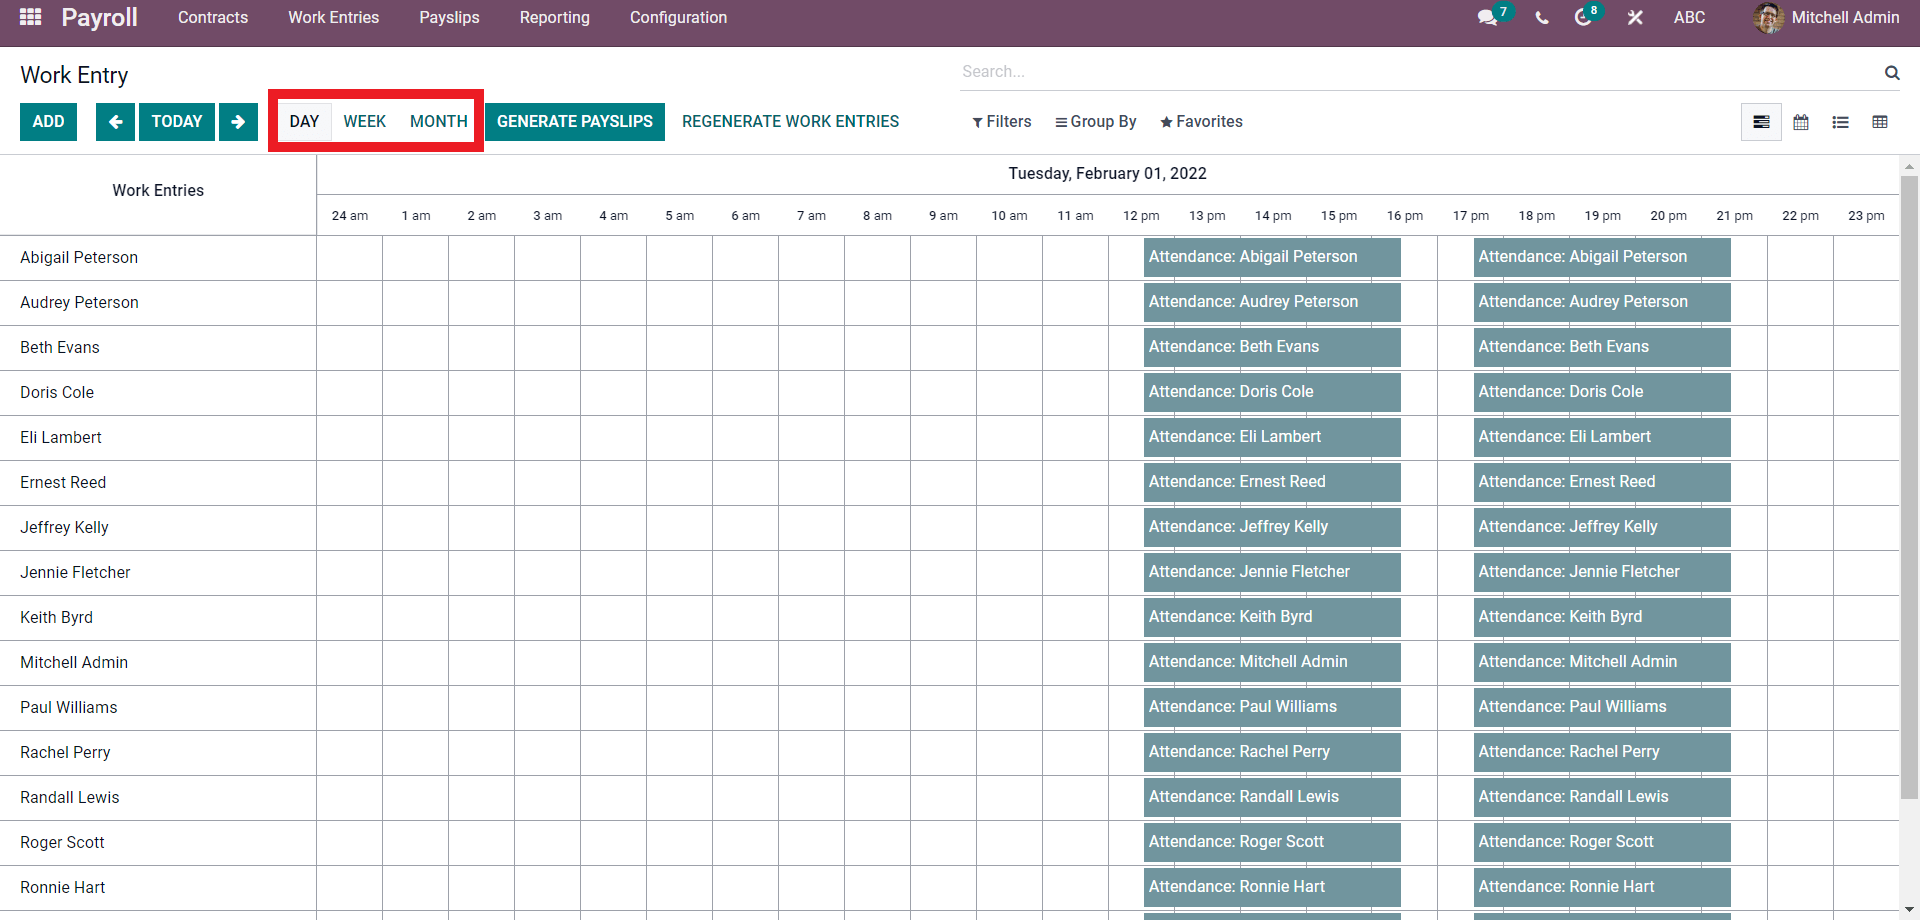
You can change the view of the data in the employee work entries based on DAY, WEEK, or MONTH by clicking on it as highlighted in the image given below.
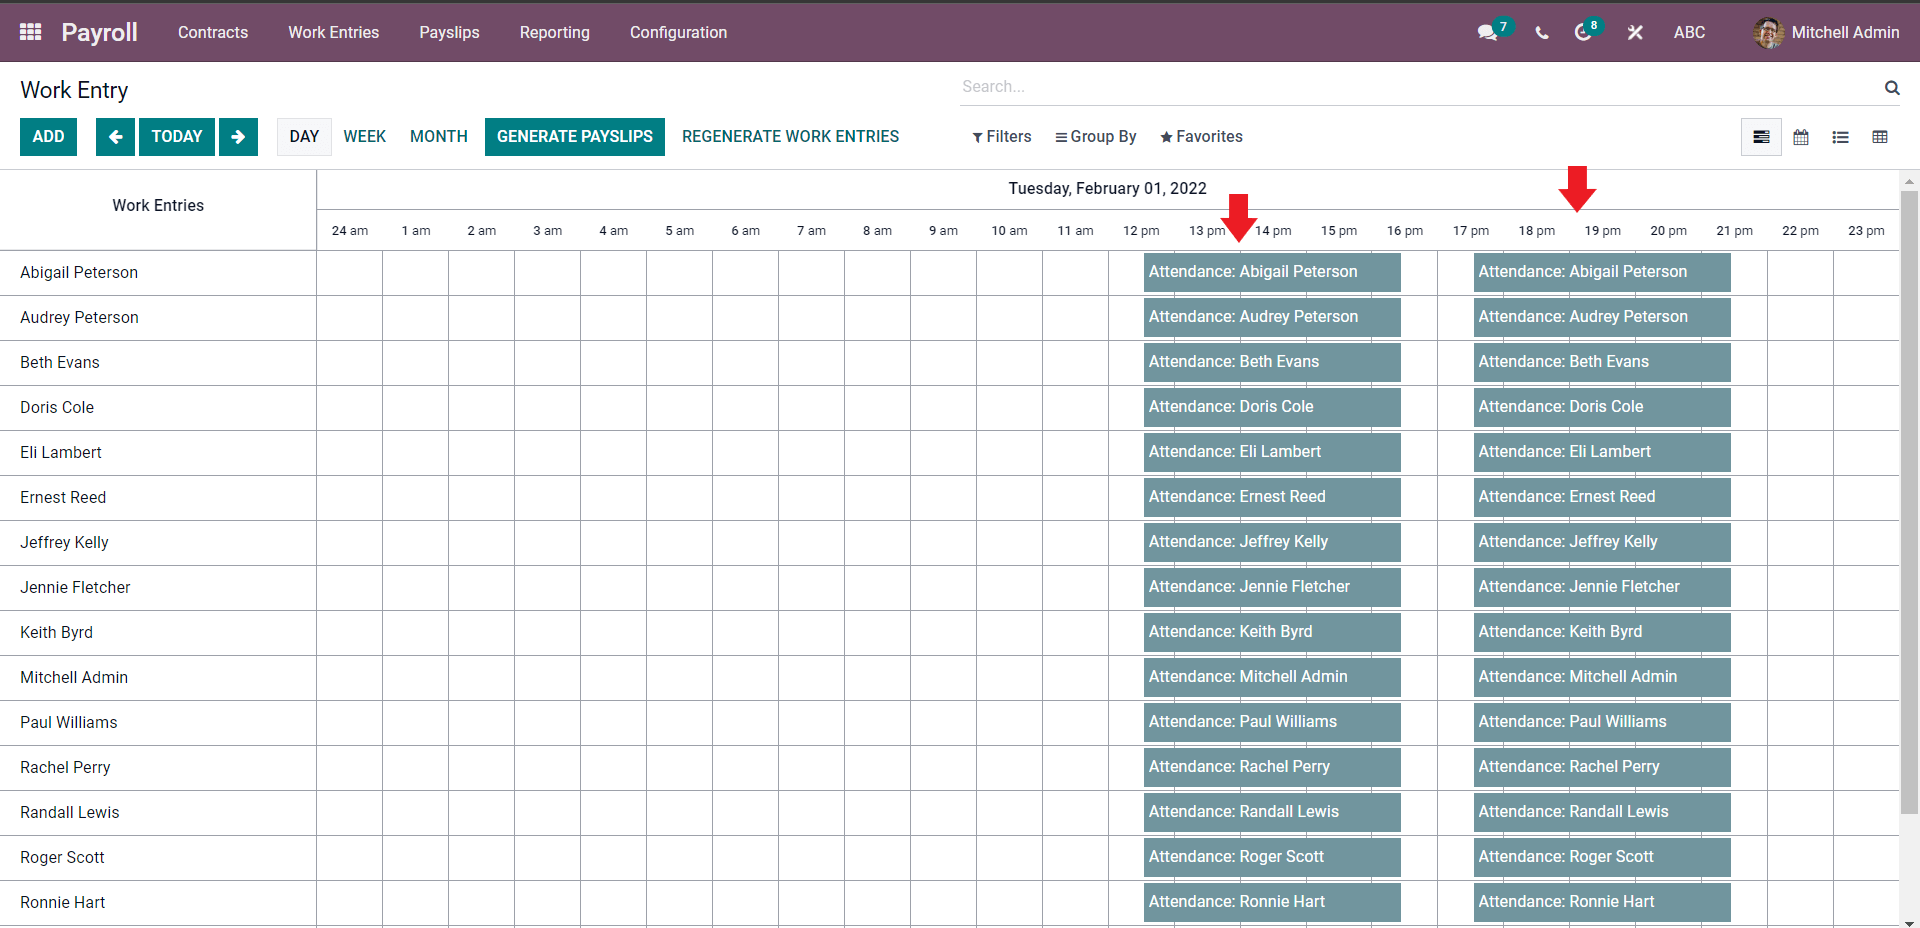
Towards the right of the page, you can find the work entry details of the employees as marked in the image shown below.
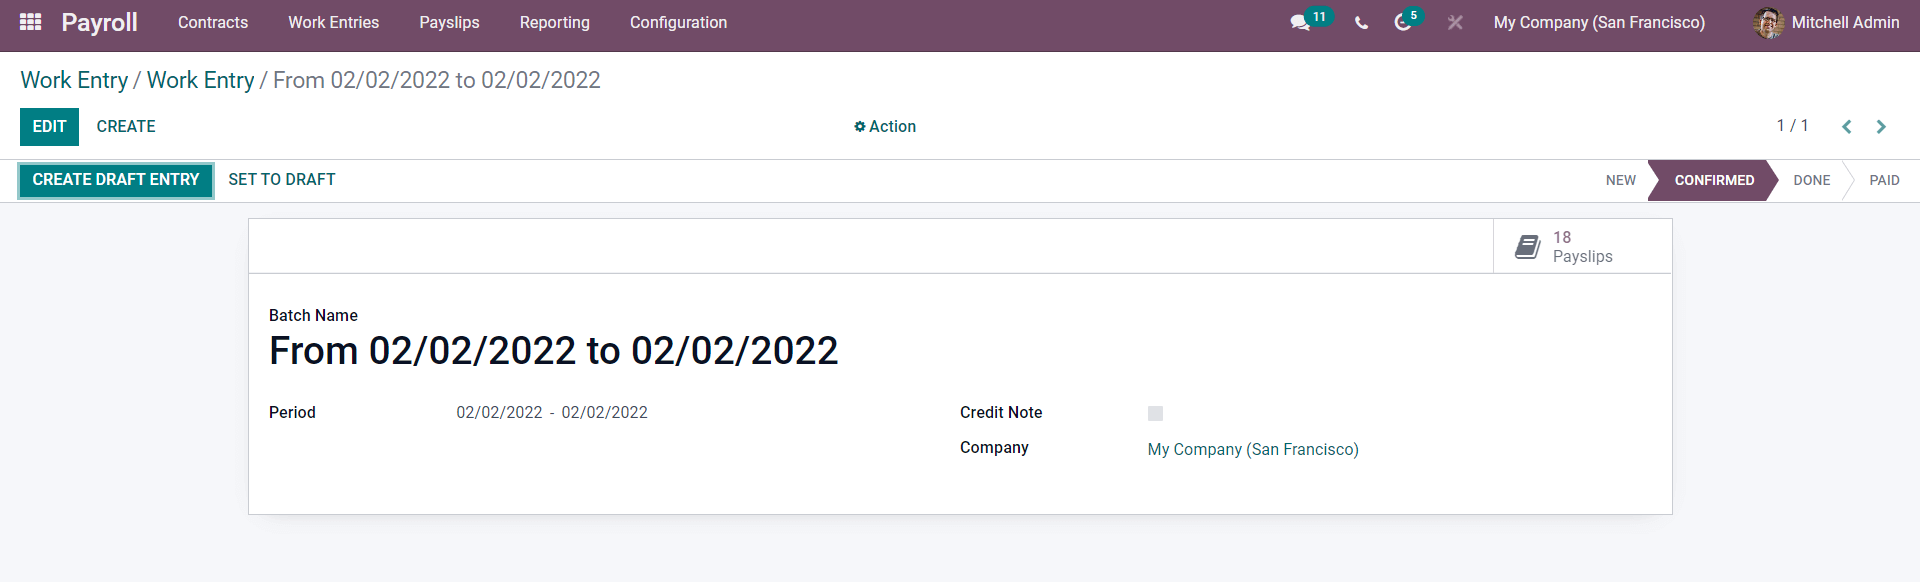
The working schedule of the employees creates work entries. You can generate the Payslips from the work entries page by clicking on the GENERATE PAYSLIP button, and the payslip tab will open up with the Batch name, as shown below.
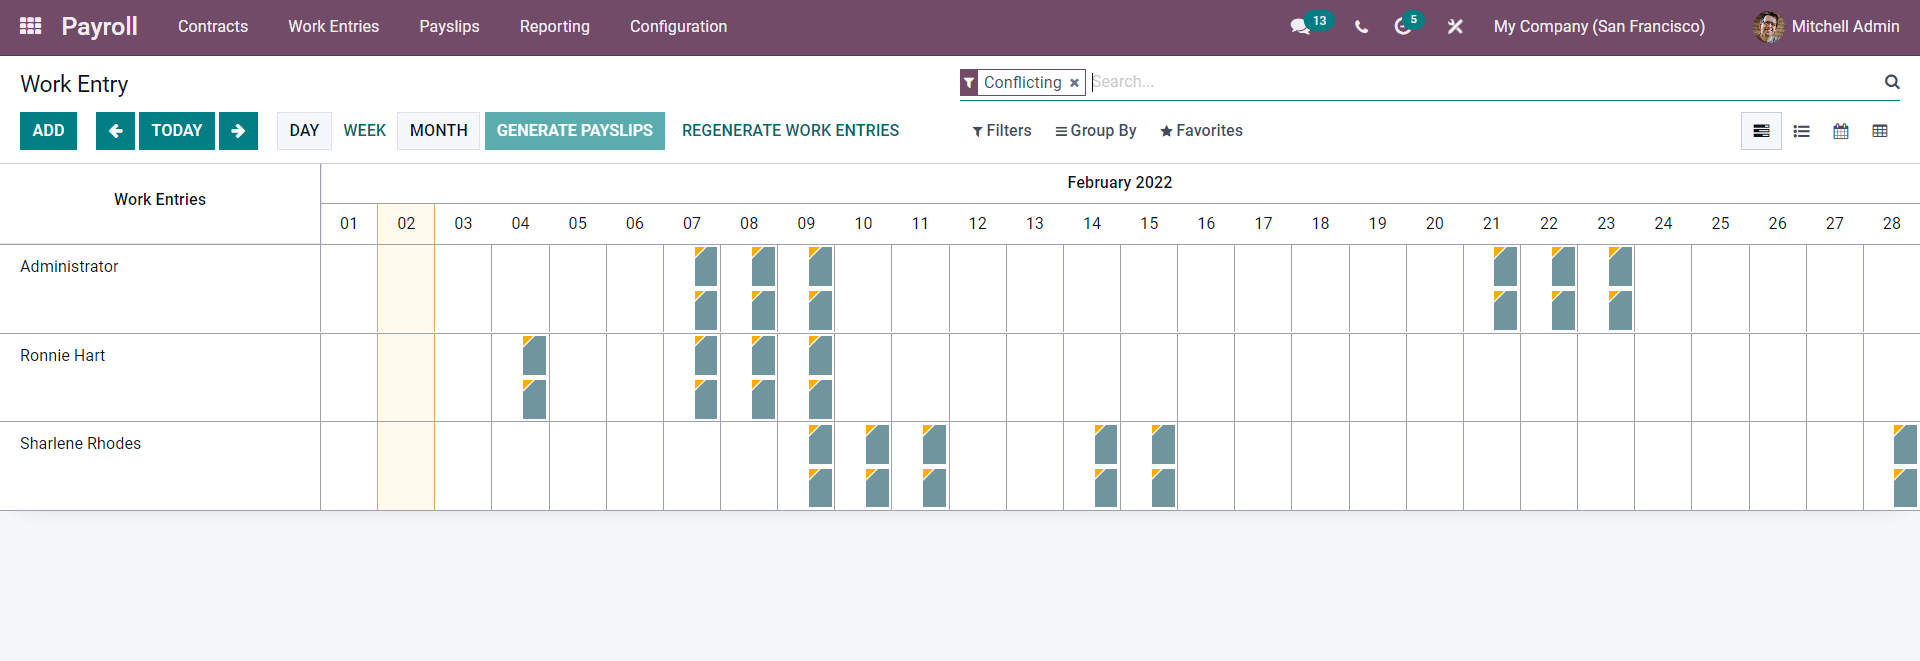
Note that it is essential to go through the work entries before generating the payslips as it allows you to develop the payslips for the generated work entries of the employees. But before generating the Payslips, you have to remove the Conflicts from the Work Entries. Conflicts are generally time-off requests on a working day. Conflicts are given in the Work entries tab. Click on Conflicts, and the page with conflicts listed down (if any) will open up as shown below.
Clear the Conflicts by clicking on the filled columns. The tab on the selected employee will open up as shown below.

Here you can note that Odoo has put up the note that you have to clear the employee's leave request. Refuse or Accept the time off by clicking on the REFUSE THE TIME OFF or ACCEPT THE TIME OFF button. This will clear the Conflict, and similarly, you can clear the conflicts. Removing the conflicts will validate the work entries. After clearing the conflicts, you can generate the payslips from the work entries page. As mentioned earlier, click on the GENERATE PAYSLIPS button, and the payslip will be generated.
Managing the work entries efficiently is essential for effective and efficient payroll management. Work entries in the payroll module are easy to use, and as it is fully integrated with the modules, you can generate the payslips from the work entries page for a smooth workflow.