The owl is a modern framework that is written in Typescript, using the ideas from React and Vue.
For a basic introduction about OWL, we can refer to the following blogs.
In this blog, we can discuss the possibilities of using default popup with the help of Odoo's newest javascript framework Odoo Web Library(OWL).
Initially, we can start with adding a button in POS screens, and then we can test the default popups.
You can follow the steps for adding a new button near the POS number pad.
Include your js (here first_button.js) file in point_of_sale.assets as follows:
<?xml version="1.0" encoding="utf-8"?>
<odoo>
   <template id="assets" inherit_id="point_of_sale.assets">
       <xpath expr="." position="inside">
           <script type="text/javascript" src="/odoo14_js/static/src/js/first_button.js"></script>
       </xpath>
   </template>
</odoo>
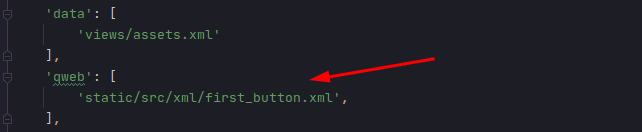
Then mention your xml file of the button in __manifest__.py using the following code:
Now we can define the view for our button using the following code:
<?xml version="1.0" encoding="UTF-8"?>
<templates id="template" xml:space="preserve">
  <t t-name="FirstButton" owl="1">
     <div class="control-button o_fiscal_position_button">
        <i class="fa fa-plus" role="img" aria-label="First Button" title="First Button"/>
           <span>First Button</span>
     </div>
  </t>
</templates>
Further, we can define and add our button to the existing screen using the following command:
odoo.define('odoo14_js.first_button', function(require) {
   'use strict';
   const PosComponent = require('point_of_sale.PosComponent');
   const ProductScreen = require('point_of_sale.ProductScreen');
   const Registries = require('point_of_sale.Registries');
   class FirstButton extends PosComponent {
       constructor() {
           super(...arguments);
       }
   }
   FirstButton.template = 'FirstButton';
   ProductScreen.addControlButton({
       component: FirstButton,
       condition: function() {
           return true;
       },
       position: ['before', 'SetPricelistButton'],
   });
   Registries.Component.add(FirstButton);
   return FirstButton;
});
The functioning and aspects of the above code can be split into 4 parts. For better understanding:
- Firstly, we have to import our required files.
- Secondly, we have to define components for the button by extending the existing one.
- Thirdly, we need to specify the required template for our component.
- Finally, we will add the button to the existing screen which can be done by following the below aspects:
* In component we have to specify the name of the component which we have already created.
* In condition we can write conditions for the visibility of the button.
* In position we can specify the position of the button.
If the configuration is done you will have a button as shown in the below image:
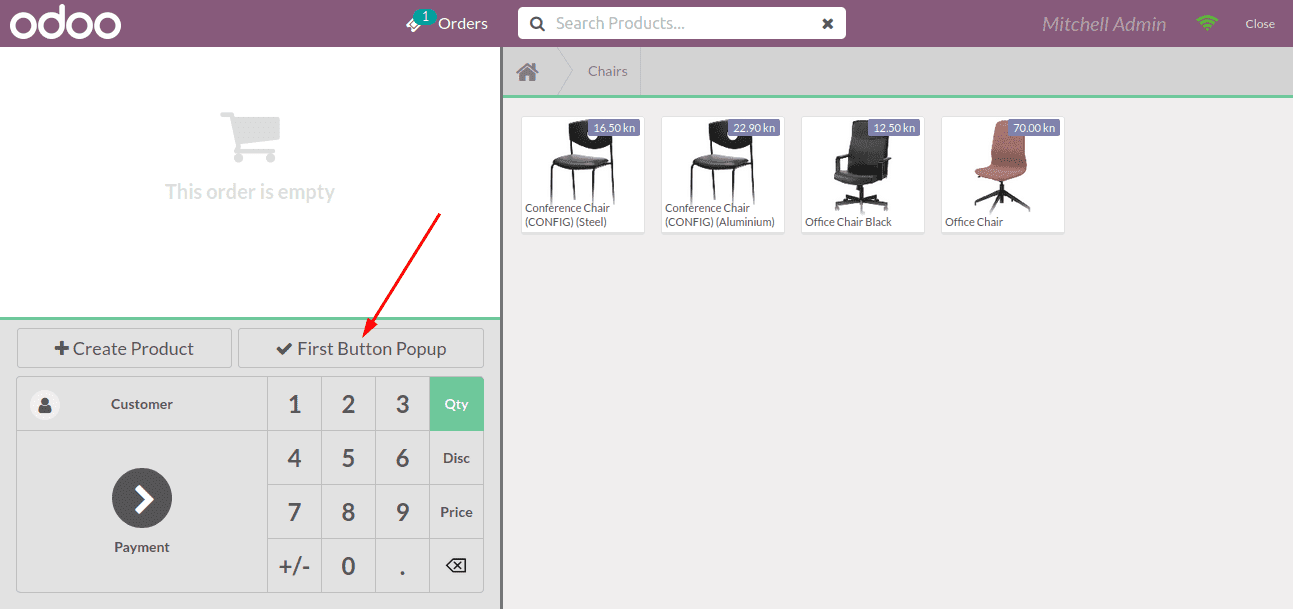
As we now have an understanding of adding a button to the POS window let's now move onto the next section where we can understand how to configure certain default popups.
1. NumberPopup
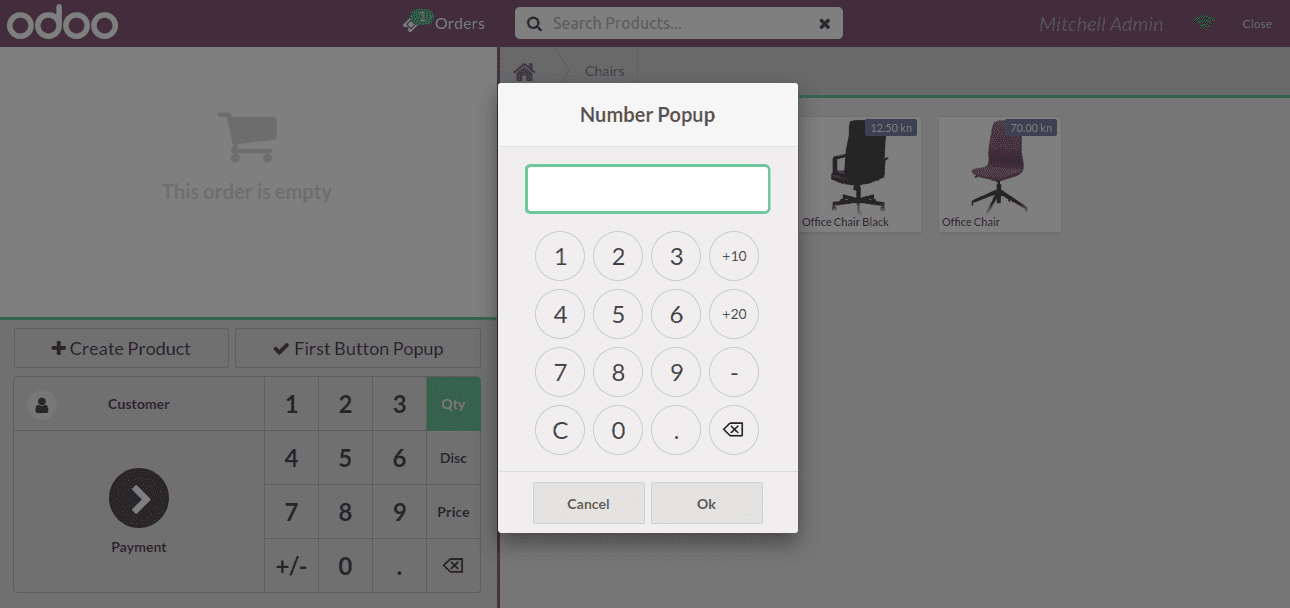
For obtaining a number popup we have to specify ‘NumberPopup’ as in the code shown below and then we will obtain the input value if confirmed as the payload (the value which is consoled in the below code). Furthermore, the code can be used in further operations.
async onClick() {
   var self = this;
   const { confirmed, payload } = await this.showPopup('NumberPopup', {
       title: this.env._t('Number Popup'),
       body: this.env._t('This click is successfully done.'),
   });
   if (confirmed) {
       console.log(payload, 'payload')
   }
}
The following image depicts the resultant number popup window.
2. ConfirmPopup
Another type of popup window tool available for the POS module of Odoo allows you to create a confirm popup for the required aspects of operations.
async onClick() {
   var self = this;
   const { confirmed, payload } = await this.showPopup('ConfirmPopup', {
       title: this.env._t('Confirm Popup'),
       body: this.env._t('This click is successfully done.'),
   });
   if (confirmed) {
       console.log(payload, 'payload')
   }
}
The resulting image of the confirm popup is depicted below and the code used for it is being described above.

3. EditListPopup
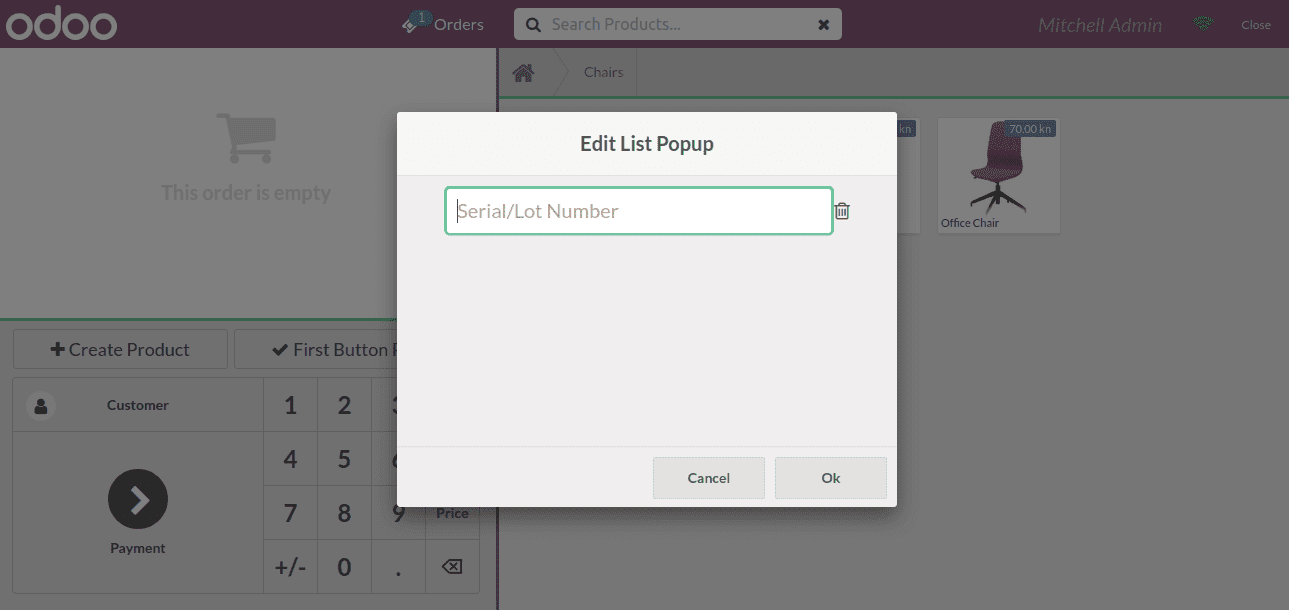
The Editlist popup tool is an exceptionally useful tool in the serial and lot number operation of the products in your company. You can use the following code to obtain the edit list popup window in the POS module.
async onClick() {
   var self = this;
   const { confirmed, payload } = await this.showPopup('EditListPopup', {
       title: this.env._t('Edit List Popup'),
       body: this.env._t('This click is successfully done.'),
   });
   if (confirmed) {
       console.log(payload, 'payload')
   }
}
The following image depicts the resultant popup window for the code which is being described above.
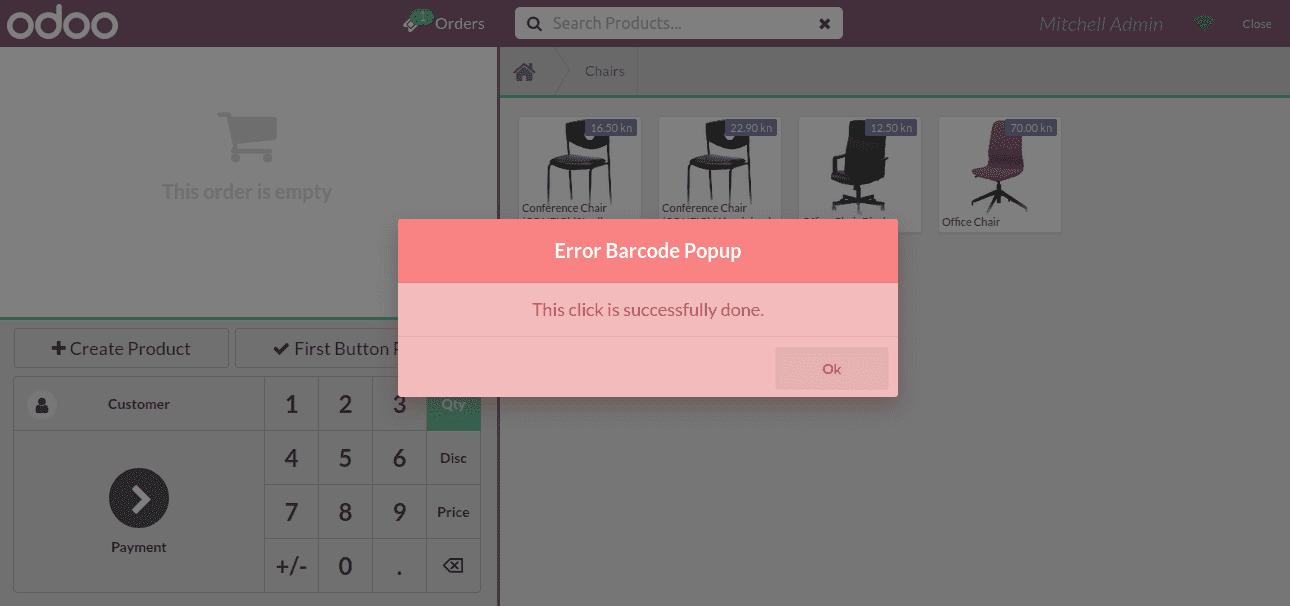
4. ErrorBarcodePopup
The ErrorBarcode Popup can be used to depict the error information if the barcode used is incorrect in a POS operation.
async onClick() {
   var self = this;
   const { confirmed, payload } = await this.showPopup('ErrorBarcodePopup', {
       title: this.env._t('Error Barcode Popup'),
       body: this.env._t('This click is successfully done.'),
   });
   if (confirmed) {
       console.log(payload, 'payload')
   }
}
The following image depicts the barcode error message in a POS if using the ErrorBarcodePopup operation.
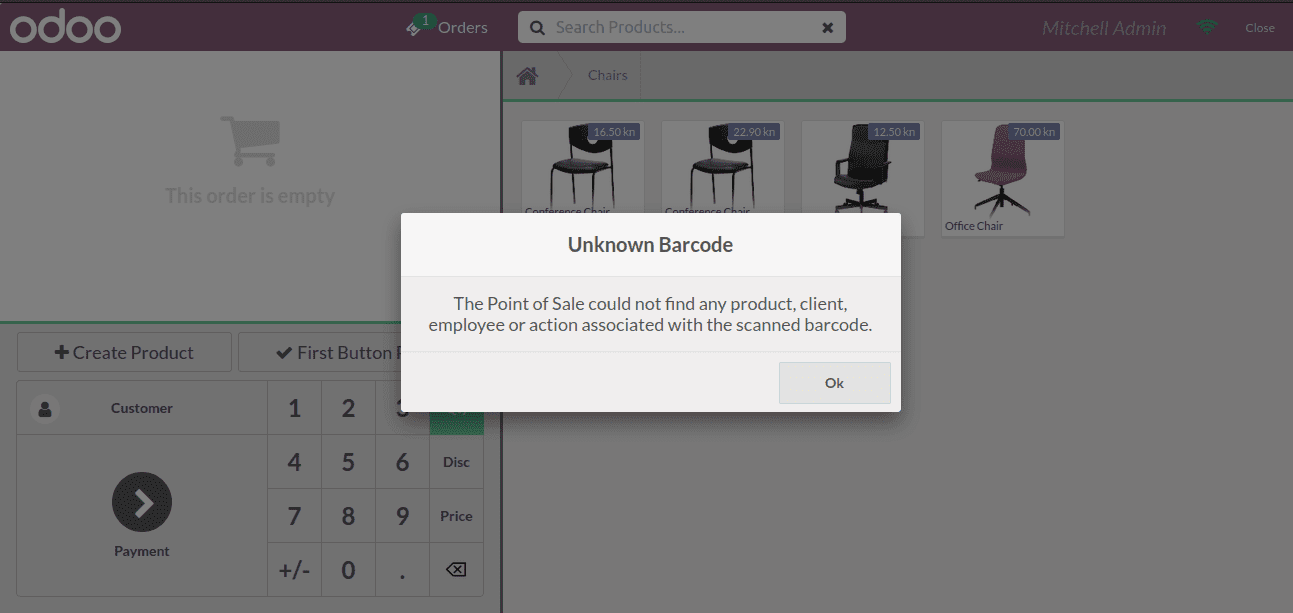
5. ErrorPopup
As the ErrorBarcodePopup is for the incorrect barcode error display, the ErrorPopup is used for the depiction of the message if the barcode used has an error.
async onClick() {
   var self = this;
   const { confirmed, payload } = await this.showPopup('ErrorPopup', {
       title: this.env._t('Error Popup'),
       body: this.env._t('This click is successfully done.'),
   });
   if (confirmed) {
       console.log(payload, 'payload')
   }
}
The following image depicts the error barcode pop up window.
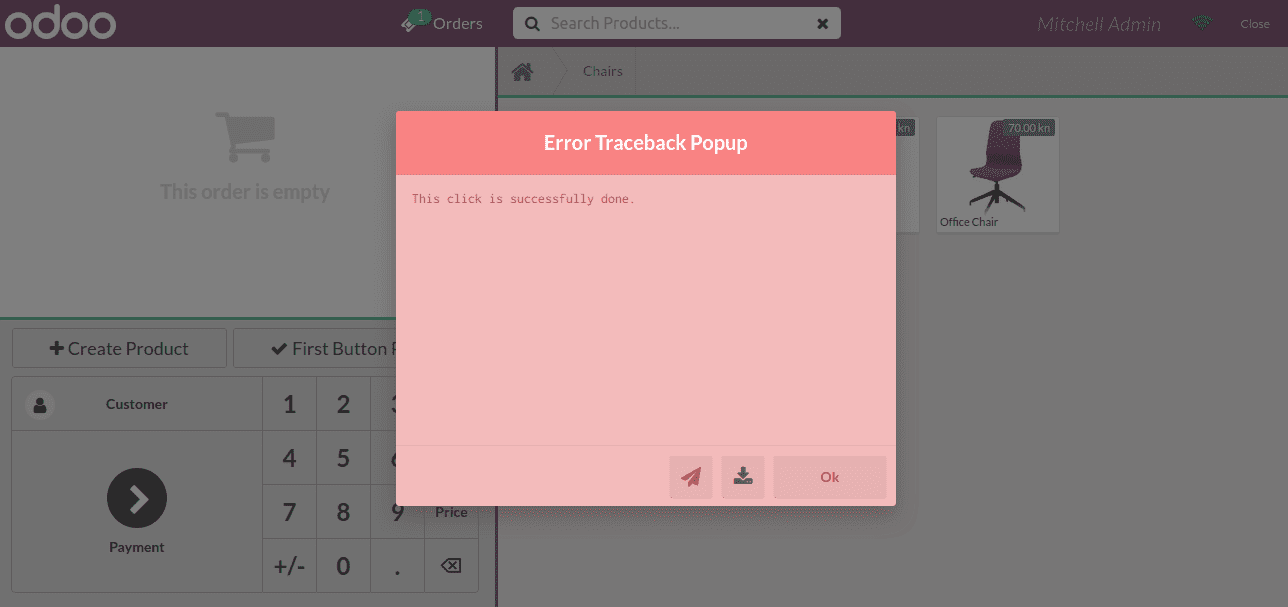
6. ErrorTracebackPopup
The ErrorTracebackPopup is a useful tool in the Odoo POS module that will help you to define the traceback error in the operations.
async onClick() {
   var self = this;
   const { confirmed, payload } = await this.showPopup('ErrorTracebackPopup', {
       title: this.env._t('Error Traceback Popup'),
       body: this.env._t('This click is successfully done.'),
   });
   if (confirmed) {
       console.log(payload, 'payload')
   }
}
The following image depicts the popup window of the ErrorTracebackPopup.
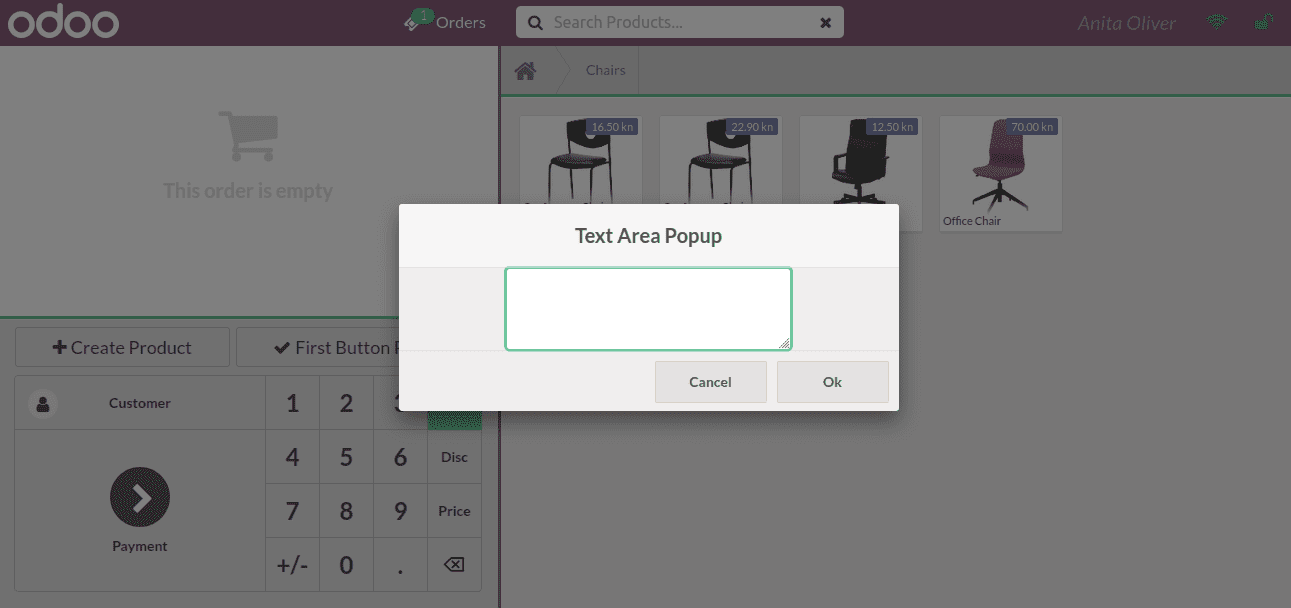
7. TextAreaPopup
If you want to provide a dignified text in the operation of the POS session you can make use of the TextAreaPopup tool using the following command.
async onClick() {
   var self = this;
   const { confirmed, payload } = await this.showPopup('TextAreaPopup', {
       title: this.env._t('Text Area Popup'),
       body: this.env._t('This click is successfully done.'),
   });
   if (confirmed) {
       console.log(payload, 'payload')
   }
}
The following image depicts the TextAreaPopup window.
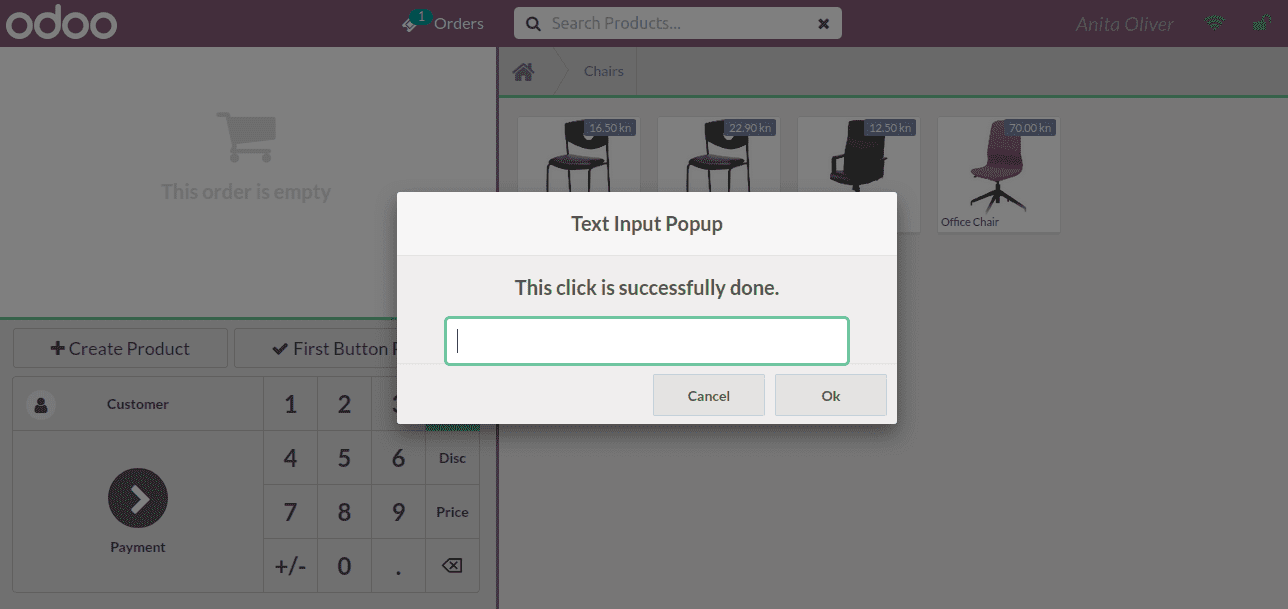
8. TextInputPopup
Inputting a text in the POS module in a dignified session is easy with the help of the TextInputPopup.
async onClick() {
   var self = this;
   const { confirmed, payload } = await this.showPopup('TextInputPopup', {
       title: this.env._t('Text Area Popup'),
       body: this.env._t('This click is successfully done.'),
   });
   if (confirmed) {
       console.log(payload, 'payload')
   }
}
The following image depicts the TextInputPopup window.
These are some of the default pop up window tools available in the Odoo POS module.