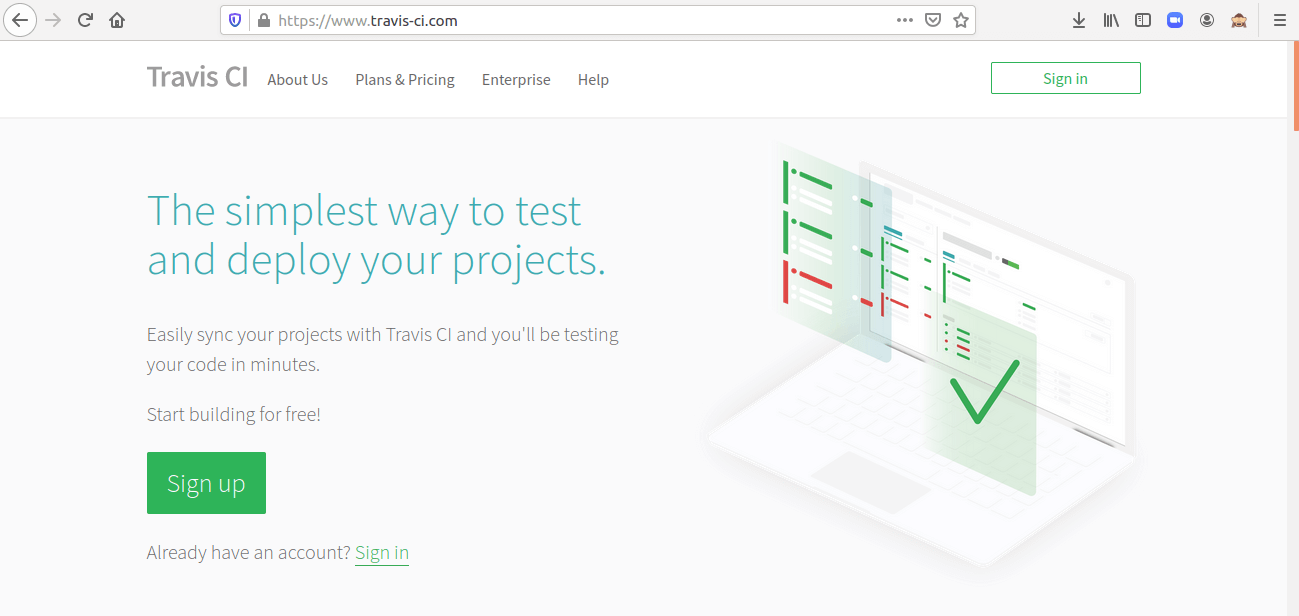
In this blog, we are going to discuss how to configure Travis CI on your Github project. Travis CI is a continuous integration tool that can be integrated with your project to automatically test and deploy on each change you made.
Continuous Integration
Continuous Integration is a practice of multiple contributors continuously integrating small code changes back into the codebase. After each change is made a series of tests will be run automatically to validate the code. Rather than pushing large code changes at the end of a development cycle, it aims to push small code changes frequently. It makes the development cycle productive and helps to constantly test and build.
When we configured the Travis CI on our Github project, then it brings in certain automation to our project. What it really does is, whenever a change happens, it grabs the code, builds it and runs unit tests, and provides immediate feedback on the success of the change. If any of the tasks fails, then the build will be considered as failed. If all tasks successfully, the build will be considered as successful and Travis CI can deploy your code to a web server or application host. Lest now move on to understanding how to configure Travis CI on Github
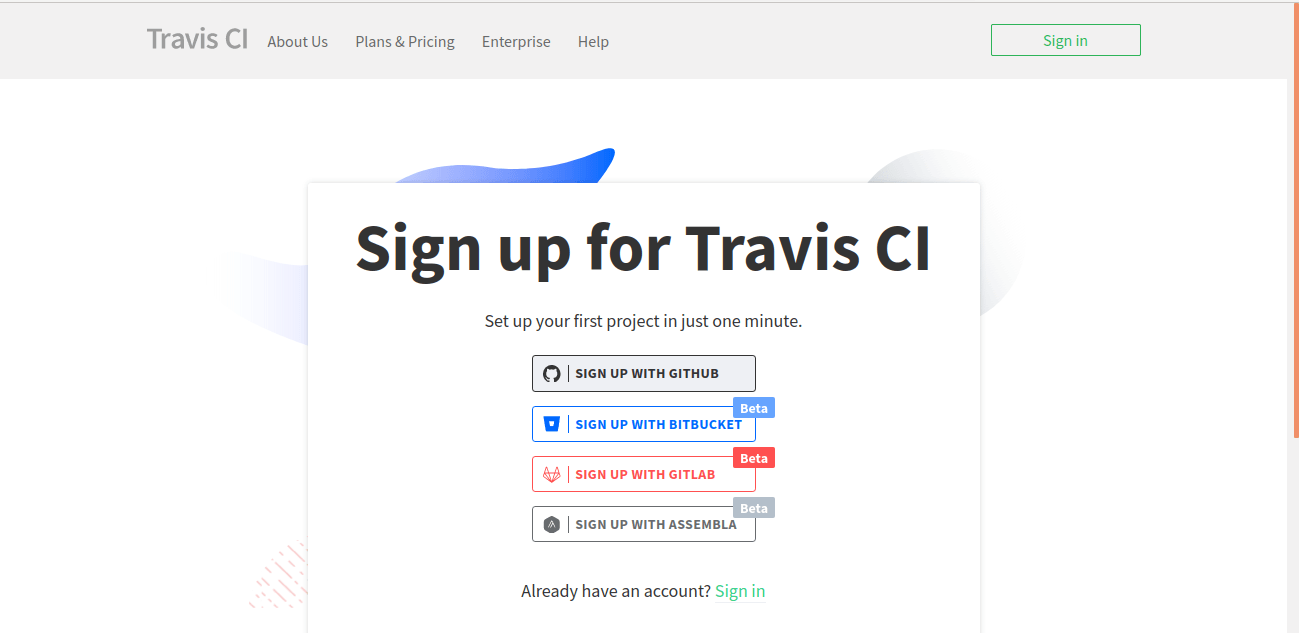
Steps to Configure Travis CI on Github:
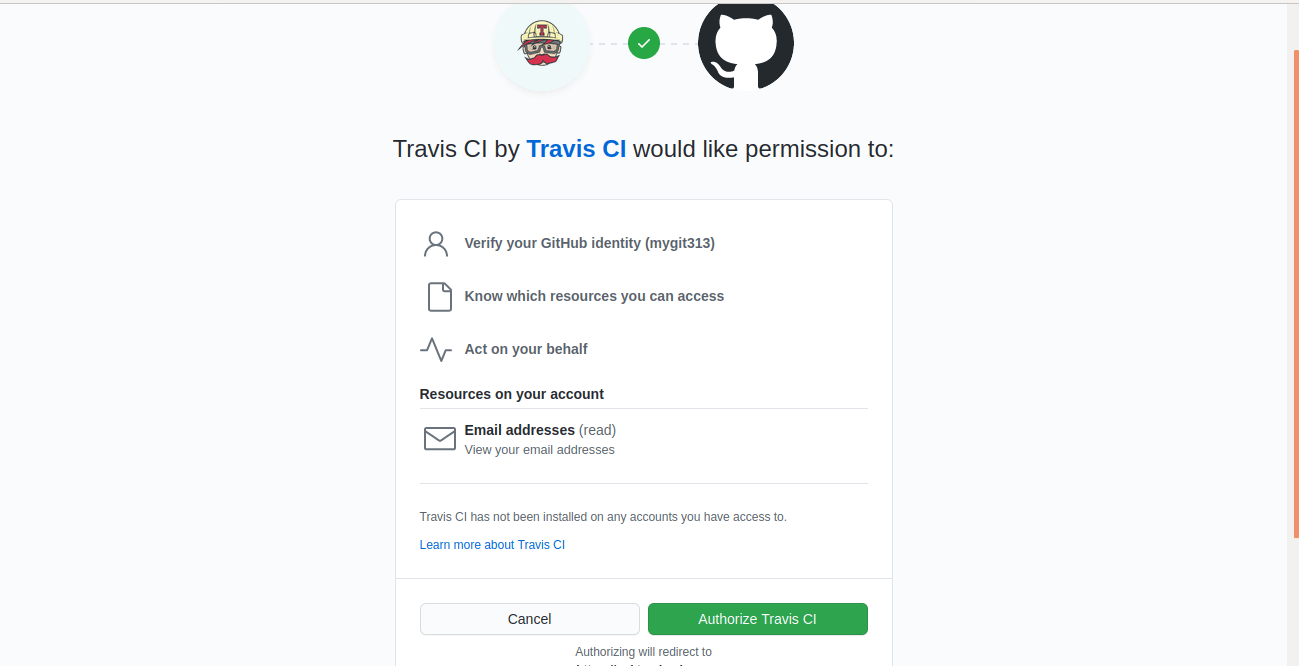
2. Accept the Authorization of Travis CI.
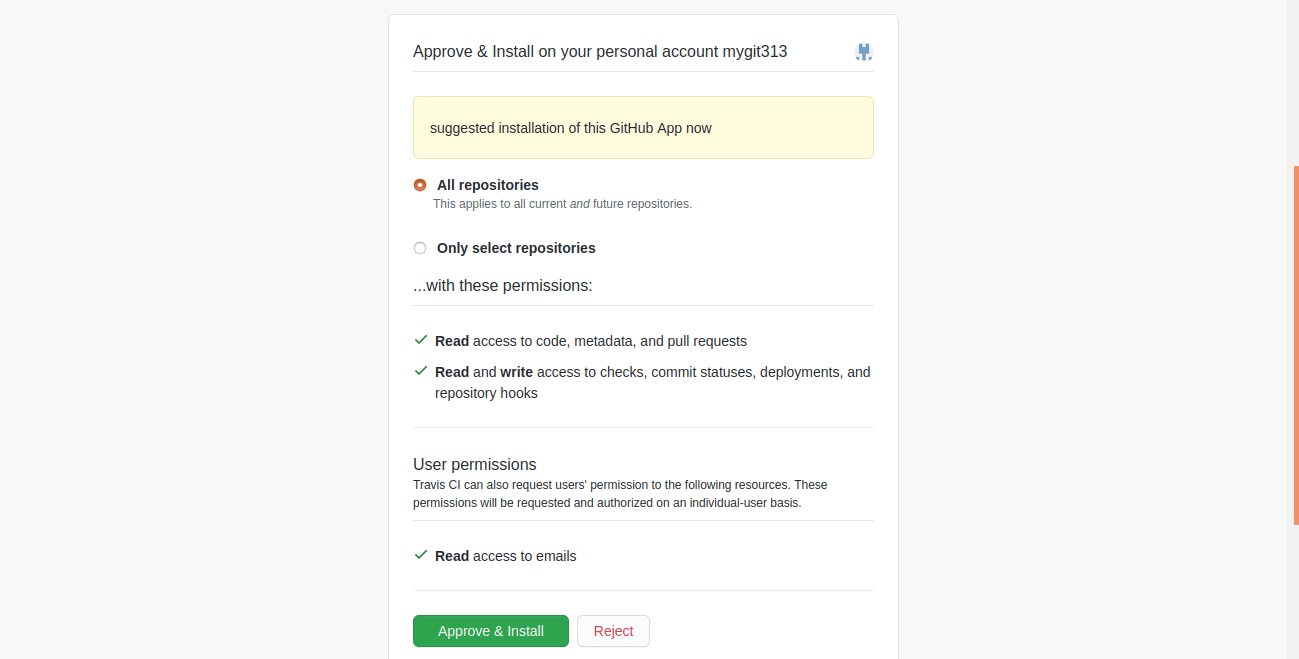
3. Enable Travis CI on your GitHub Repositories, You can enable it on selected repos or enable it on all repositories.
4. Add .travis.yml file to your GitHub repository to tell Travis CI what to do.
After you have added the .travis.yml file to your repository, For every push Travis will perform a series of tasks specified in the yml file to build and test your code.
Travis Configuration File .travis.yml:
It’s a YAML format text file and a series of tasks for testing and building the project will be specified in this file. This file instructs Travis on what to do in each phase.
It arranged in different phases, and the main Phases are:
- install: Any dependencies required will be installed in this phase
- script: runs the build script, it contains the commands to run tests
- before_install: Action needs to be done before the installs phase
- before_script: Action needs to be done before the script phase specified in this section
- after_script: After the script phase
- after_success: Action needs to be done when the build succeeds will specify in this section eg: Building documentation
- after_failure: Action needs to be done when the build fails, eg: Uploading Log files
Configuration files also contain information about the programming language and its version.
Example .travis.yml file.
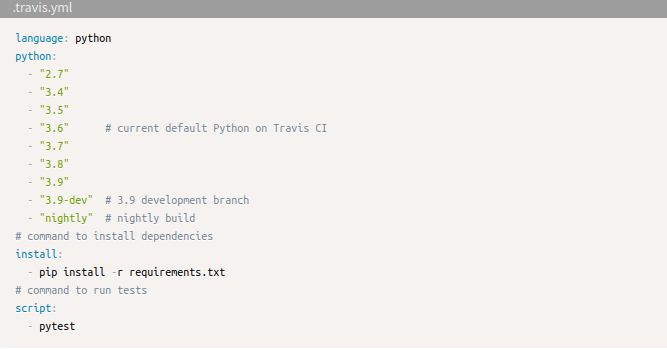
Here the coding language will be the python, and python versions are specified. Similarly, we can create a .travis.yml file based on our projects and add this file to our Github repository for which Travis CI is enabled. Then from now on when we commit and push a code change it will automatically trigger the Travis CI. So we can automatically test and deploy our projects on every code change.
Let’s see an example of Travis CI working.
This is my Github account.
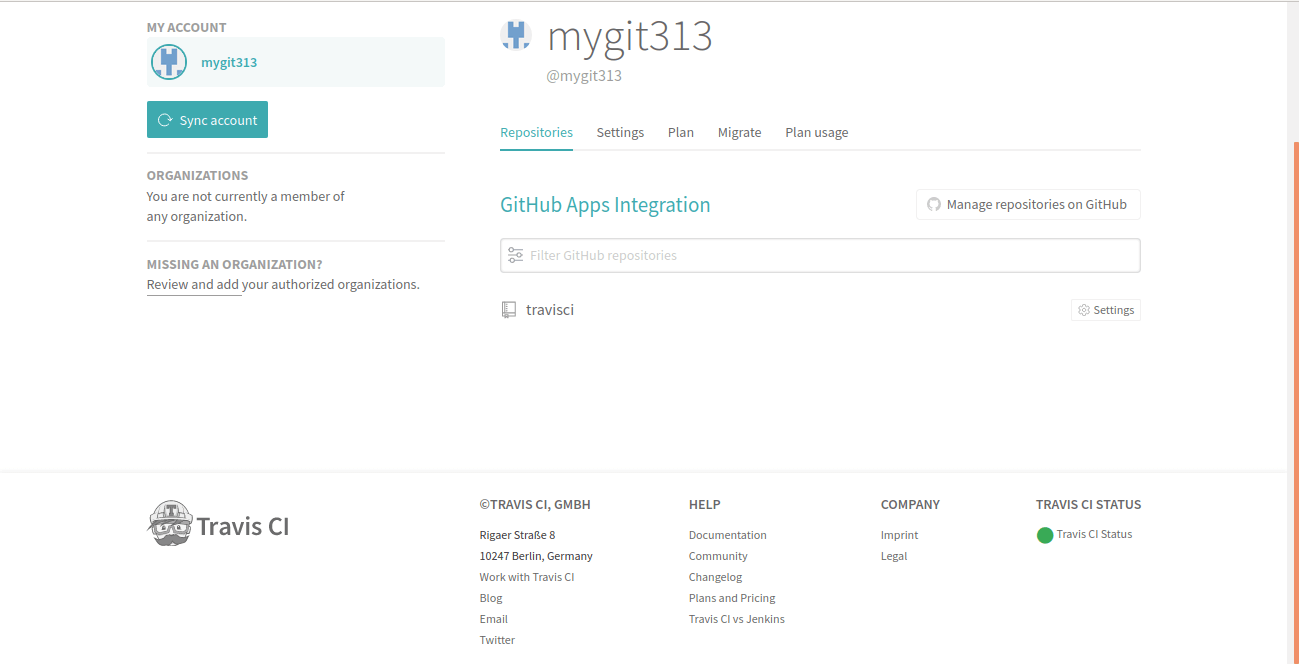
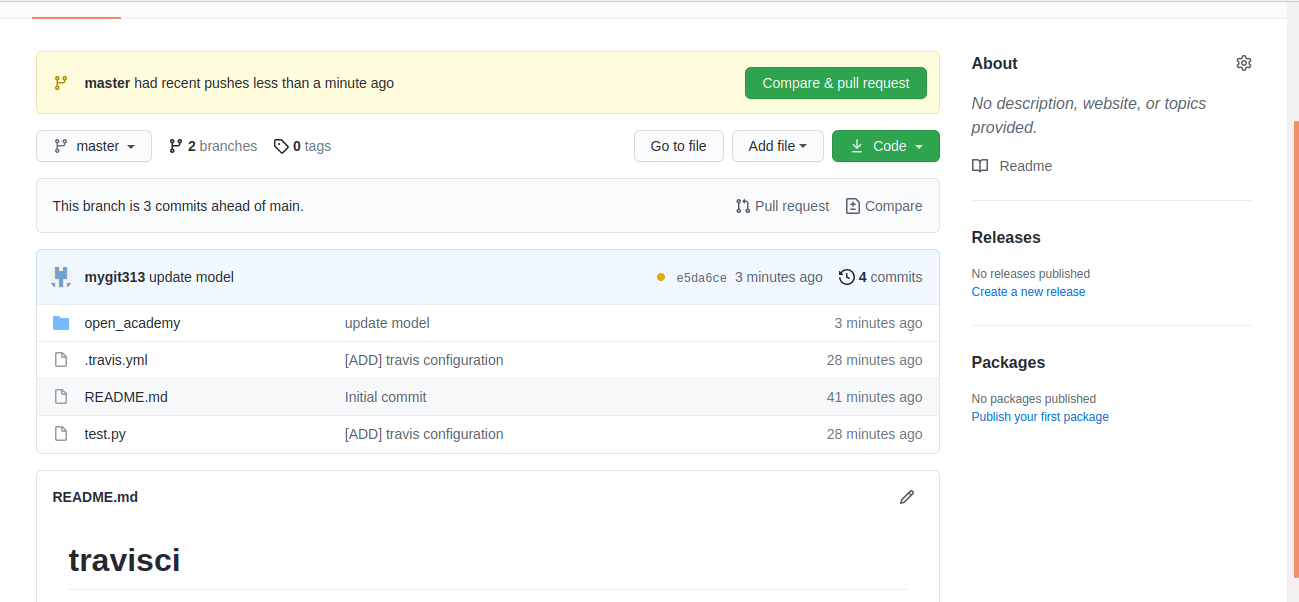
It contains only one repository and I have configured this repository with Travis CI as specified above. Further, then I added the .travis.yml file to my repository.
After adding .travis.yml file, the build will start automatically on Travis, which can be shown in the Travis CI account.
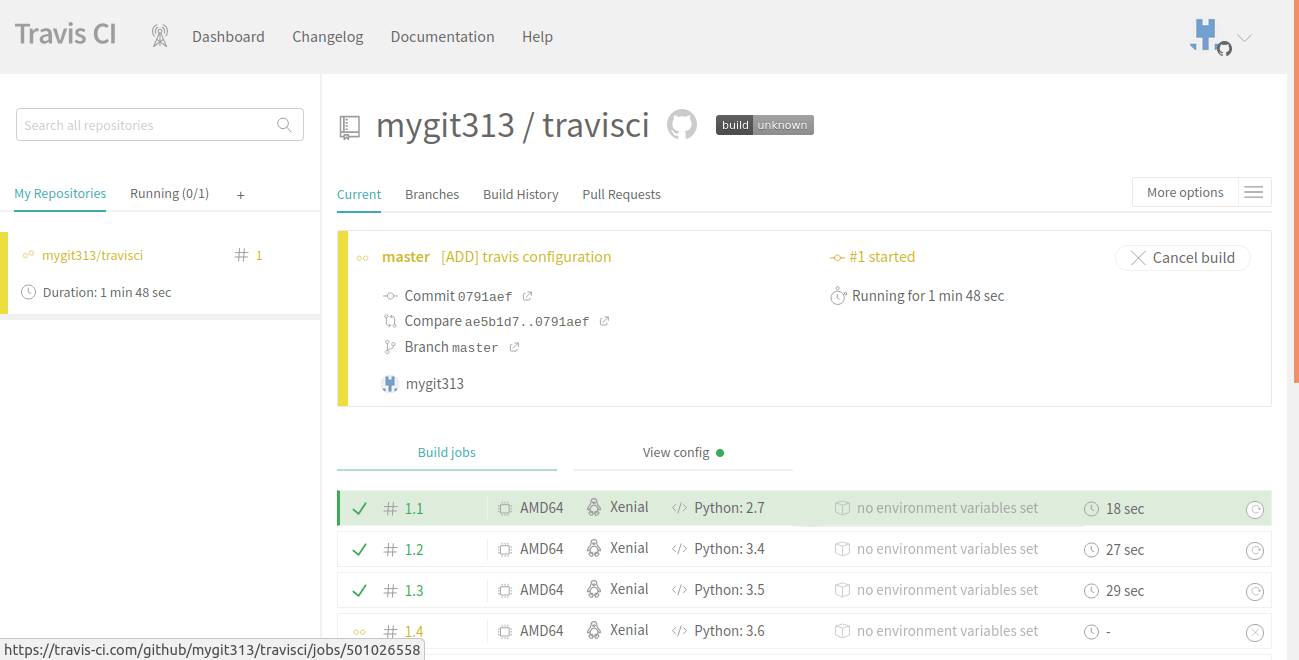
There we can also force to cancel the build, by clicking the ‘Cancel build’ Button. After testing all the cases, the build may be failed or succeeded
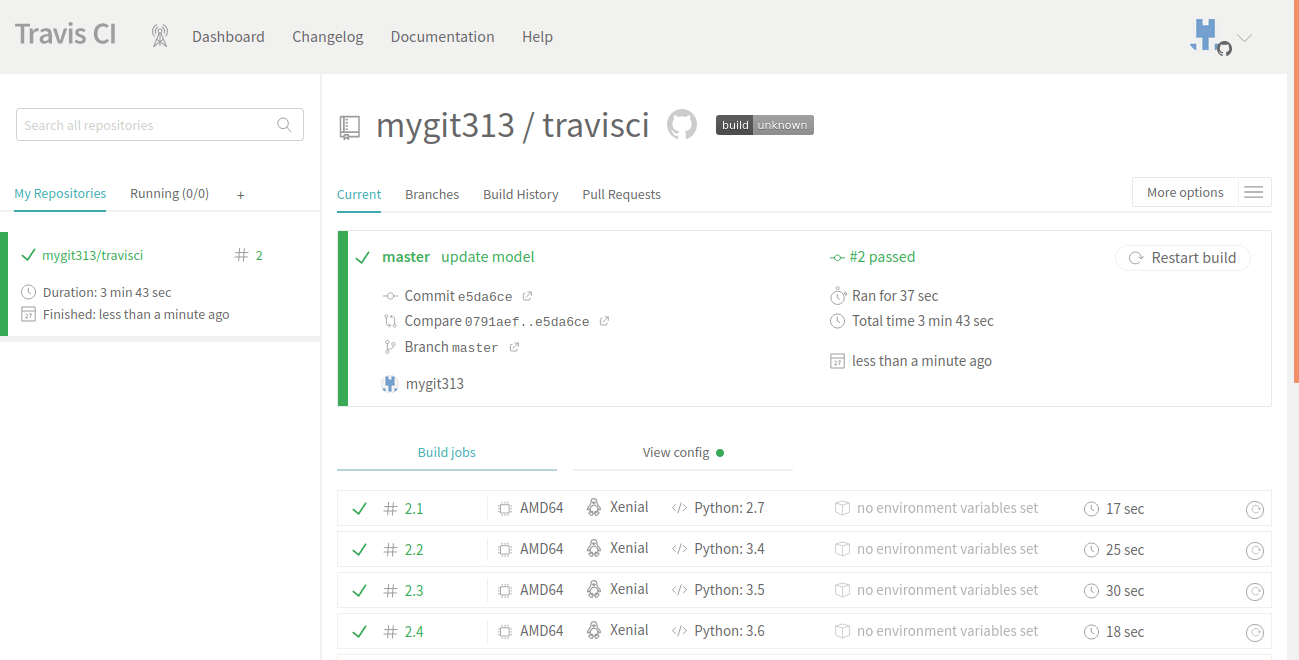
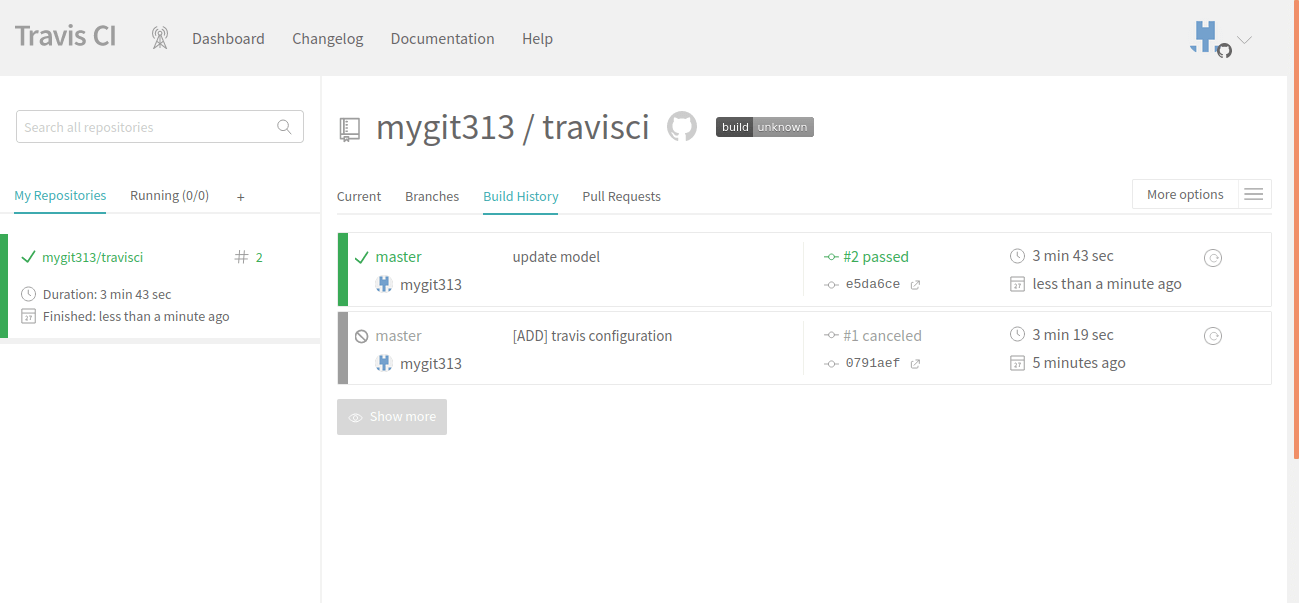
Here our build succeeded and similarly whenever we commit a code change to our repository, Travis CI starts building the code. Build History section shows the history of all the builds
The Configuration of Travis Ci is super simple, by enabling this we can ensure the quality of our project.