To establish different delivery or payment terms between sellers and customers, conditions and terms must be specified. By default terms, a seller can formally disclose information about company policies and merchandise. By contrast, before committing to a company, every consumer accesses important conditions. It is simple to define default terms and conditions for quotes or invoices when Odoo ERP support is used. The Odoo 17 Accounting module assists in adding different terms and conditions for clients based on the needs of the business.
Typically, quotations, invoices, or orders with default terms and conditions contain the legal agreements between the seller and the buyer. To make sure the invoices are paid accurately, it is essential to add some frameworks for the clients. Let's look at how to set up terms and conditions in Odoo 17 default fashion.
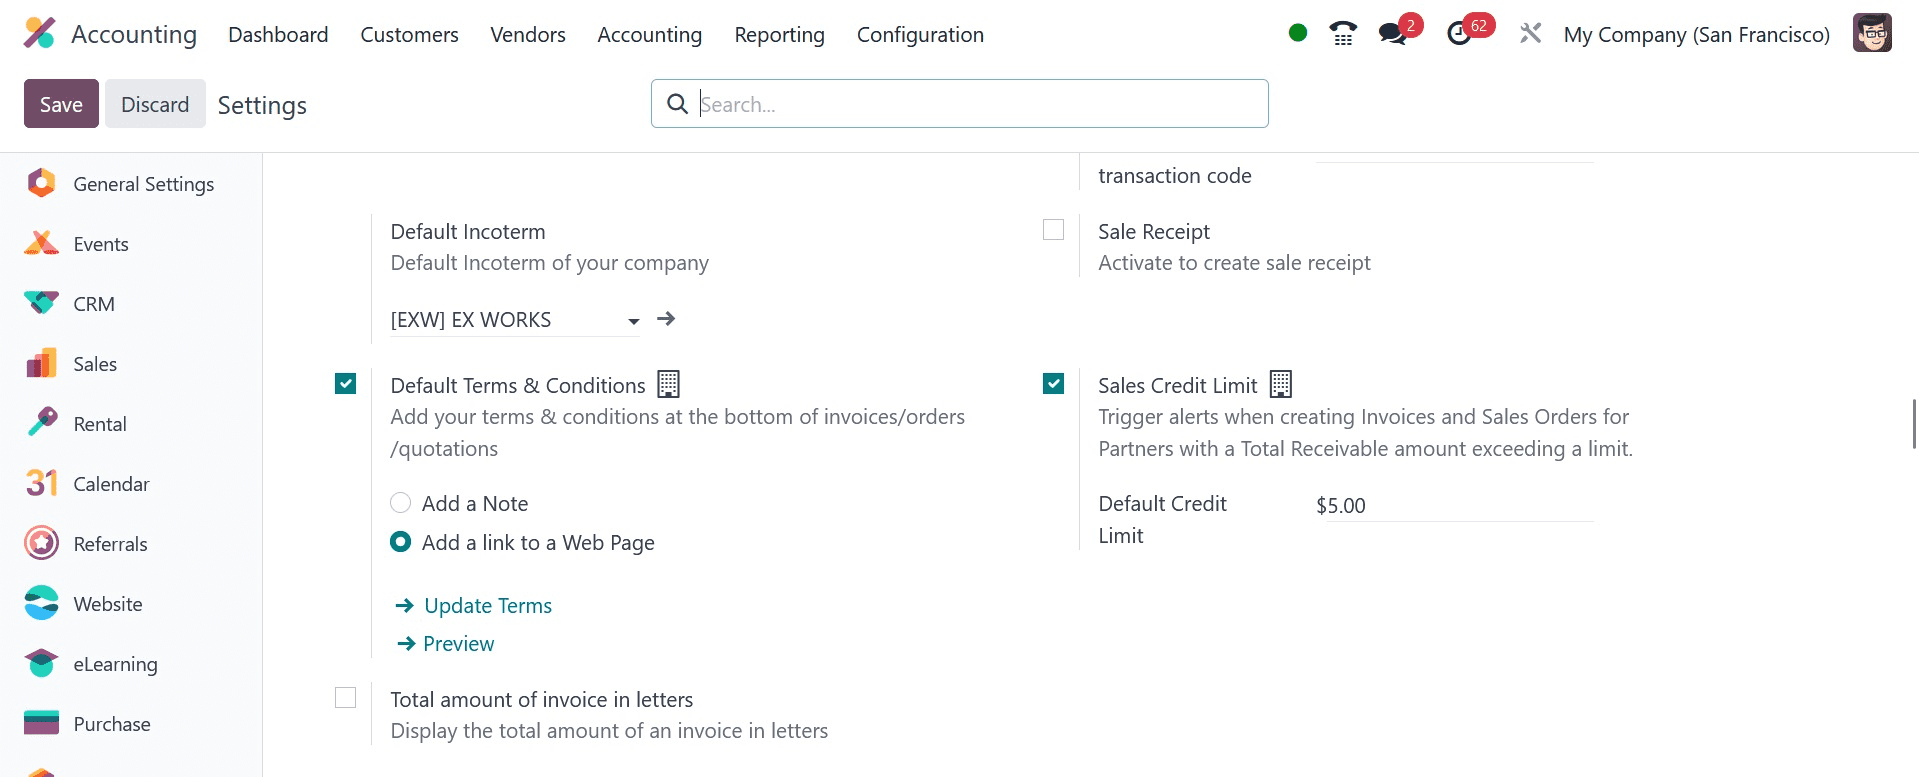
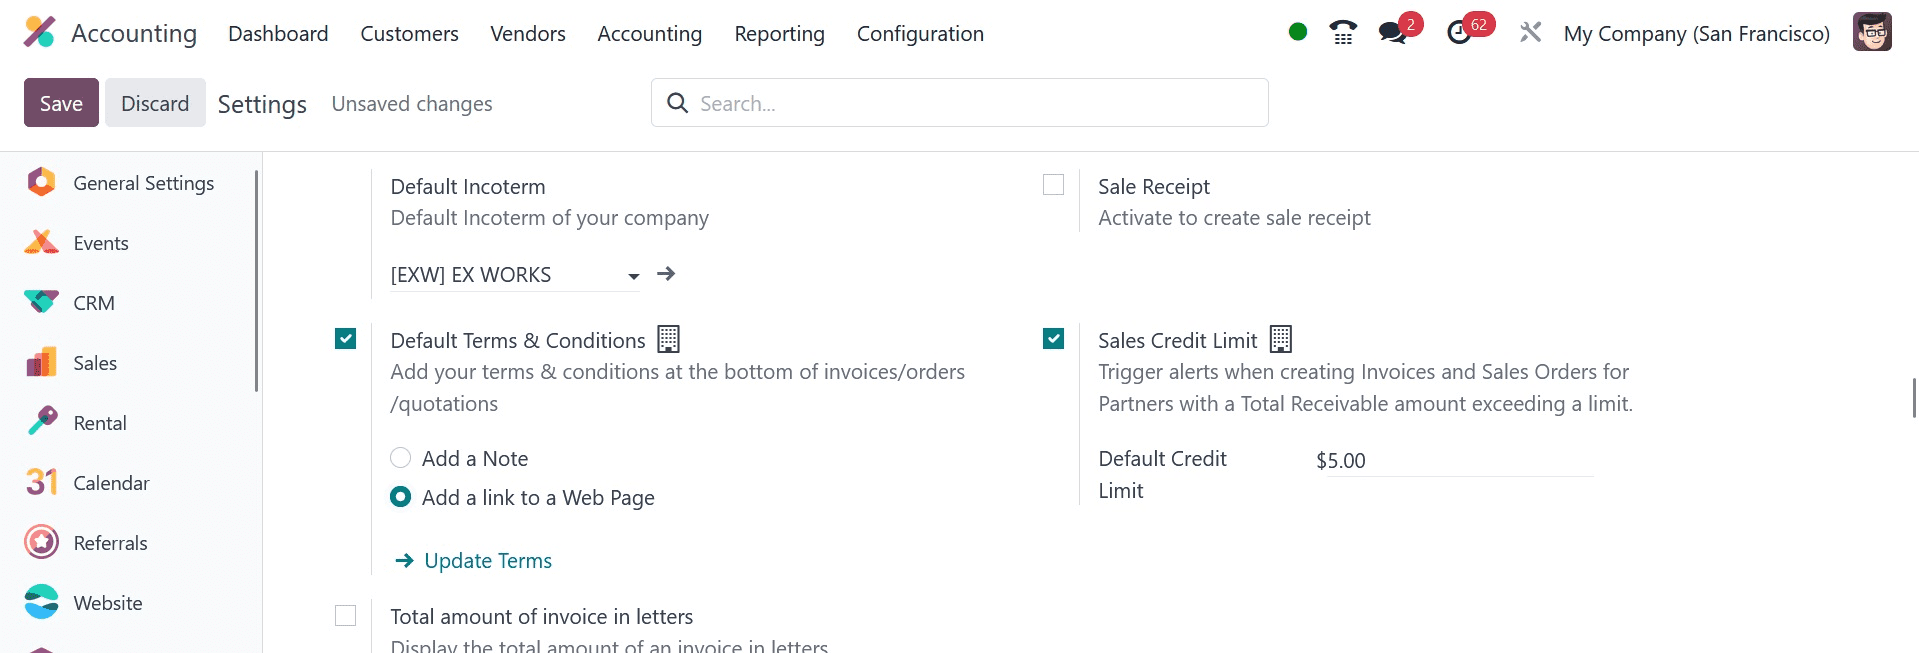
The Odoo 17 Default Terms and Conditions functionality must be enabled by the user before adding multiple terms to the invoice. In Odoo, click the Settings menu to open the Customer Invoices part of the page. Enable the Default Conditions & Conditions field after the Customer Invoice section to apply different conditions at the bottom of your orders, invoices, and quotations, as shown in the screenshot below.
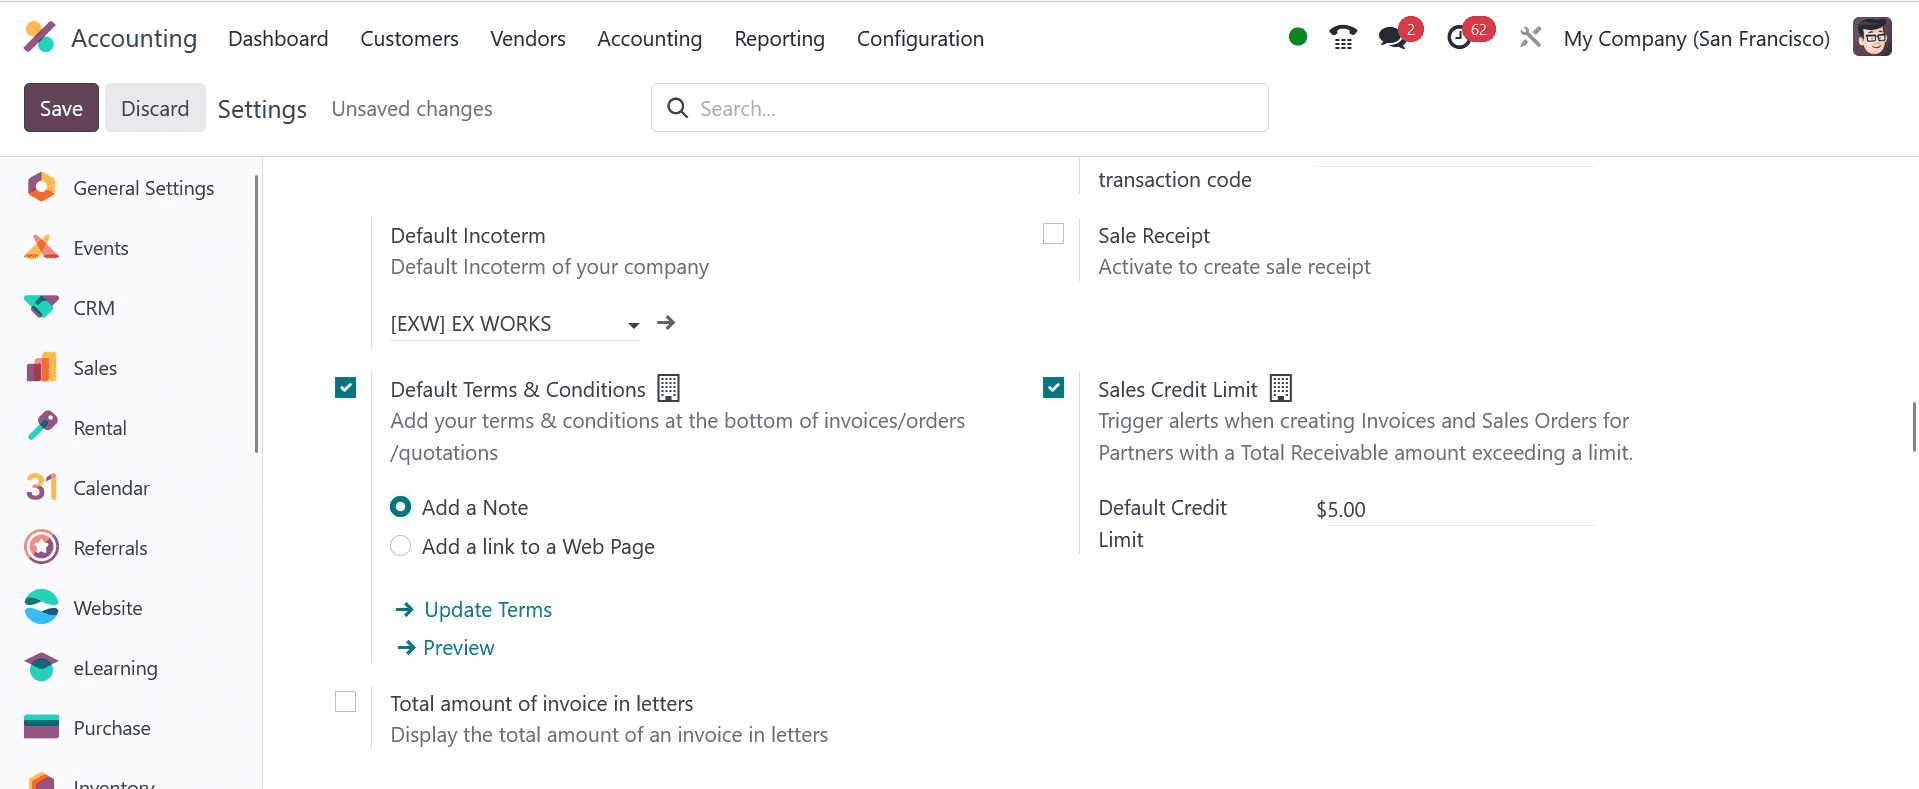
There are two ways to apply default conditions to invoices: by adding a note or a link to a web page. Let's first have a look at how to add a remark to an invoice using the Accounting program. To do that, click the SAVE symbol, as shown in the screenshot below, and select the Add a Note option located beneath the Default Terms & Conditions section.
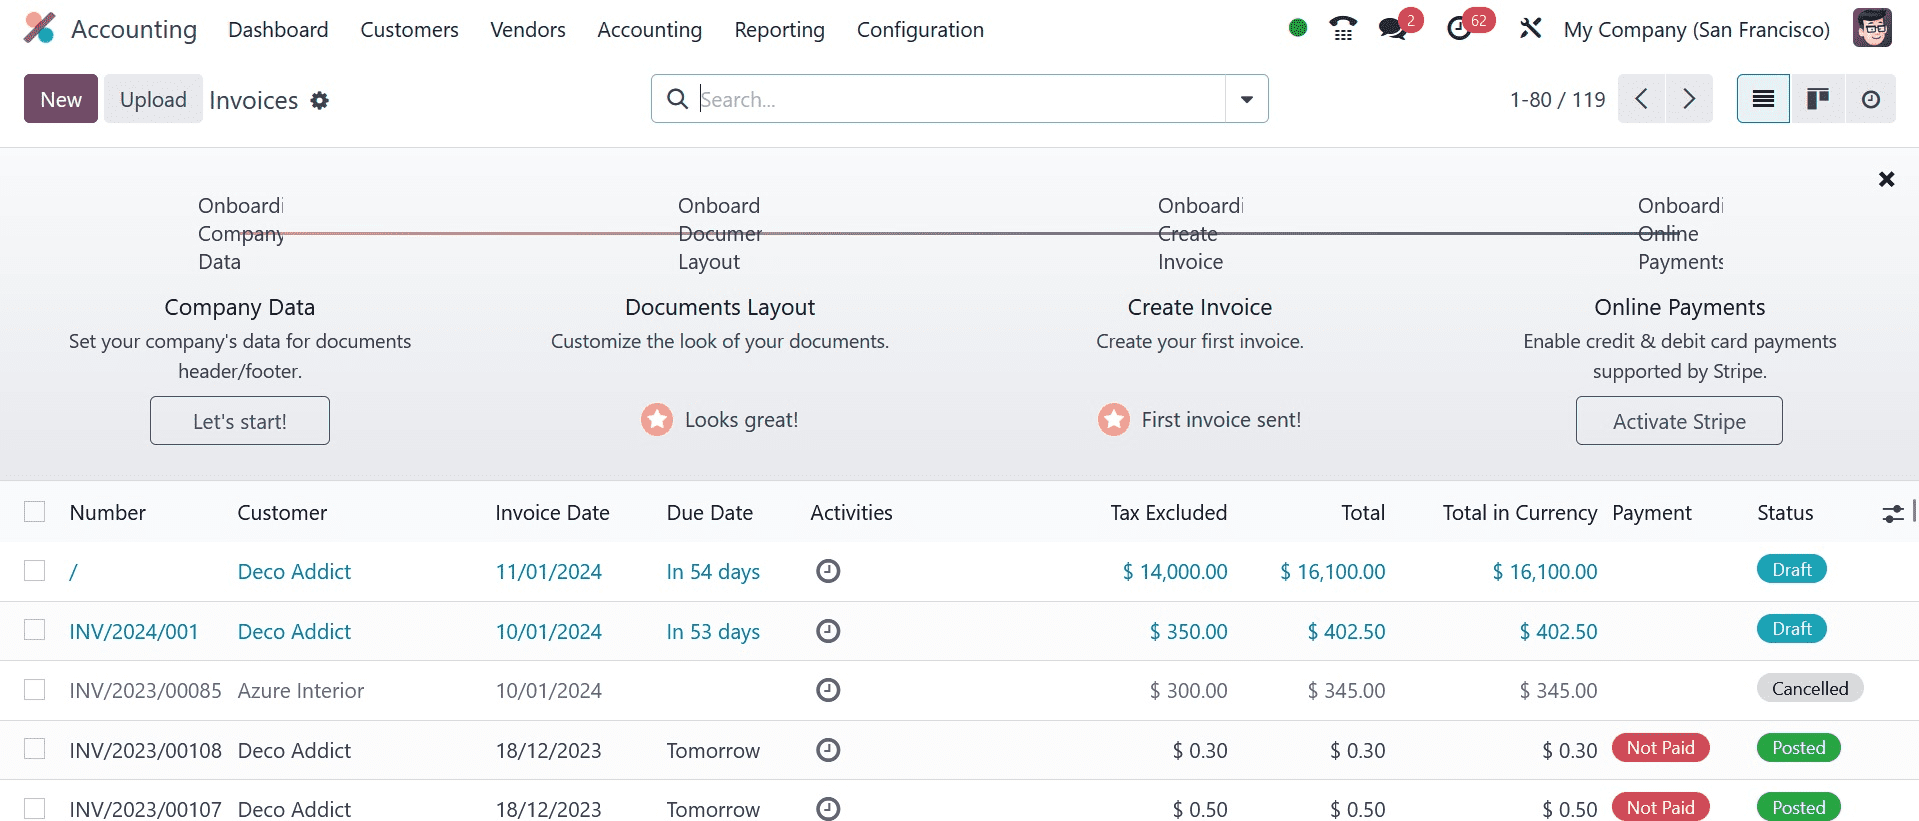
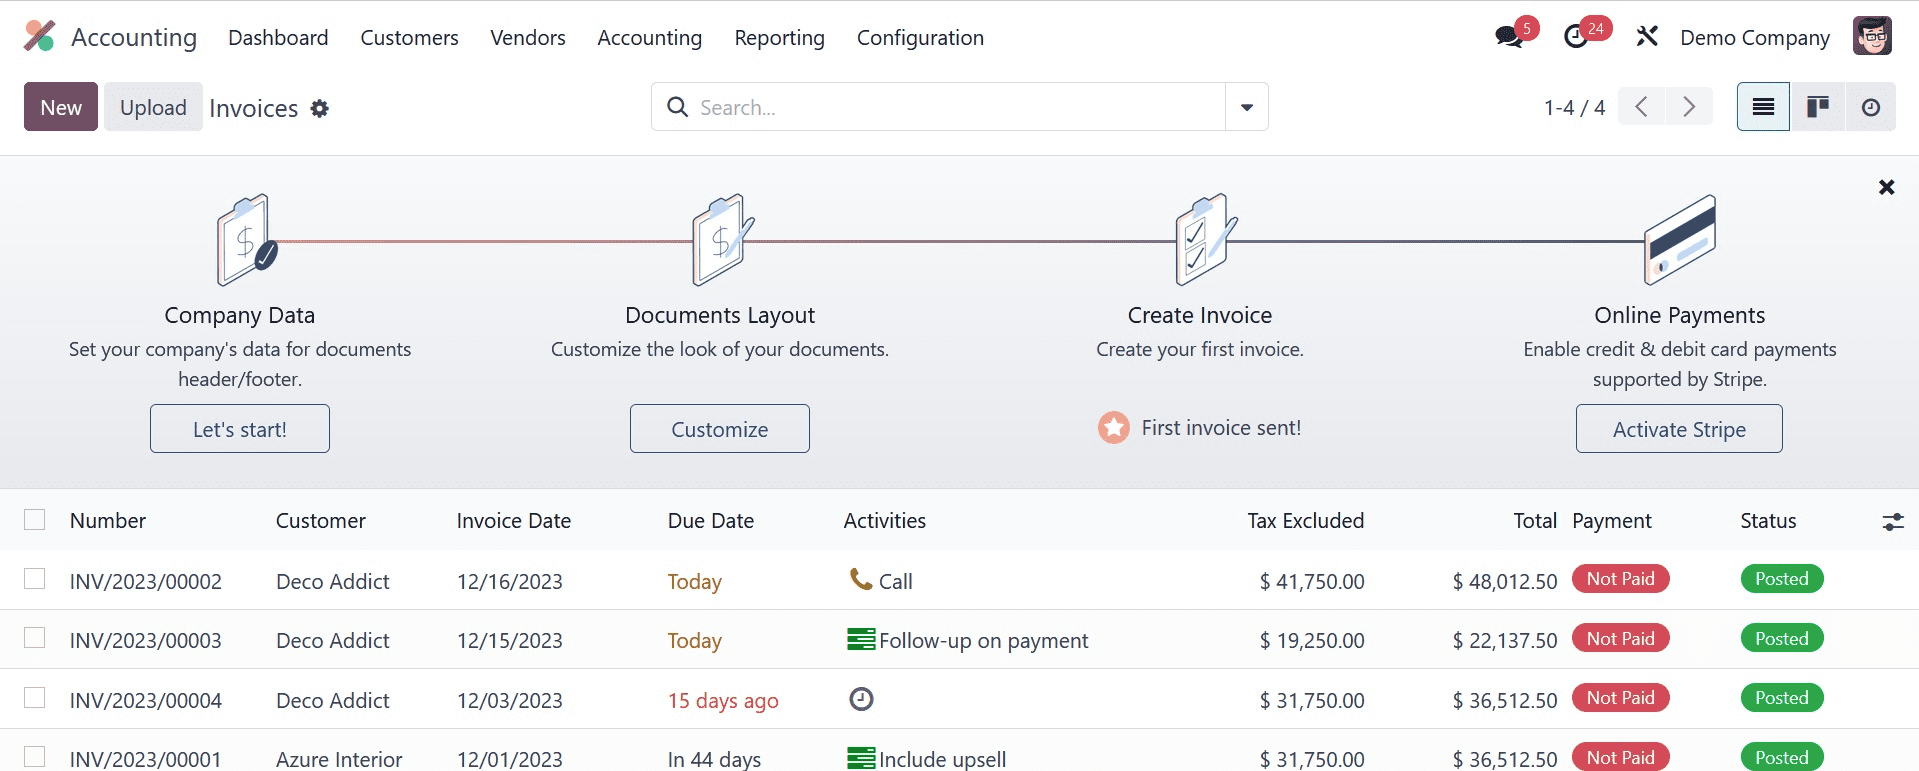
After selecting Add a Note from the Settings window, users can modify the terms and conditions. In Odoo 17 Accounting, select the Invoices option located beneath the Customers tab. We may view the details of each invoice individually in the Invoices window's Kanban view. Name of the business, income, date, status, etc. are all included. By selecting the NEW button, as seen in the screenshot below, we may create a new invoice.
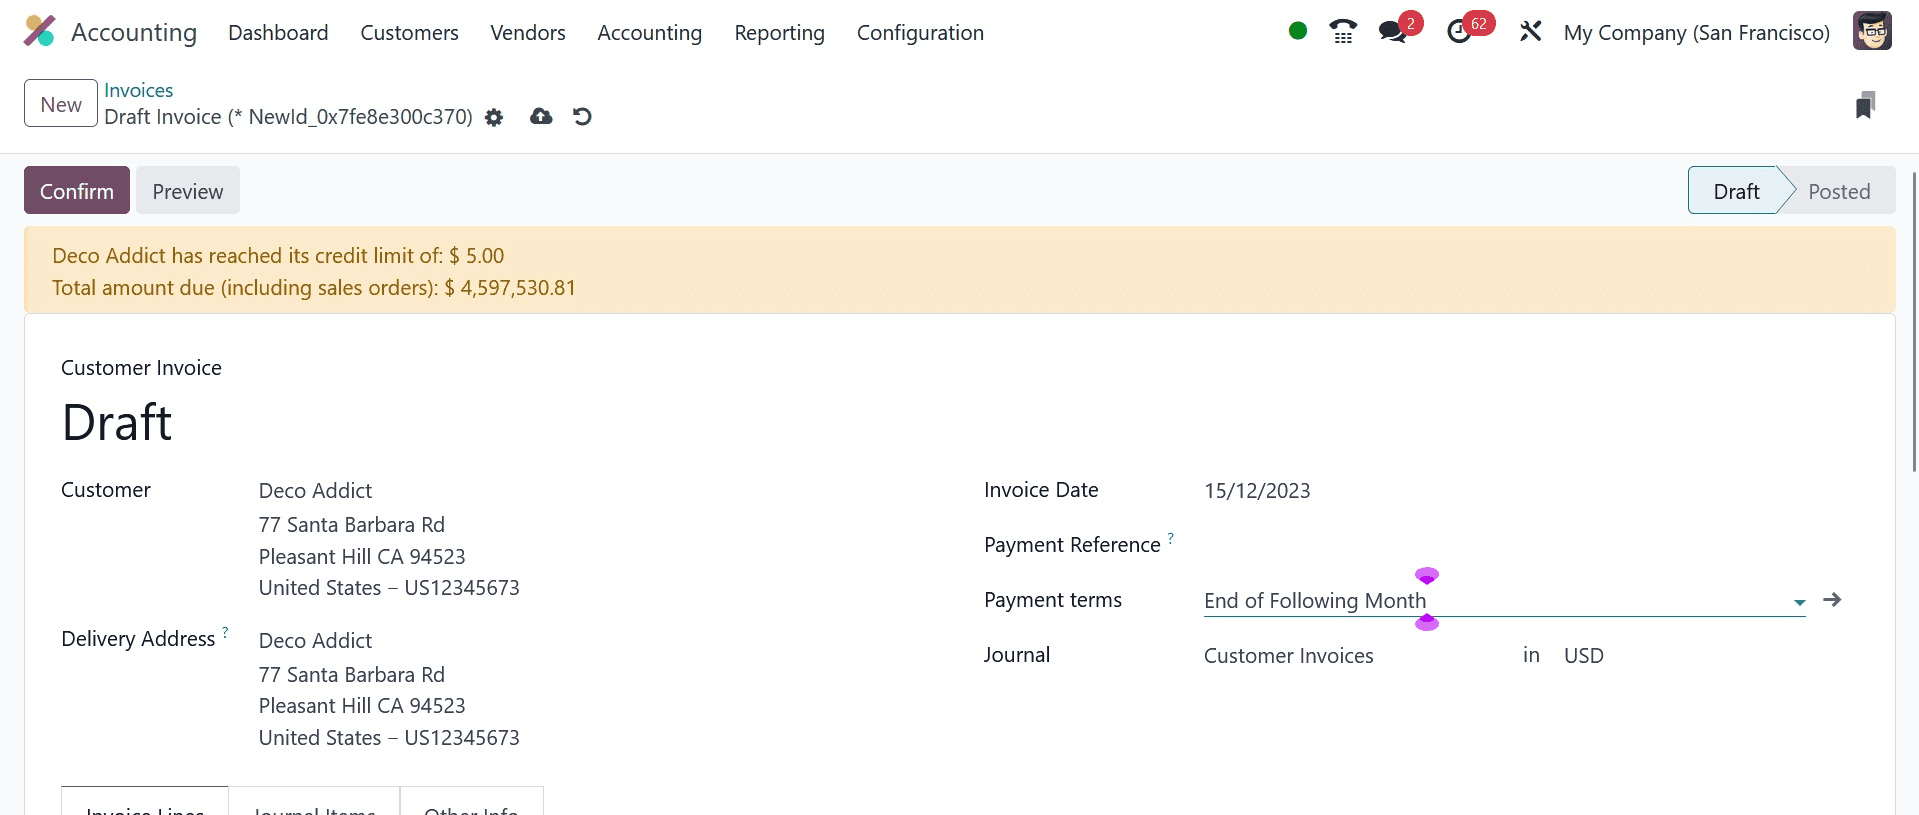
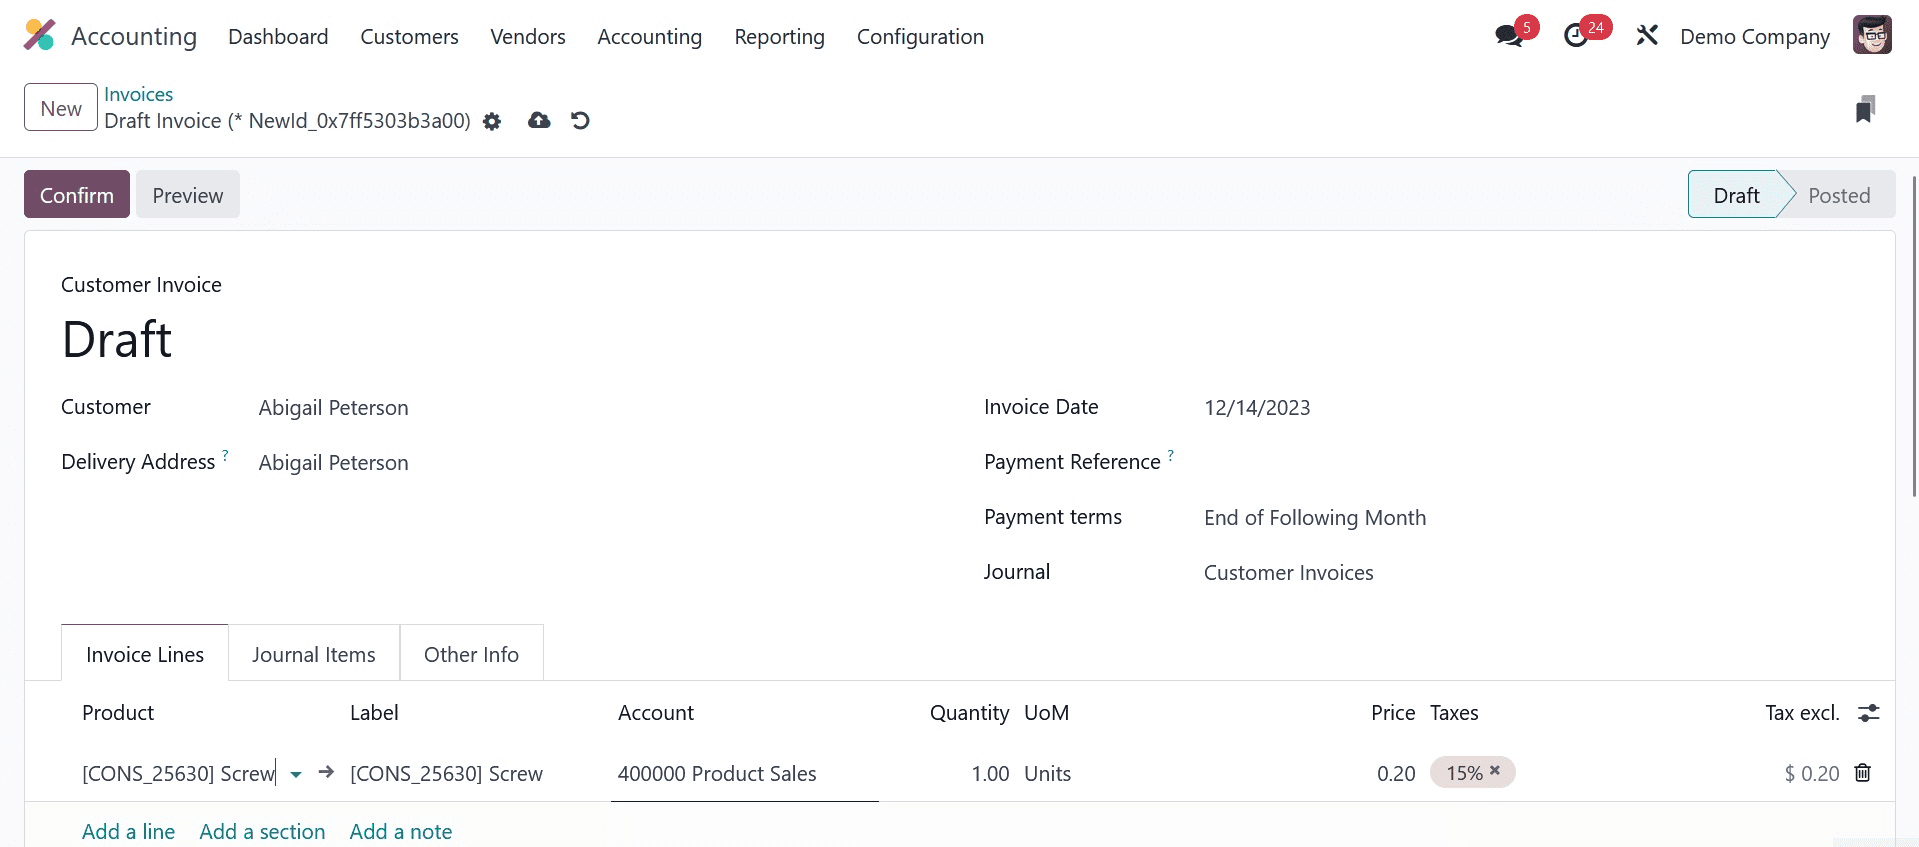
When you choose your customer on the open page, you may see the partner's Delivery Address. Subsequently, as seen in the screenshot below, you may specify the invoice's start date in an Invoice Date field and its end date on the Due Date option.
To choose a product for a client invoice below the Invoice Lines tab, select your particular journal in the Invoices window and click the Add a Line option, as shown in the screenshot below.
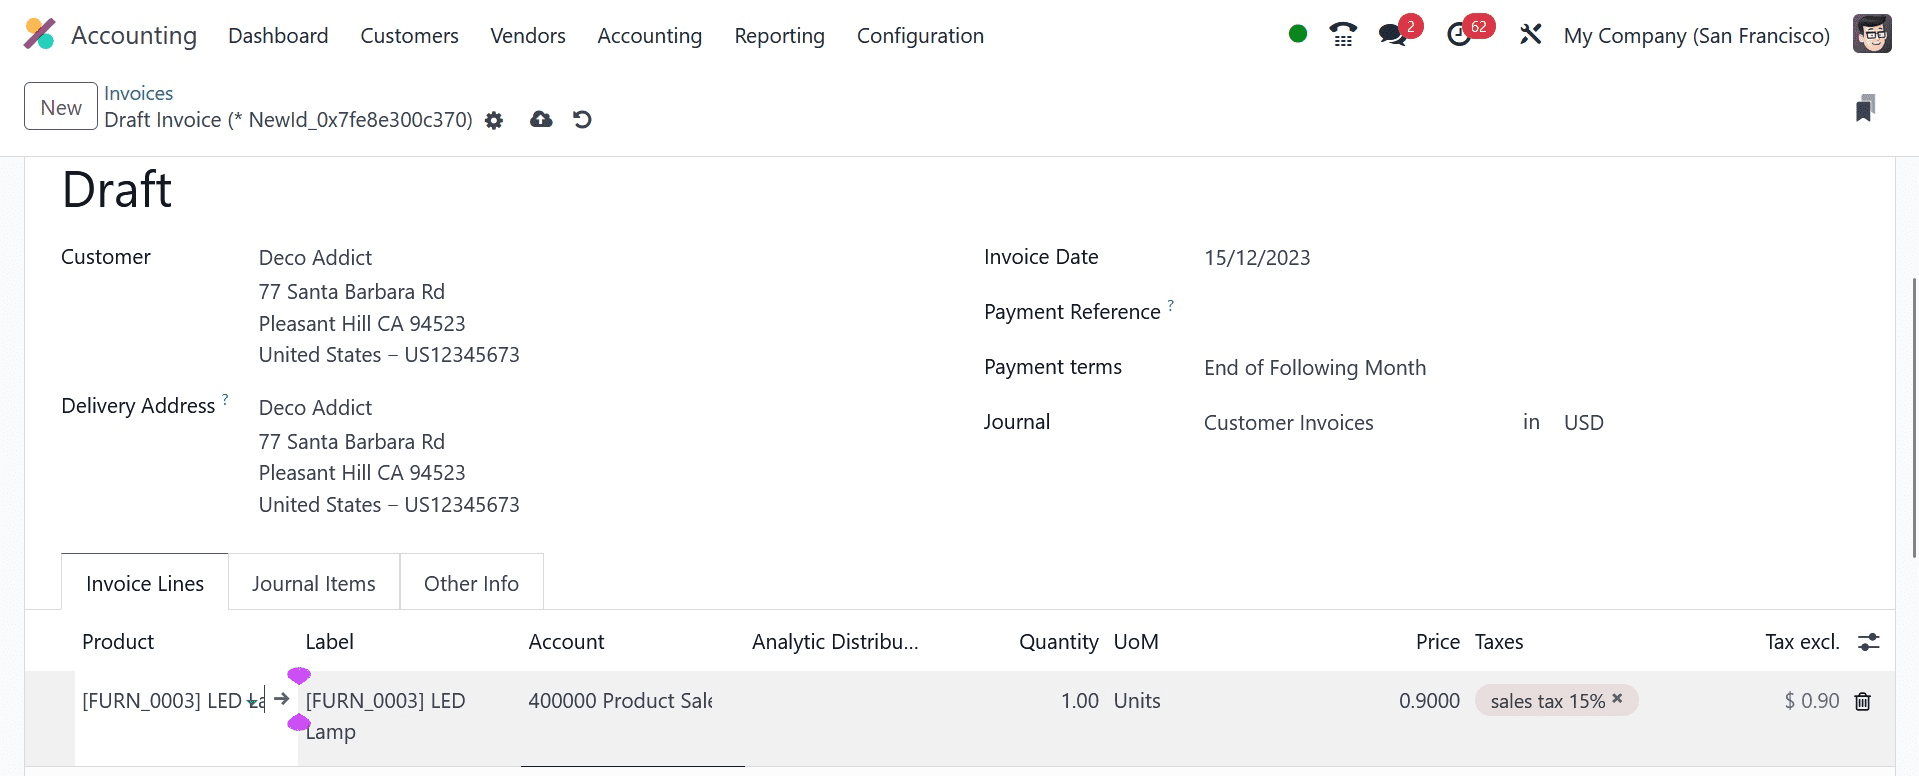
As shown in the screenshot above, we select one quantity of LED lamps inside the Invoice Lines tab, and the total number of customer invoices is available at the right end.
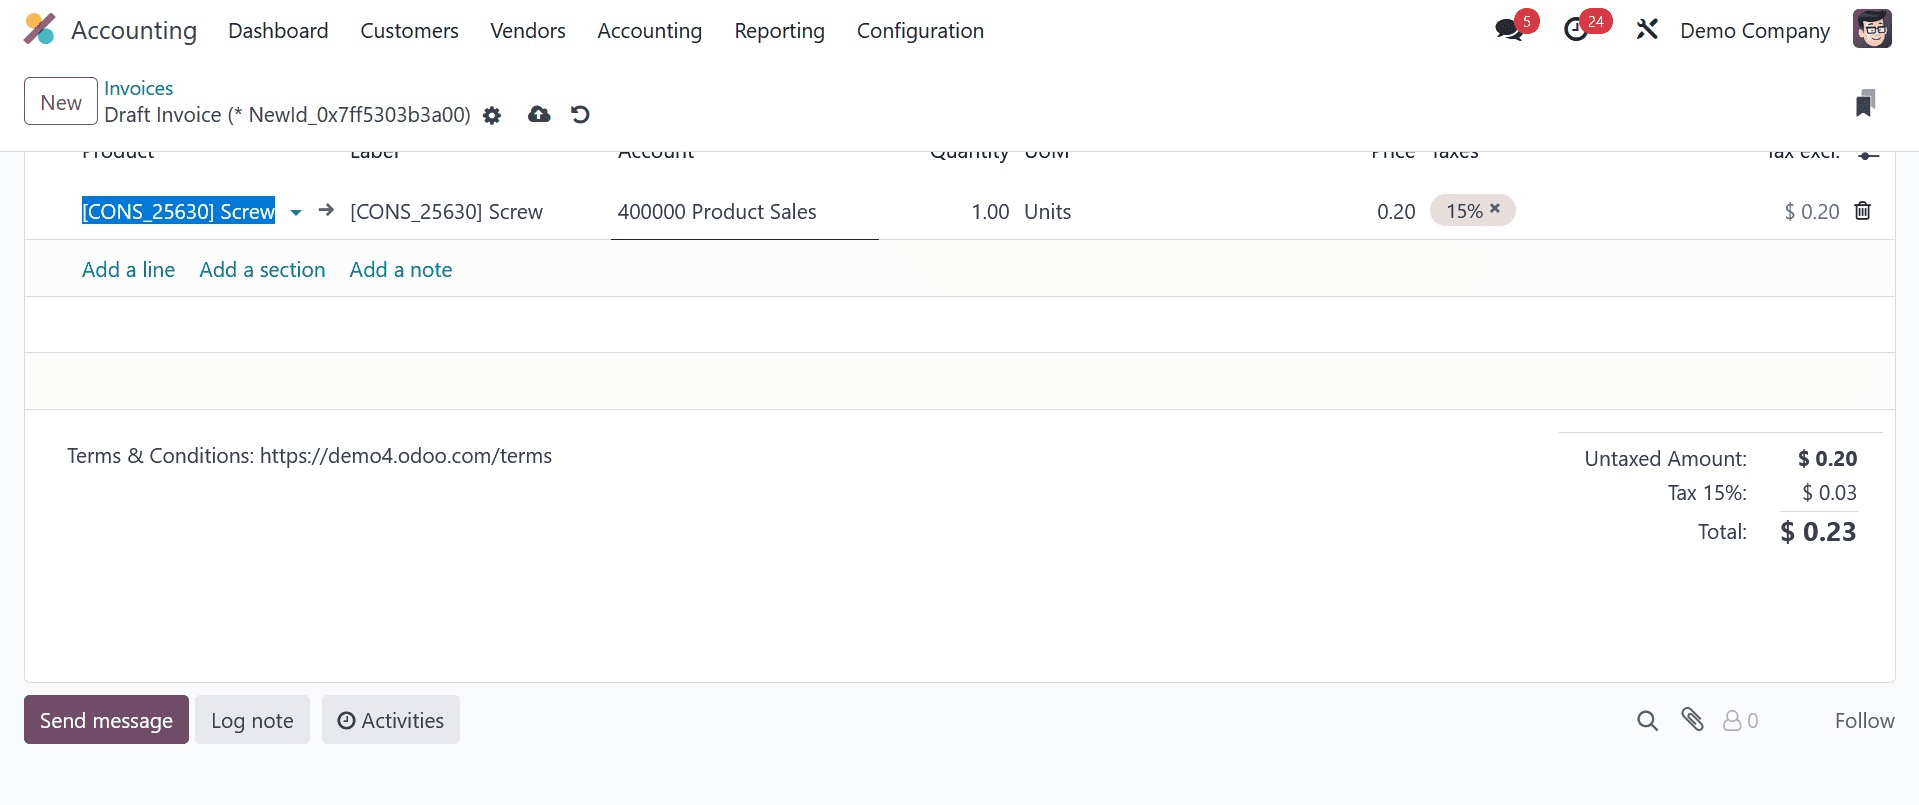
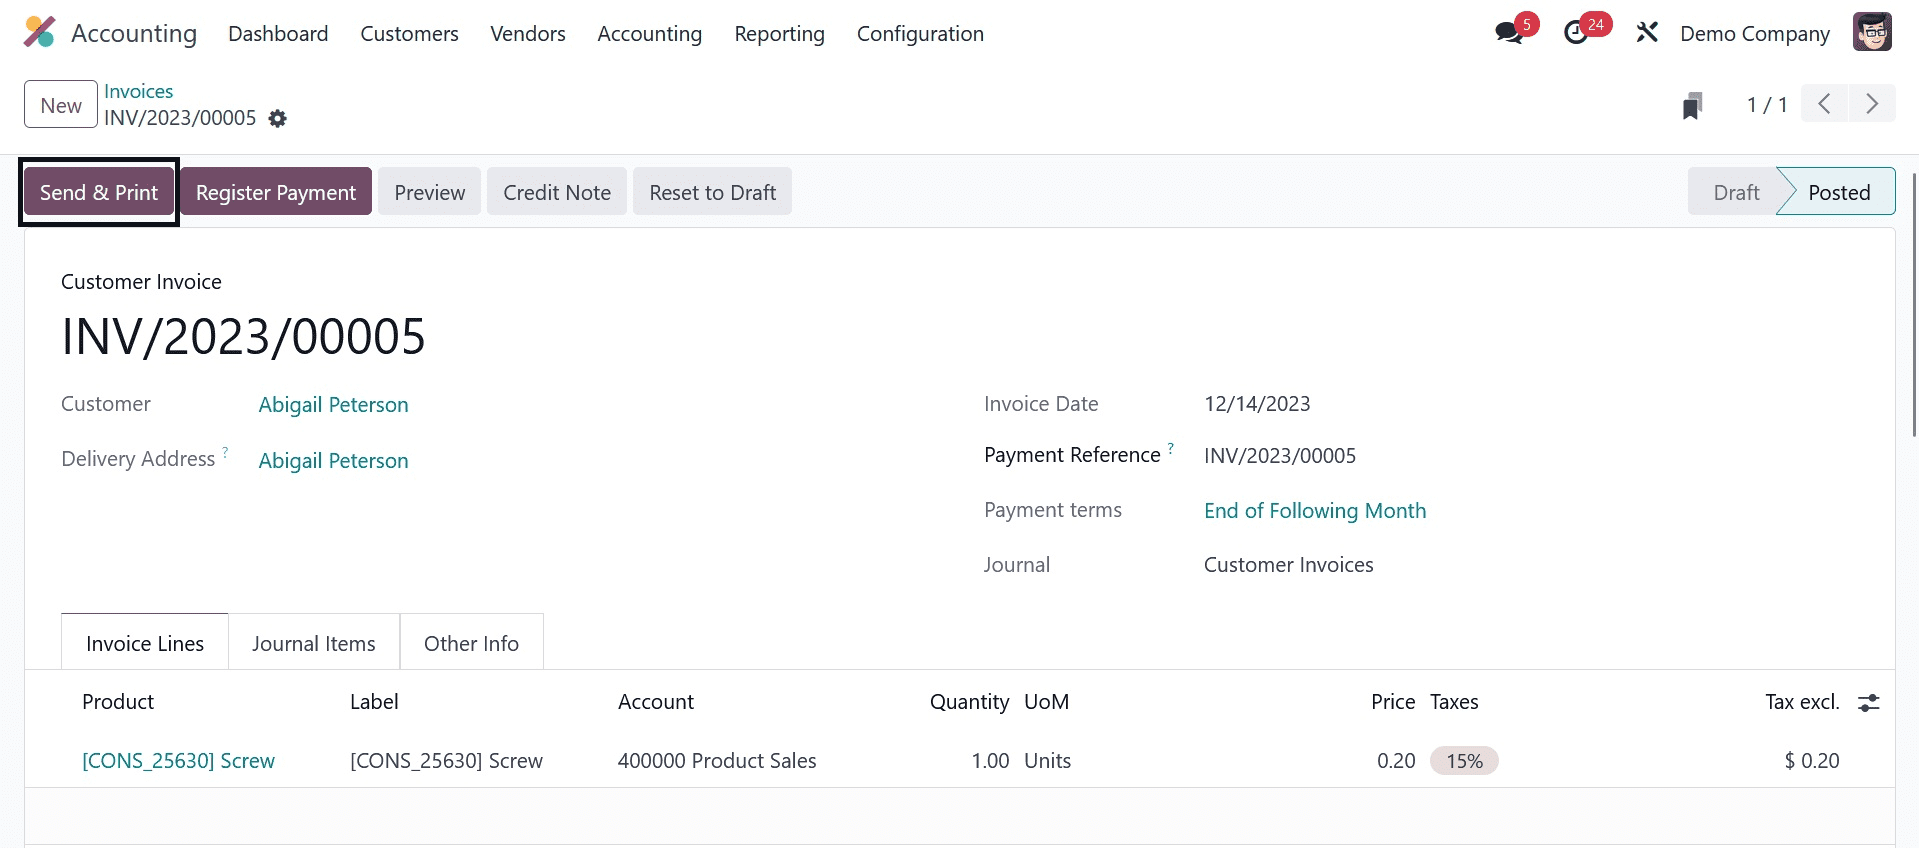
The user can set terms and conditions for the client invoice at the bottom of the Invoice Lines tab. These kinds of specifications are customizable by users for each circumstance. The newly issued invoice from a customer also displays the default terms and conditions that you have applied.
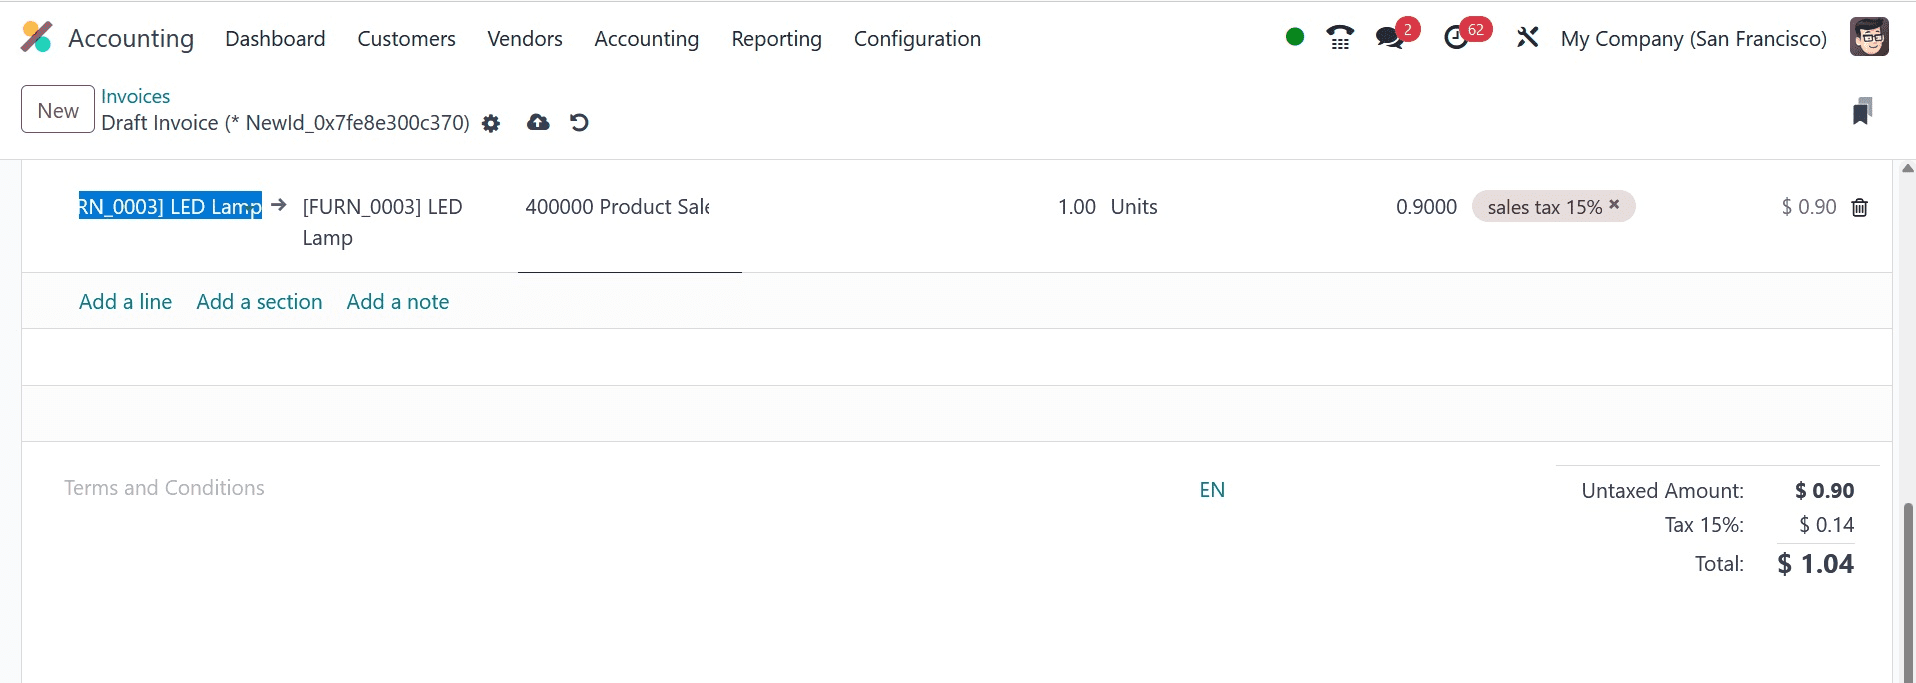
You can see the additional terms and conditions indicated in the screenshot below by printing out the invoice.

Thus, depending on business requirements, setting default criteria for a client invoice is simple.
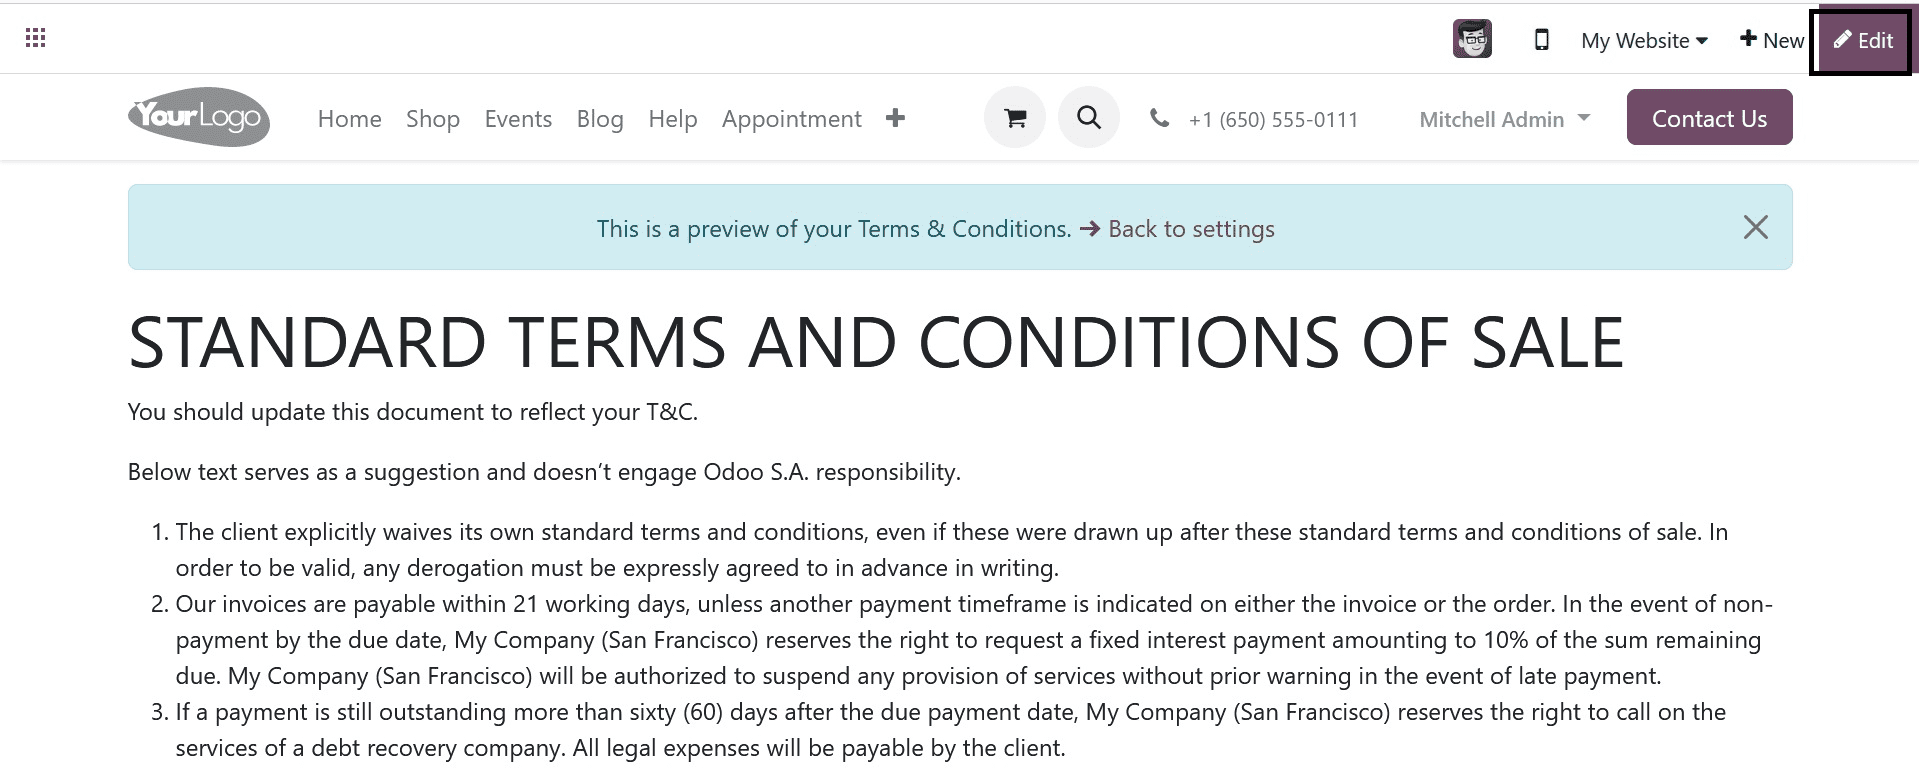
The user can quickly include a link to the webpage in a customer invoice. You must first enable the specific feature from the Odoo 17 Settings before you can proceed. You may access the Customer Invoices area of Configuration by clicking the Settings menu. As seen in the screenshot below, select the Add a link to a Web page option and turn on the Default Terms & Conditions field.
When the Add a Link to Web Page option is enabled, users can apply links in certain orders, quotations, and bills. Beneath the Add a link to a Web Page option, you will notice a URL. By selecting Edit in the Website Builder, you can make changes to it. Furthermore, by choosing the Preview option after the Default Terms & Conditions, a URL preview is accessible.
In the Odoo 17, select your feature by pressing the SAVE button. Next, by selecting the Invoices menu from the Customers tab, we can create an invoice. To create a new invoice for the buyer, click the NEW button in the Invoices pane.
Select your client from the open screen. The delivery address of the most recent customer invoice appears in the Delivery Address field. Next, select the invoice's start date in the Invoice Date column, as seen in the screenshot below.

In the Payment Terms field, users can specify the terms of the invoice for consumers. Additionally, pick a specific currency for your journal. After selecting the Add a Line option in the Invoice Lines tab, you can apply product data.
Select the item of your choice; the final cost is displayed. As shown in the example below, users can add a link at the bottom of the Invoice Lines tab.
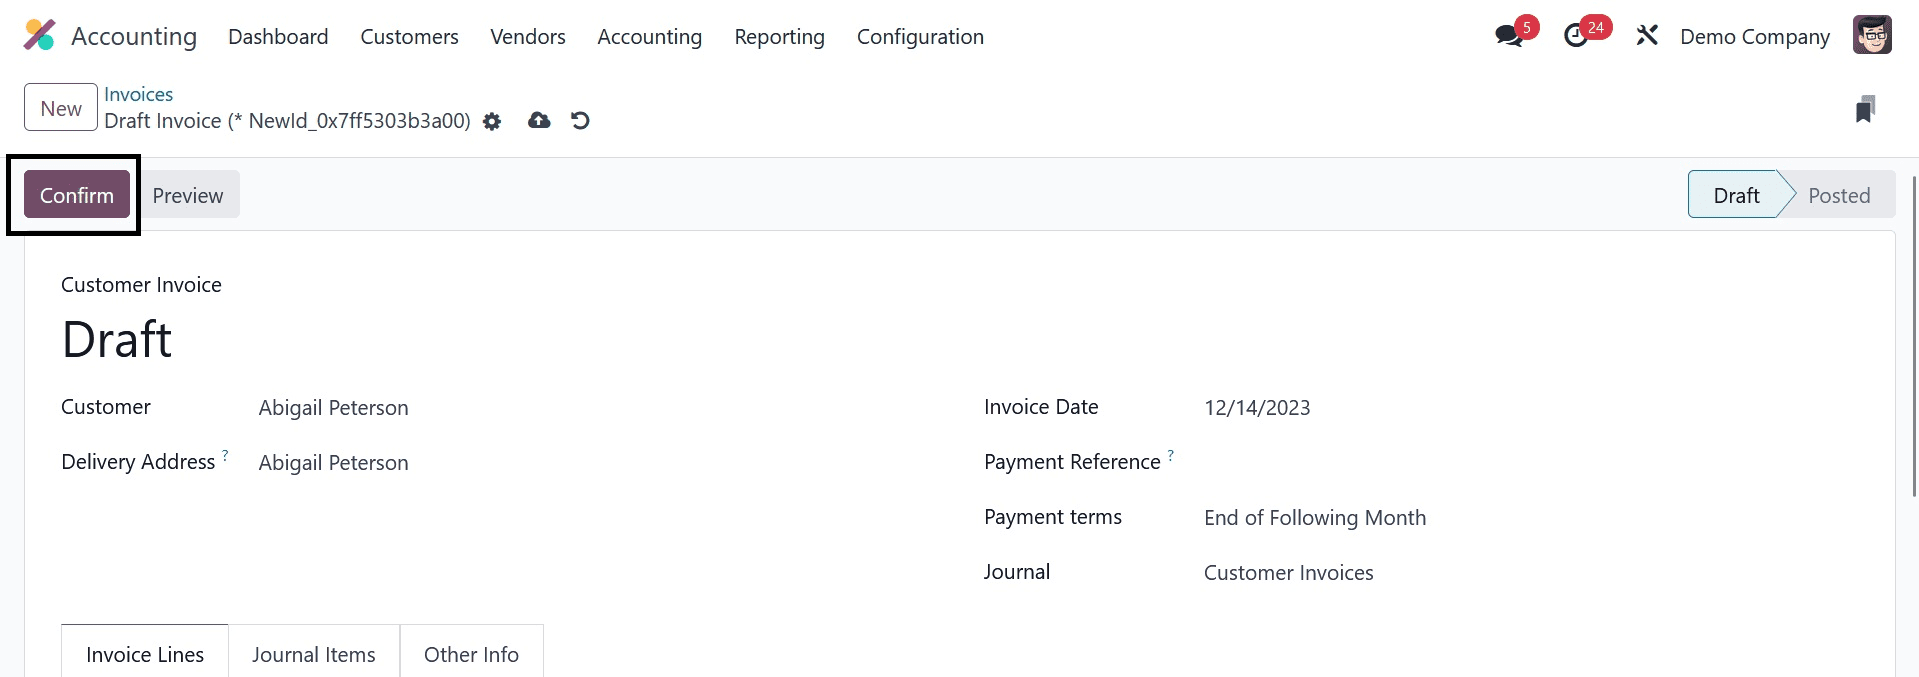
The user-added URL helps the customer learn the terms and conditions of the selected product quickly. Therefore, it's simple to apply a specific website link in an invoice in an automatic approach. Click the CONFIRM icon in the Invoice box after saving the details.
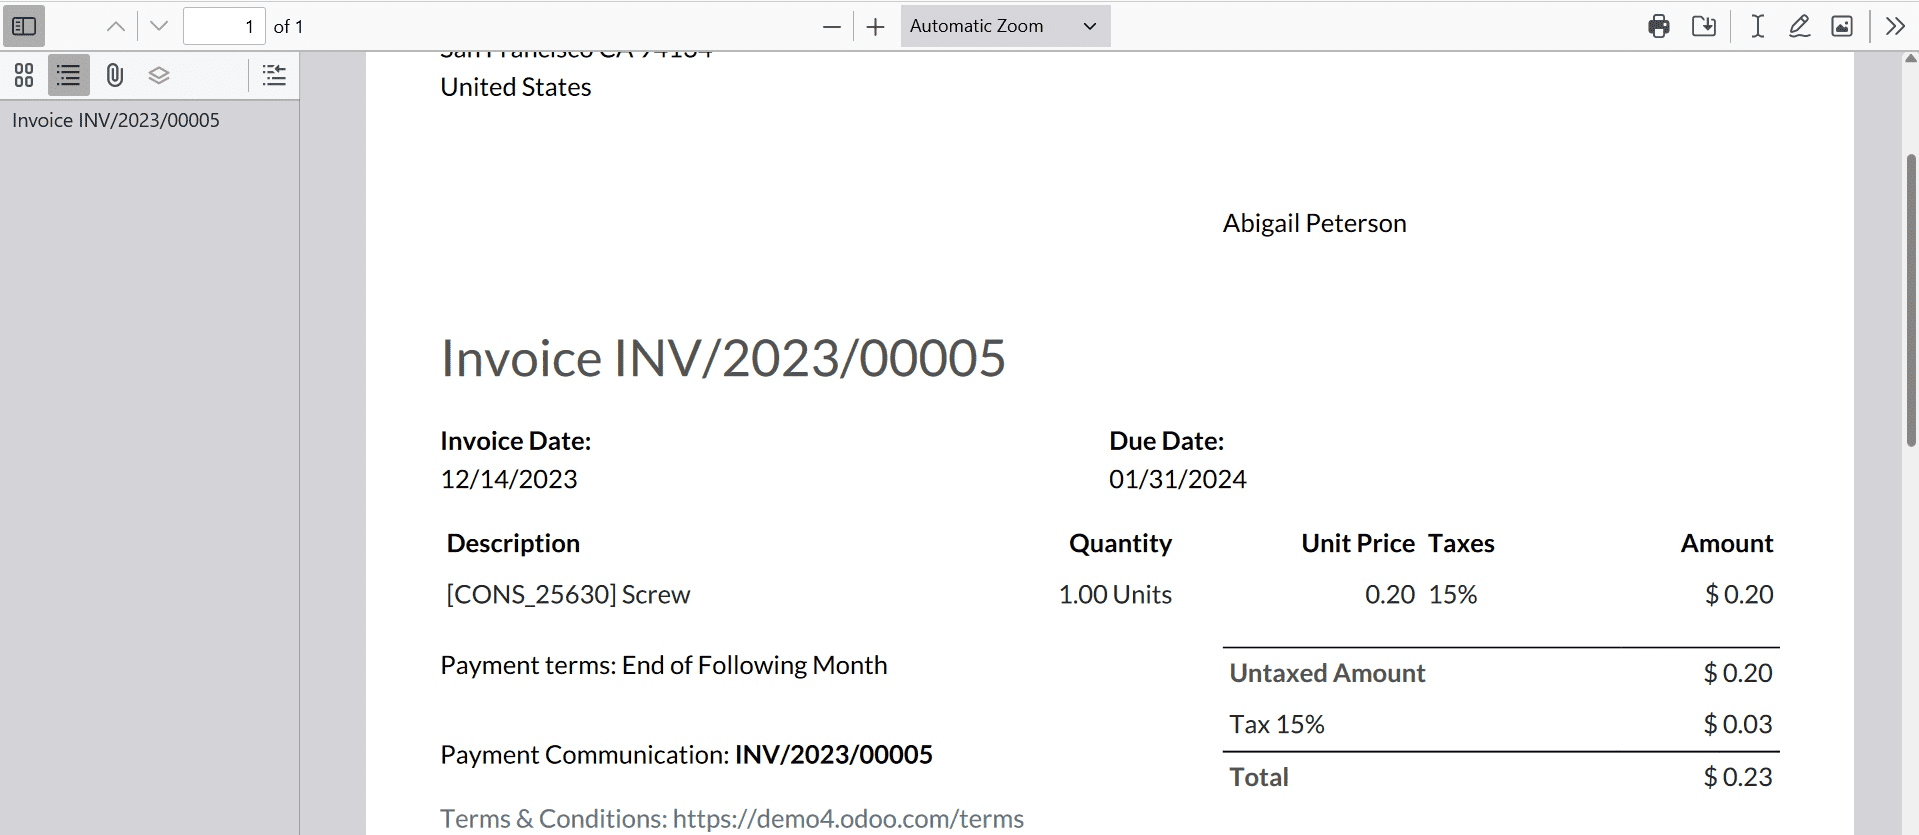
To get a preview of the customer invoice, click the Print icon. The terms and conditions that apply to the customer invoice are accessible in the downloaded draft invoice, as shown in the screenshot below.
And the printed invoice will be, as in the image below.
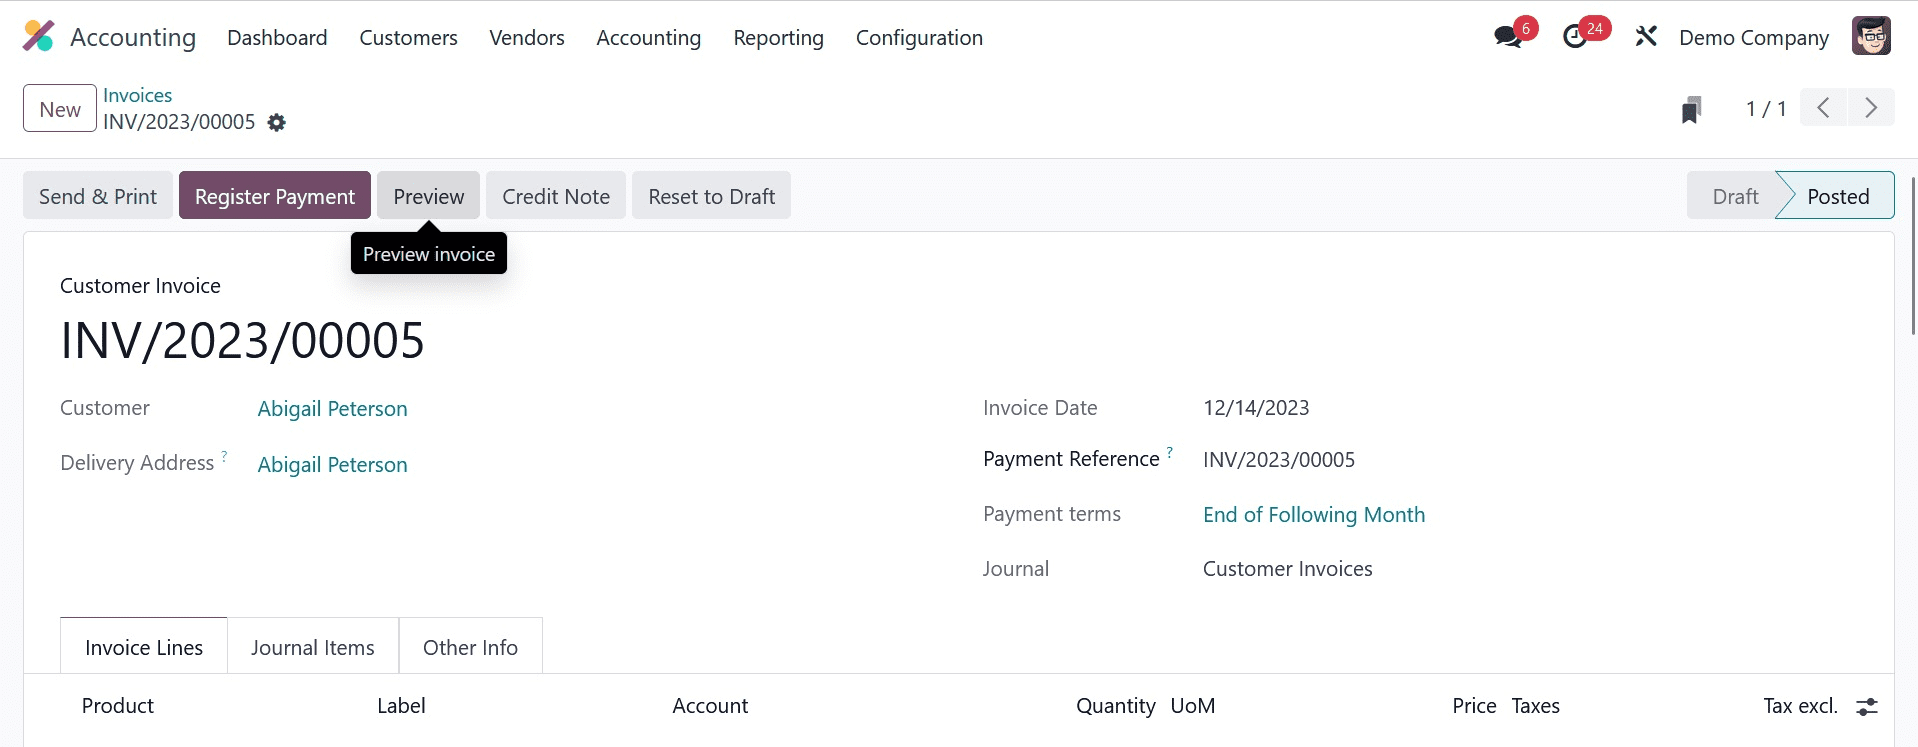
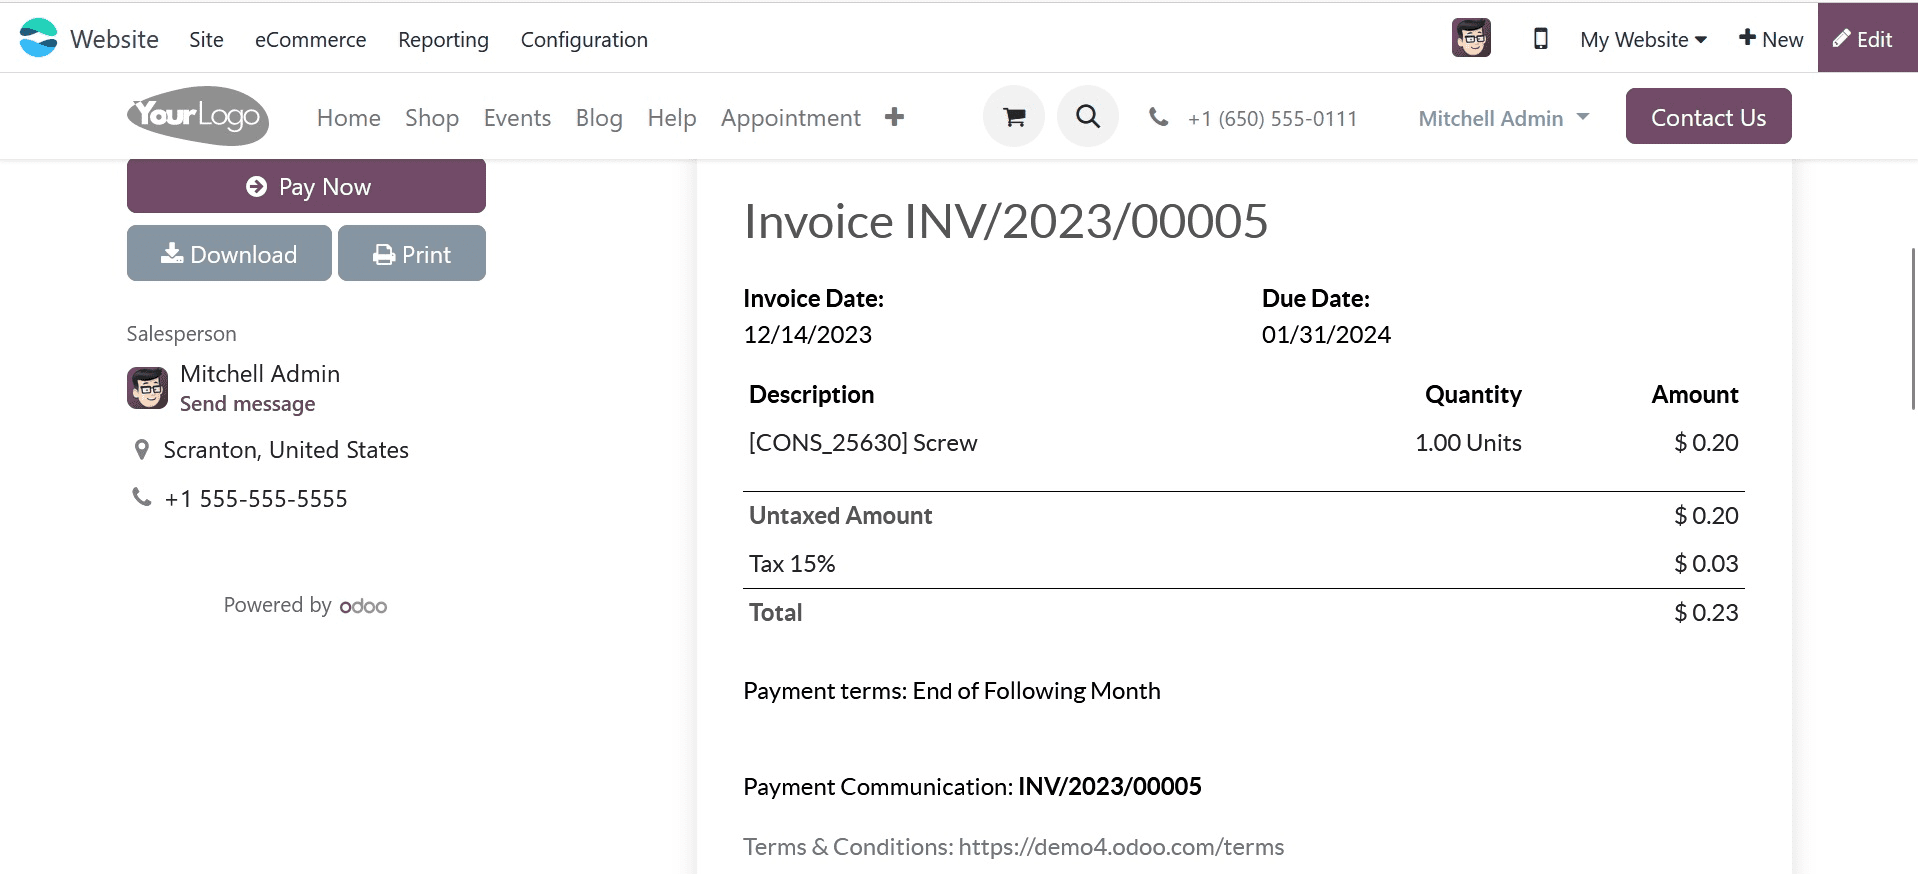
You can navigate to the website page by selecting the PREVIEW button in the Invoice box. As shown in the screenshot below, the customer preview portal's website has the applied link located beneath the Invoice Lines tab.
You will get the preview of the invoice as in the image below.
As a result, setting up a link on the Odoo 17 invoice or quotation webpage is simple.
By using Odoo 17's Accounting application, we can easily handle orders' or invoices' default terms and conditions. By using ERP software, a company can quickly add unique product needs to the client invoice.