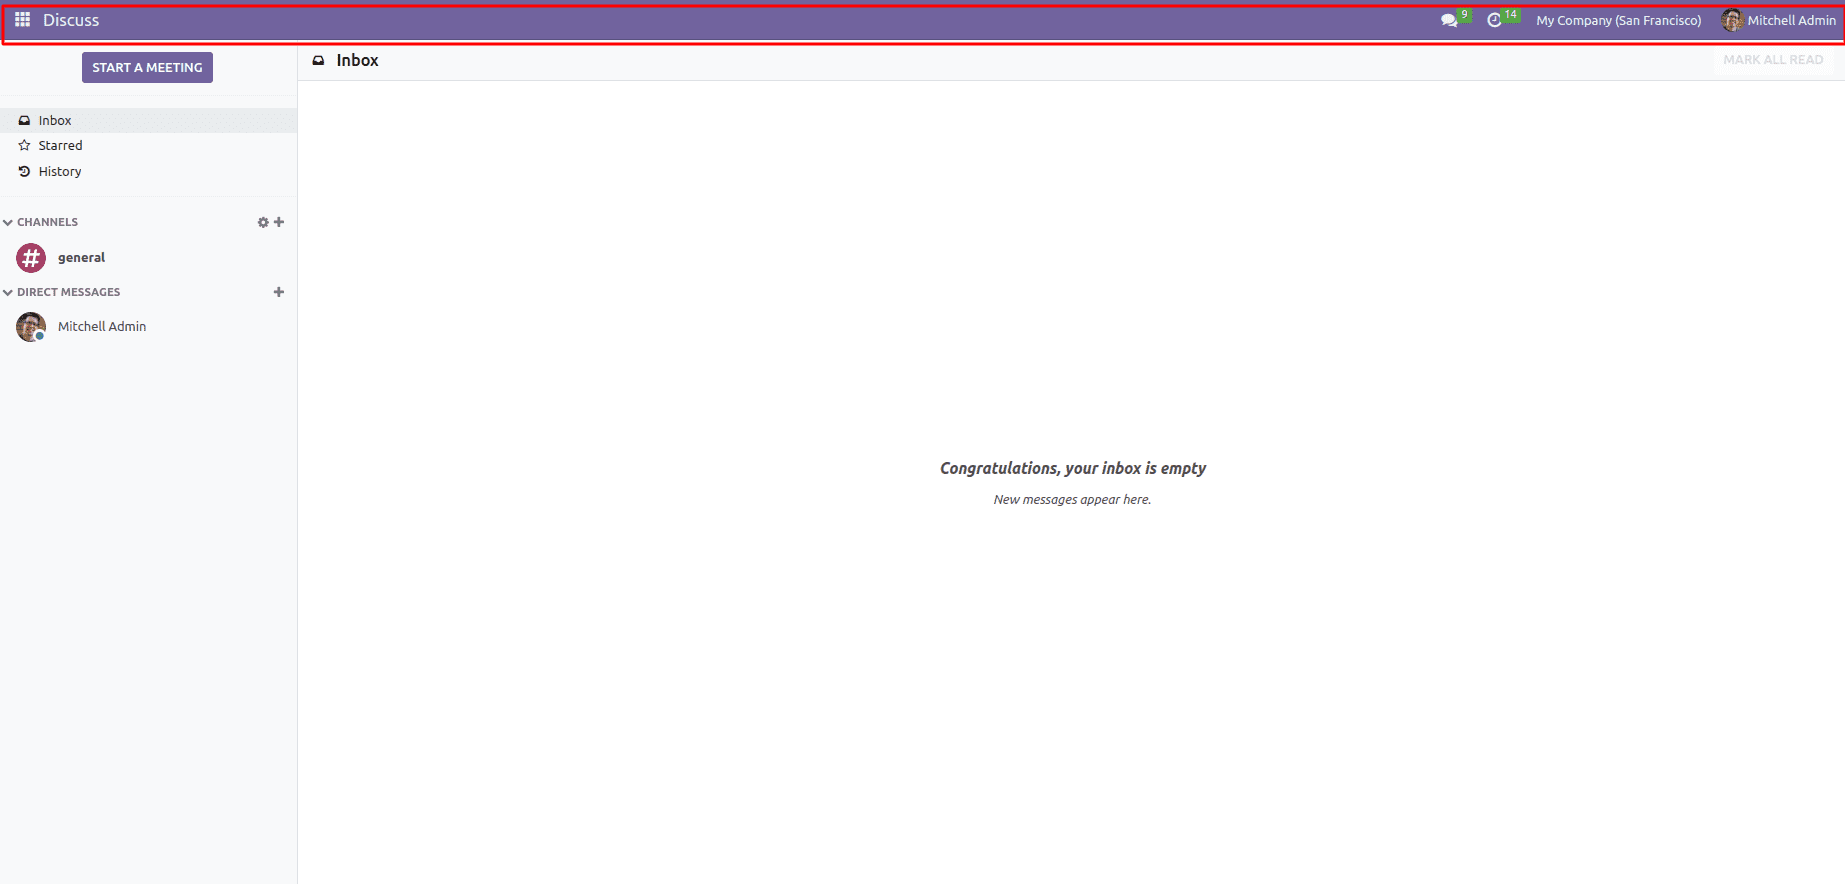
Odoo's Systray represents the top navbar in the Odoo interface. Systray icons are used to give users easy access to certain functionality or to show them notifications, and it is found in the interface's upper right corner. In Odoo, the default icons include a drop-down list linked to the installed username and the app launcher icon. However, the systray can be customized.
The below-marked section in the image shows the systray icons in Odoo.
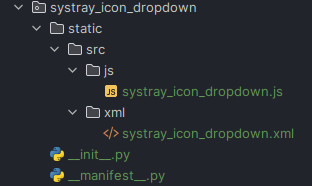
To set up a systray in the menu bar and define an action for it, begin by creating a directory. Within this directory, establish a "static" folder and include "JS" and "XML" directories inside it.
Next, develop a view for the systray icon to be displayed in the notification bar. In the XML file, create a template for the systray, and inside the <i> tag, provide the icon for the systray and define styles for the icon. As a result, the icon for the systray will be displayed in the notification bar.
<templates>
   <t t-name="IconSystrayDropdown">
       <div class="SystrayMenuContainer">
           <div class="o_MessagingMenu dropdown ">
               <div class="o-dropdown dropdown o_debug_manager o-dropdown--no-caret">
                   <a class="o_MessagingMenu_toggler dropdown-toggle o-no-caret o-dropdown--narrow" href="#"
                      title="Systray Dropdown" role="button" aria-haspopup="true" aria-expanded="">
                       <i id='create_so' class="fa fa-cloud"/>
                   </a>
               </div>
               <div id="systray_notif" class="o_MessagingMenu_dropdownMenu  o-dropdown-menu ">
                   <div class="container" style="padding-top: 4%;">
                       <div class="systray_notification"/>
                   </div>
               </div>
           </div>
       </div>
   </t>
   <t t-name="SystrayDetails">
       <div class="container">
           HI
           This Is a dropdown Systray.
       </div>
   </t>
</templates>
From this above template, “IconSystrayDropdown ” will help to add the icon for systray. Here this template adds a weather icon for the systray and also adds some classes to make it open a dropdown. And there another one more template “SystrayDetails” is used to add the contents that need to be shown in the dropdown.
After adding the template, we need to add some JS code to display the icon in the systray and to provide the click functions for the systray.
/** @odoo-module **/
import core from 'web.core';
import SystrayMenu from 'web.SystrayMenu';
import Widget from 'web.Widget';
var qweb = core.qweb
const SystrayWidget = Widget.extend({
  template: 'IconSystrayDropdown',
  events: {
      'click .o-dropdown': '_onClick',
  },
  _onClick: function(ev){
       var self = this
       let dropBox = $(ev.currentTarget.parentElement).find('#systray_notif')
       if (dropBox[0].style.display == 'block'){
           dropBox[0].style.display = 'none'
       }
       else{
           dropBox[0].style.display = 'block'
       }
       $('.systray_notification').html((qweb.render("SystrayDetails")))
  },
});
SystrayMenu.Items.push(SystrayWidget);
export default SystrayWidget;
In order to provide action for this icon, we must first import the Widget and SystrayMenu classes. Existing classes can be extended in Odoo JavaScript by utilizing the extend function. By using this method, you can create a new class called SystrayWidget, which inherits all the properties and methods of the original class (widget class) while also allowing you to override or add new properties and methods. It will help to add a new widget to the systray icon. After that, we can mention the template name of the systray icon, and inside the events, mention a _onClick function to open the drop-down. In this click, the function lets make the properties to show and hide the drop-down box. After that, we can render the “SystrayDetails” template to show the contents.
After creating the JS file and the XML template file, the next step is to add both of these files to the manifest file of the module.
'assets': {
    'web.assets_backend': [
        'systray_icon_dropdown/static/src/js/systray_icon_dropdown.js',
        'systray_icon_dropdown/static/src/xml/systray_icon_dropdown.xml',
    ]
 }
After completing all the steps, let's install the module and check the results.
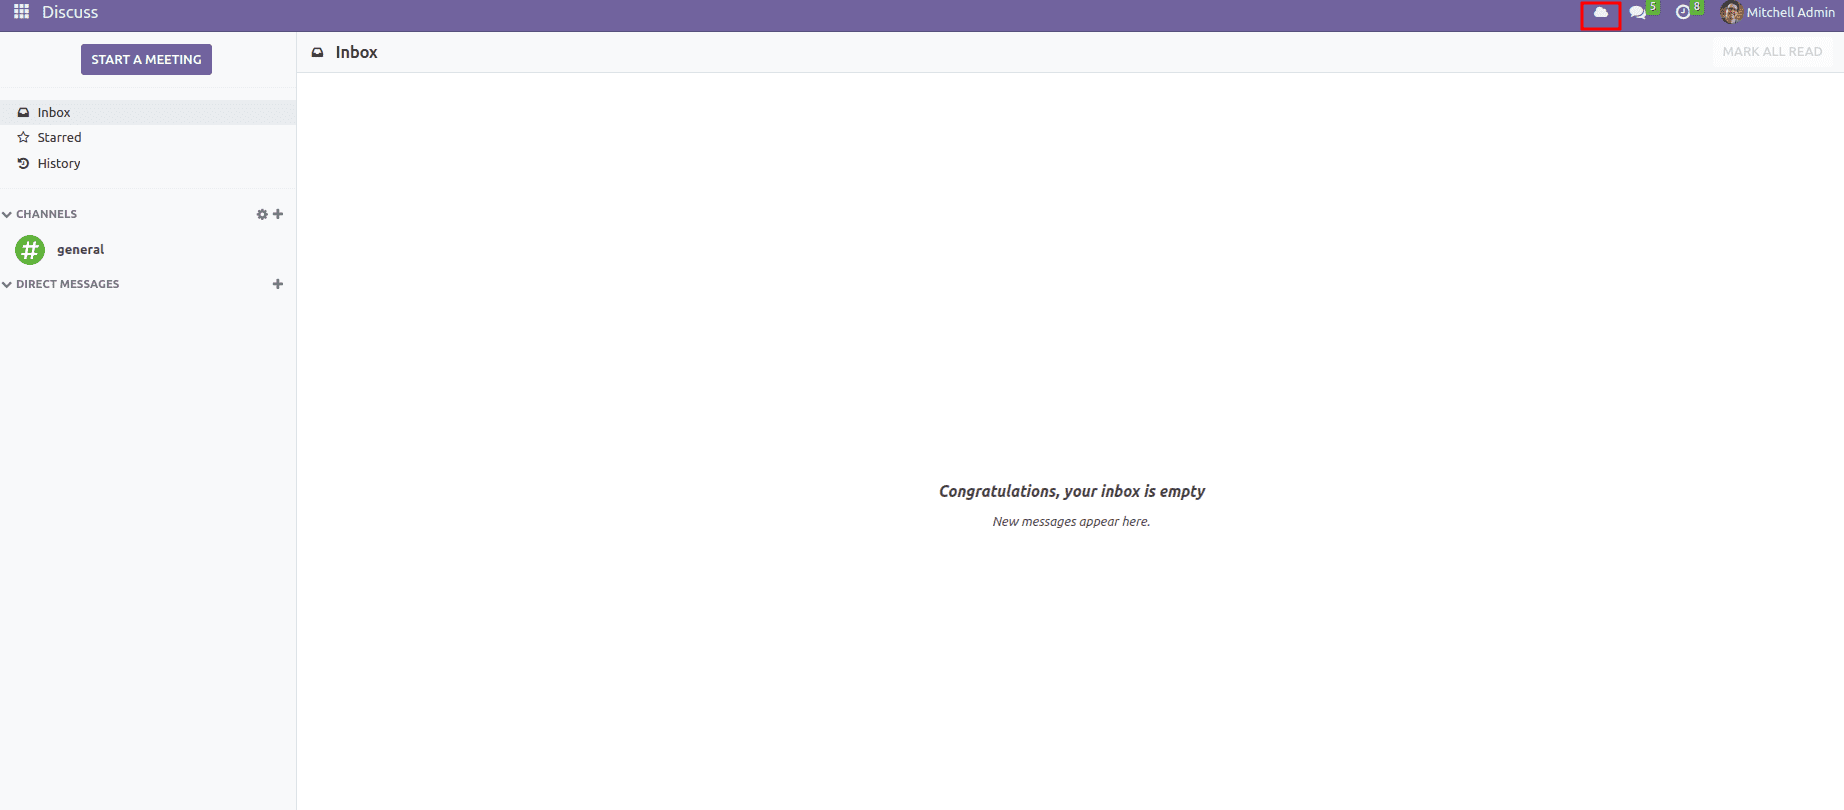
After the installation, the weather icon will be visible on the notification bar.
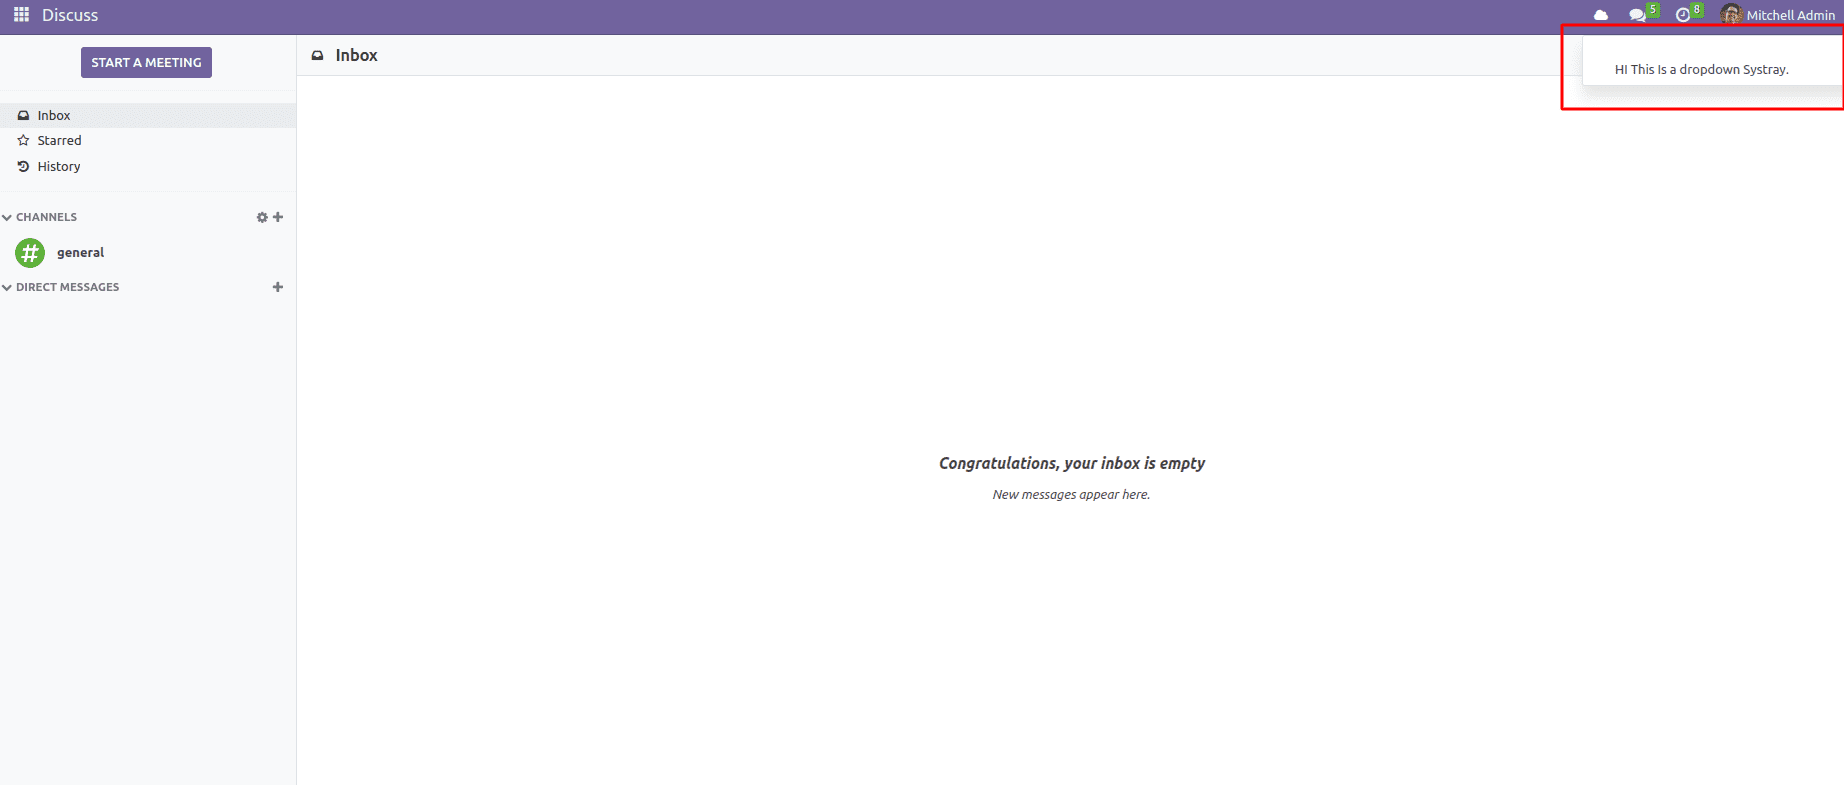
On clicking the icon, a drop-down is opened, and you can see the content that we provided on the template “SystrayDetails” in drop-down.