Basically, websites using Odoo have preset themes. It is automatically installed when installing the Odoo Website module. In this blog, I will share with you the basic idea of creating a custom module for the theme in Odoo 15.
The first step is to install the website module.

Once you click the install button of the website you will be redirected to a new page where you can select a theme for your website. You can change the theme later.
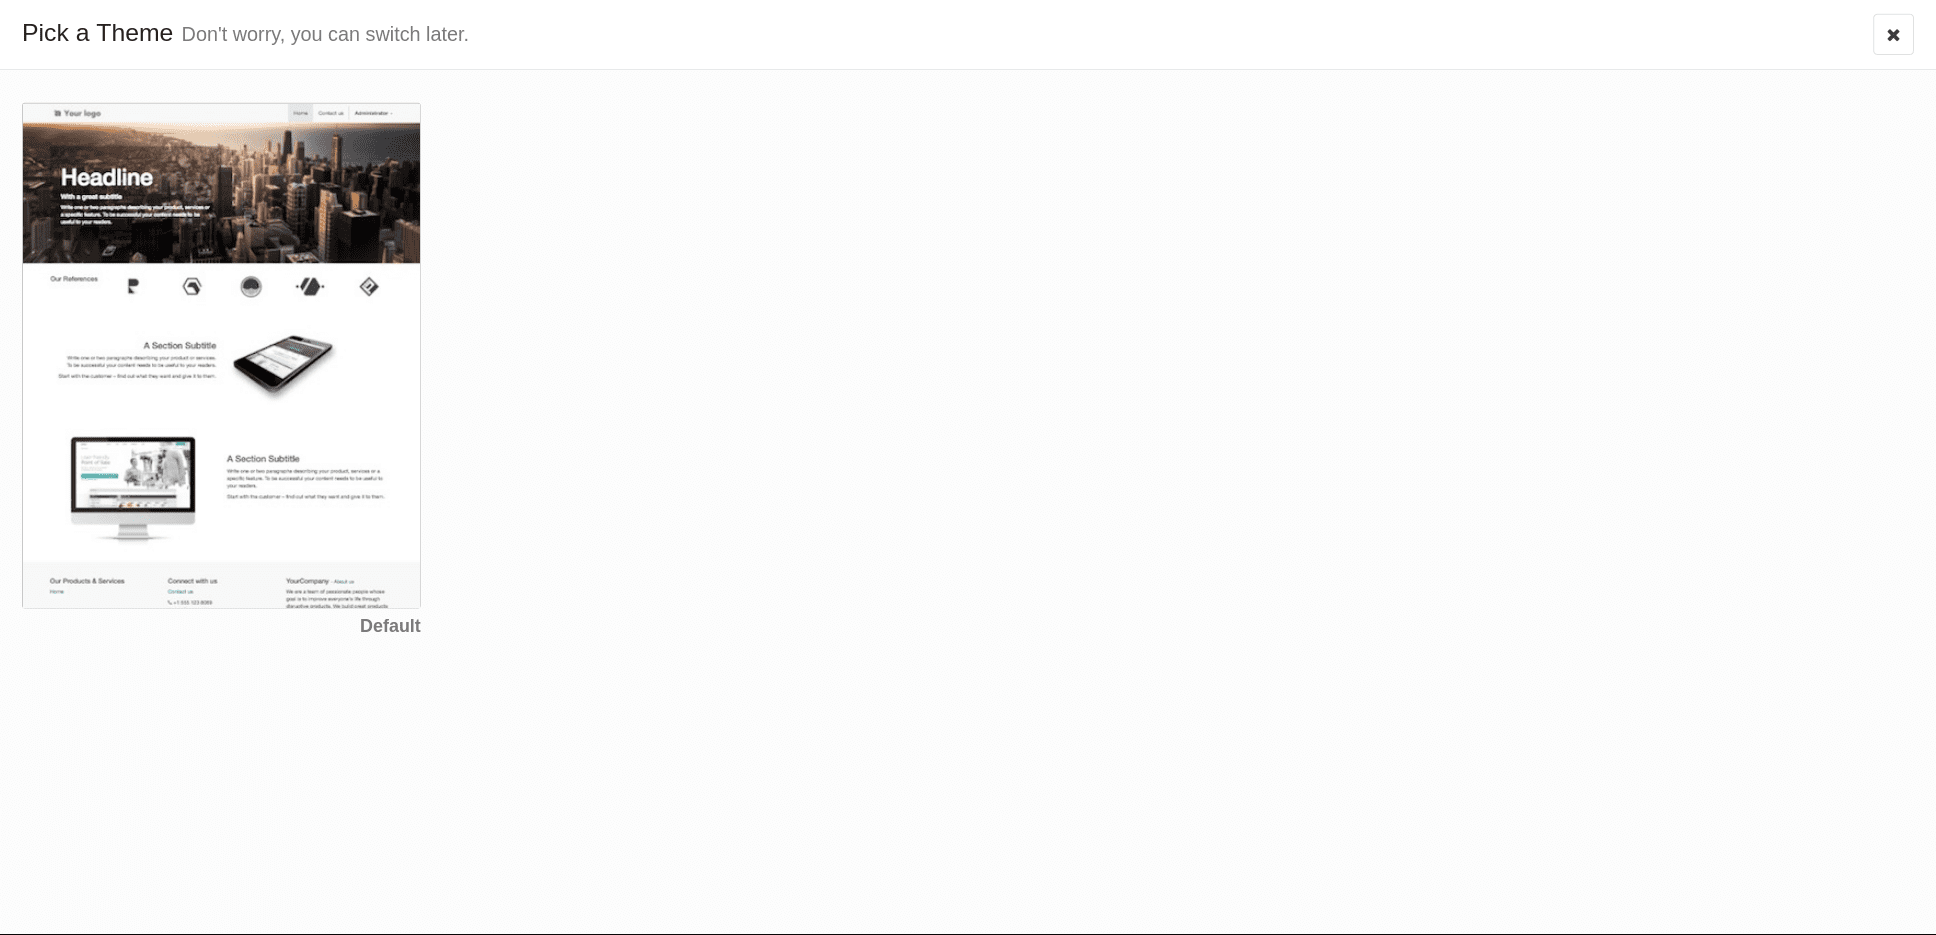
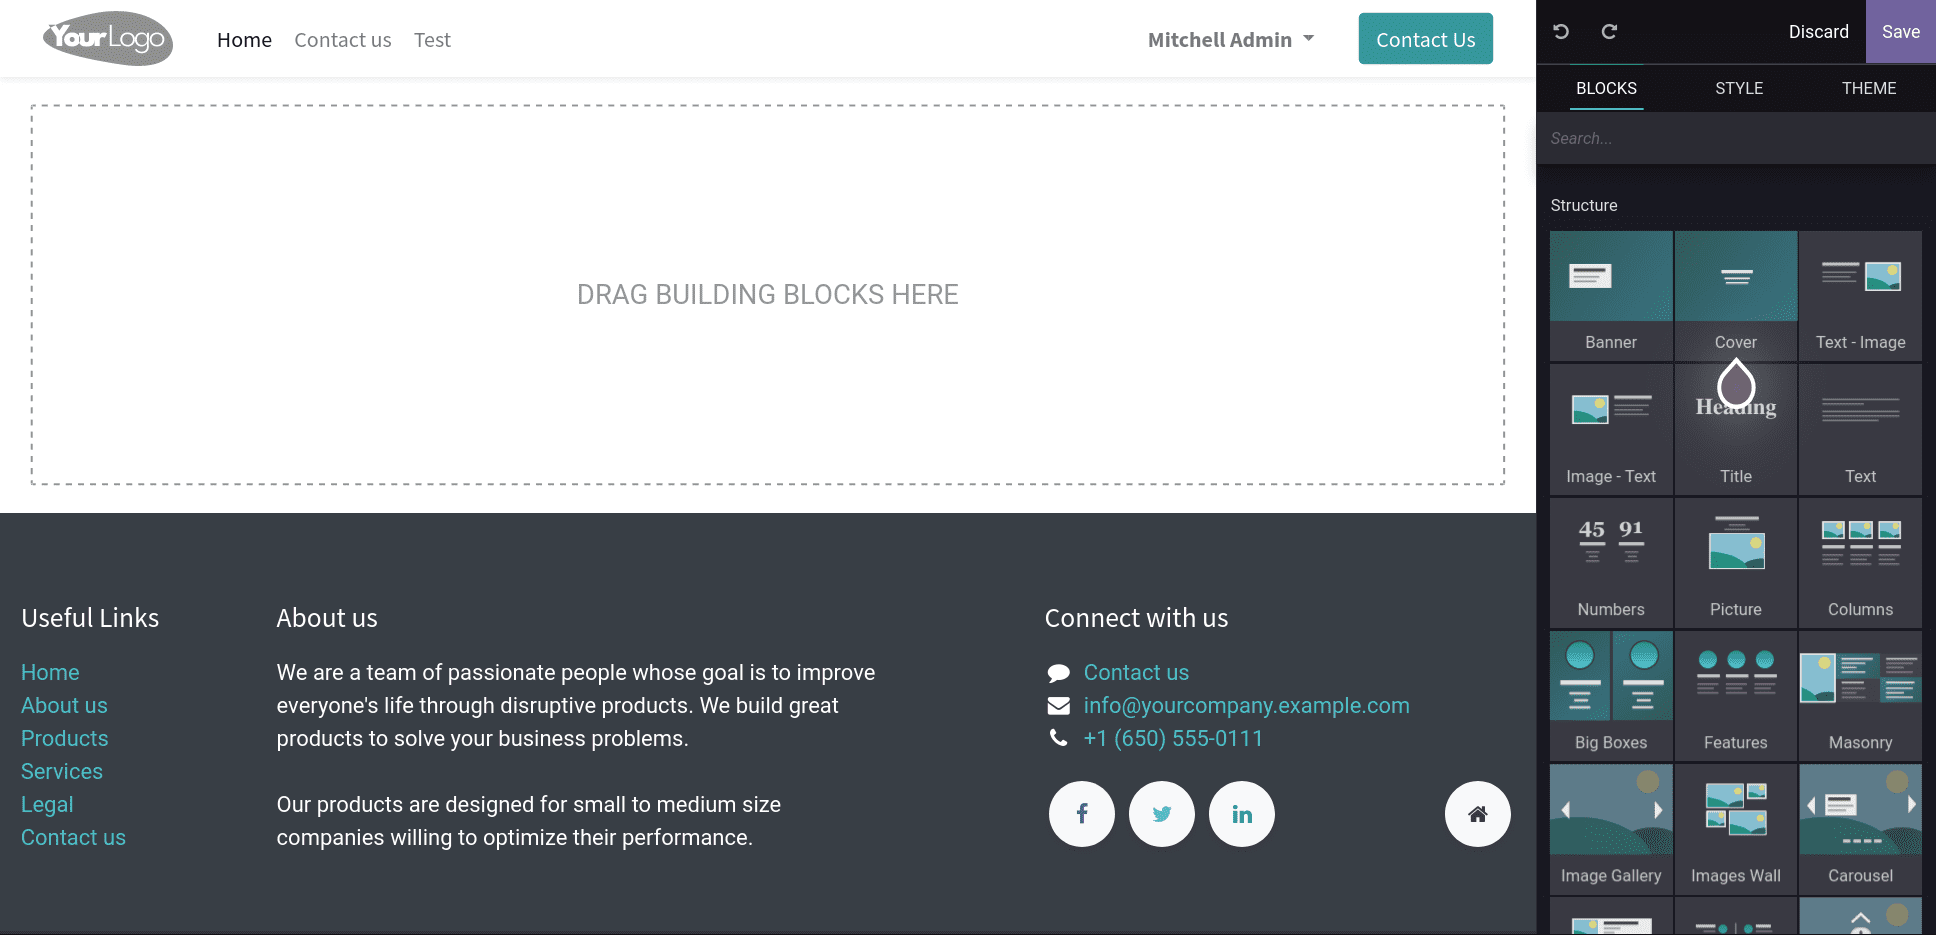
On that page, you can see all the themes on our system. And Click the 'Use this theme' button of the theme that we select that helps you choose a theme for your website. This will redirect to the website page editor view, from where you can select styles, options, or blocks that need for your web page. You can customize your web page style from here.
Now let's go through the basics of creating a custom module for the theme on an Odoo website.
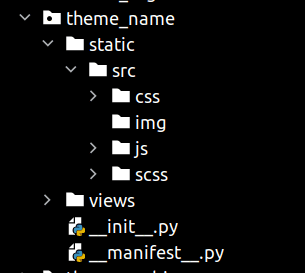
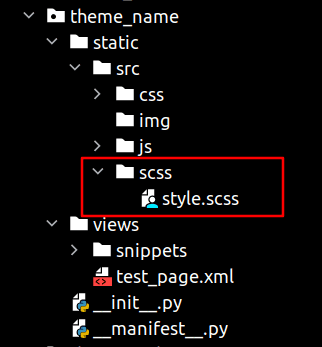
Here we can see the essential files for creating a custom theme module.
Create a theme folder with a technical name. It must be like 'theme_' followed by the theme name.
__manifest__.py
{
    'name': 'My Custom Theme',
    'description': 'A description for your custom theme',
    'summary': 'Summary for your custom theme',
    'category': 'Theme/Creative',
    'version': '15.0.1.0.0',
    'depends': ['website'],
    'data': [
        'views/test_page.xml'
    ],
    'assets': {
        'web.assets_frontend': [],
    },
}
*category: Category must always be the theme of a theme module, after the slash, which defines its subcategory
*depends: we can add modules that work for our theme.
*assets: Assets in Odoo are organized into bundles. In the module manifest, each bundle has a list of file locations for a certain kind, such as XML, JavaScript, CSS, or SCSS. Using glob syntax to declare files, allowing you to declare many asset files on a single line.
Folders:-
*Static: Static folder contains CSS / js / IMG folders. It helps in assigning styles and designing web pages.
*Views: View folders contain the templates or views for the website and we can add snippets and options in the views folder.
Web page structure:-
By default, Odoo has a default header and footer. Page content makes the web page unique and more user-friendly.
Create a page layout:-
We must have an XML file to create a page layout. It is defined under the views folder.
page.xml
<?xml version="1.0" encoding="utf-8"?>
<odoo>
    <data>
        <record id="test_page" model="website.page">
            <field name="name">Test page</field>
            <field name="website_published">True</field>
            <field name="url">/test</field>
            <field name="type">qweb</field>
            <field name="key">theme_name.test_page</field>
            <field name="arch" type="xml">
                <t t-name="theme_name.test_page_template">
                    <t t-call="website.layout">
                        <div id="wrap">
                            <div class="container oe_structure">
                                <h1 class="test-heading">Test Page</h1>
                                <ul class="test">
                                    <li>Feature 1</li>
                                    <li>Feature 2</li>
                                    <li>Feature 3</li>
                                </ul>
                            </div>
                        </div>
                    </t>
                </t>
            </field>
        </record>
    </data>
</odoo>
Here, you can see some additional parameters like name and URL.
Inside the template, we can use this <t t-call = "website.layout">, It is the default layout of the website. Inside this layout, we can design our own page content.
Url redirects the current page we created. Eg: <your_website>/test
Add this XML file in __manifest__.py file like as follows
'data': [‘views/test_page.xml’],
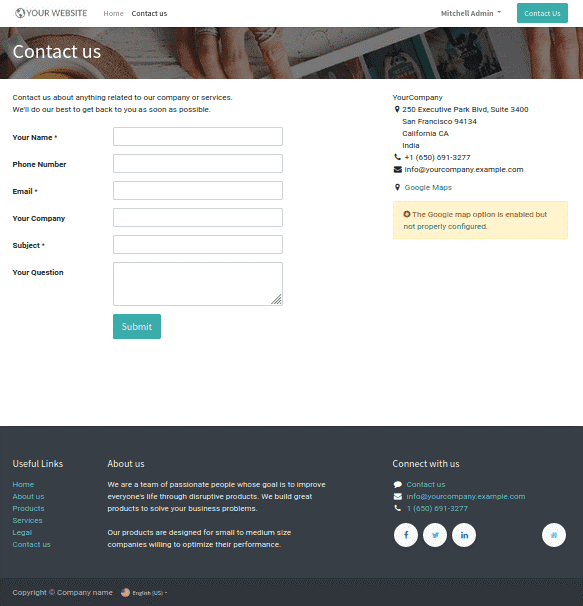
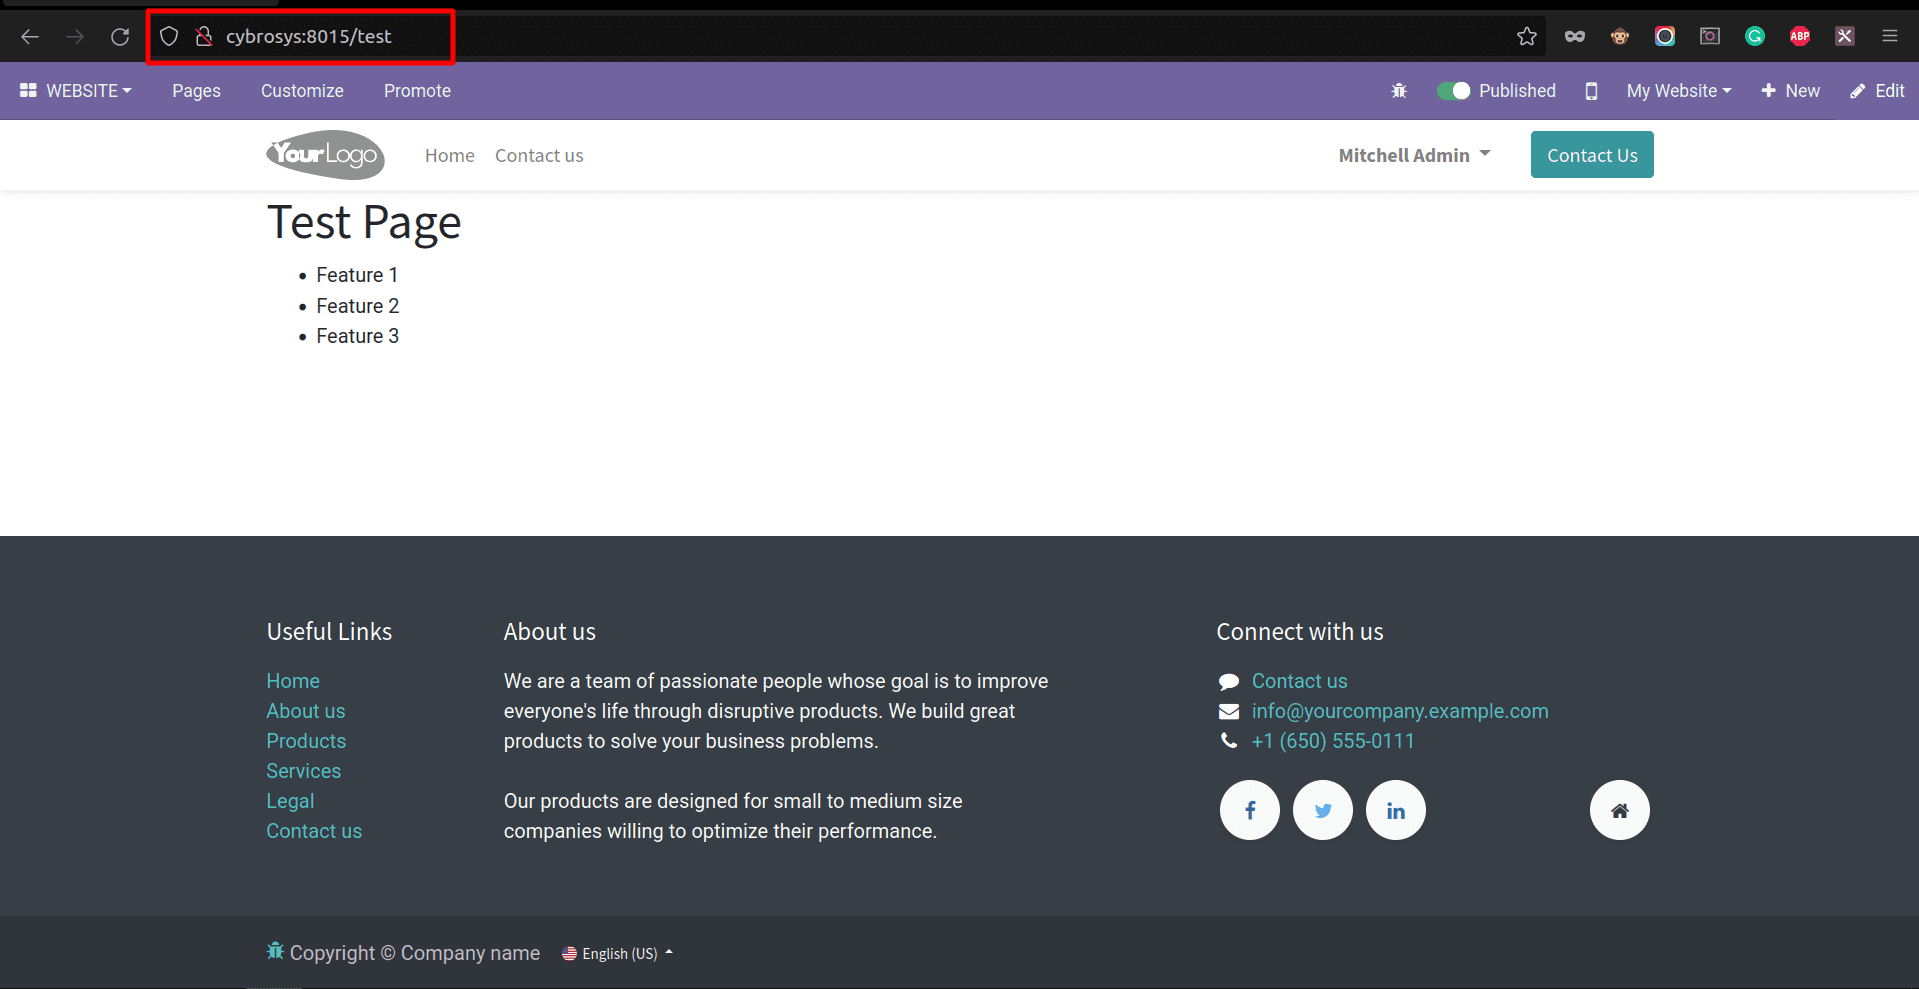
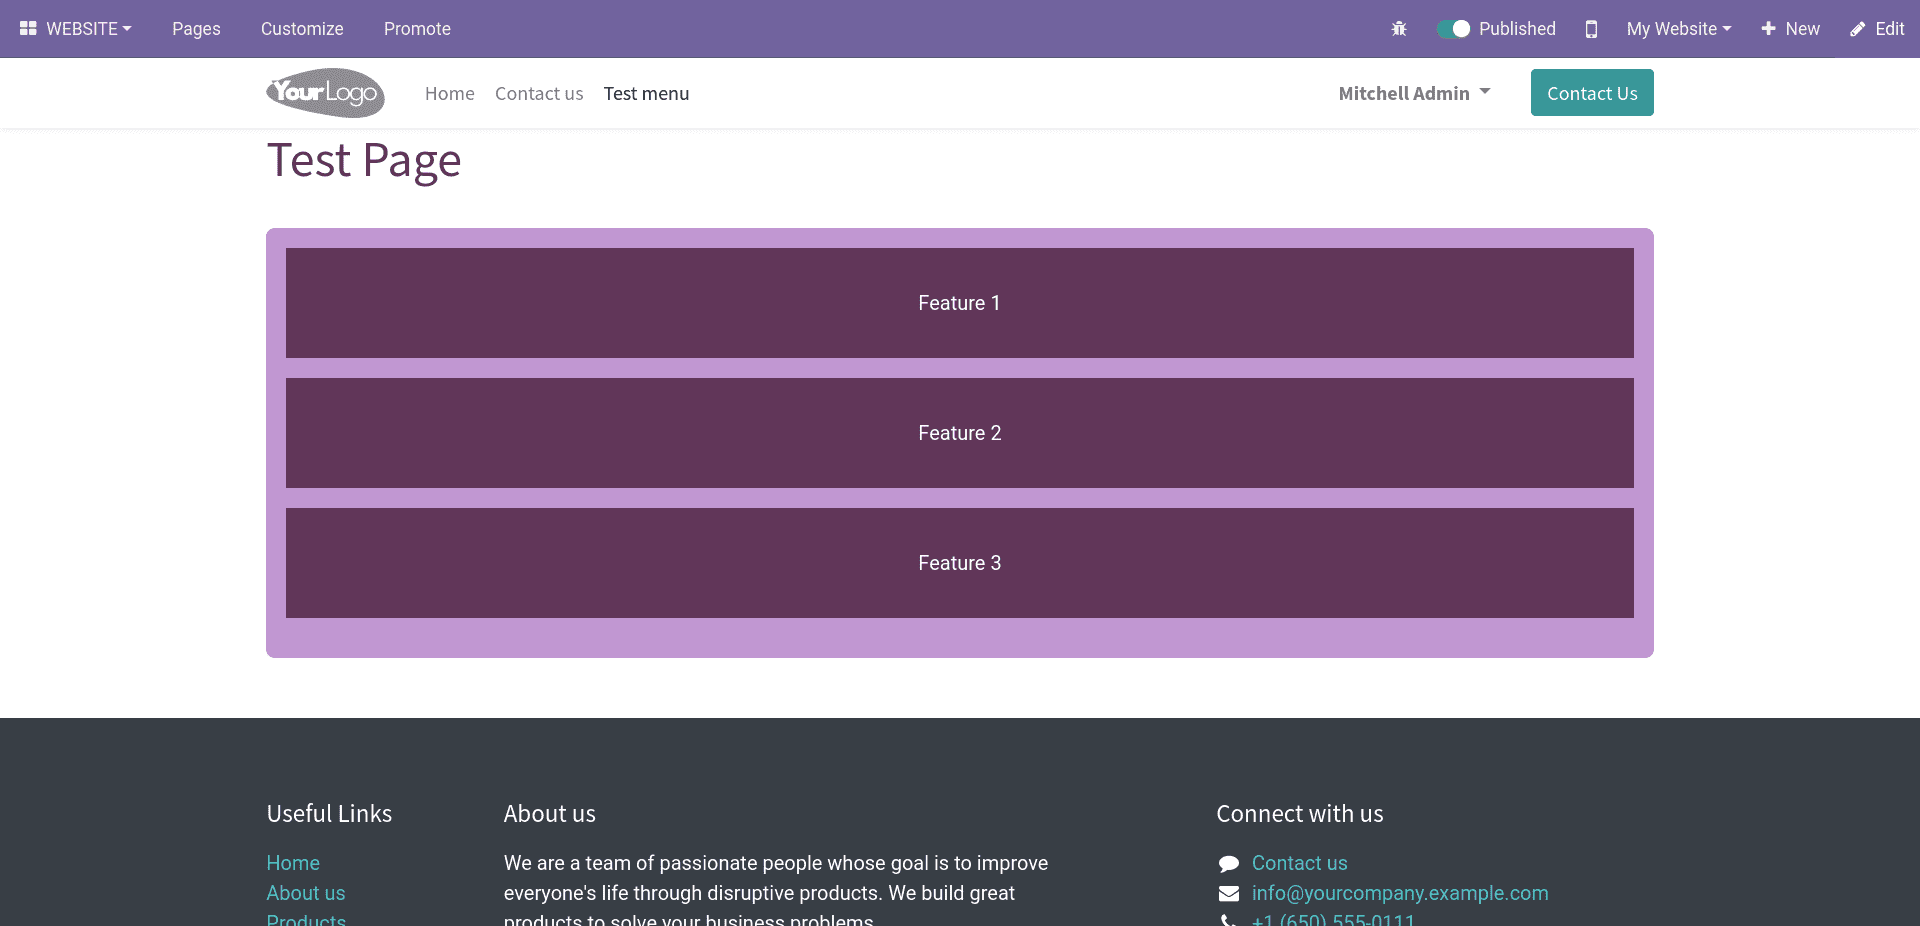
The below image shows the website view of the test page.
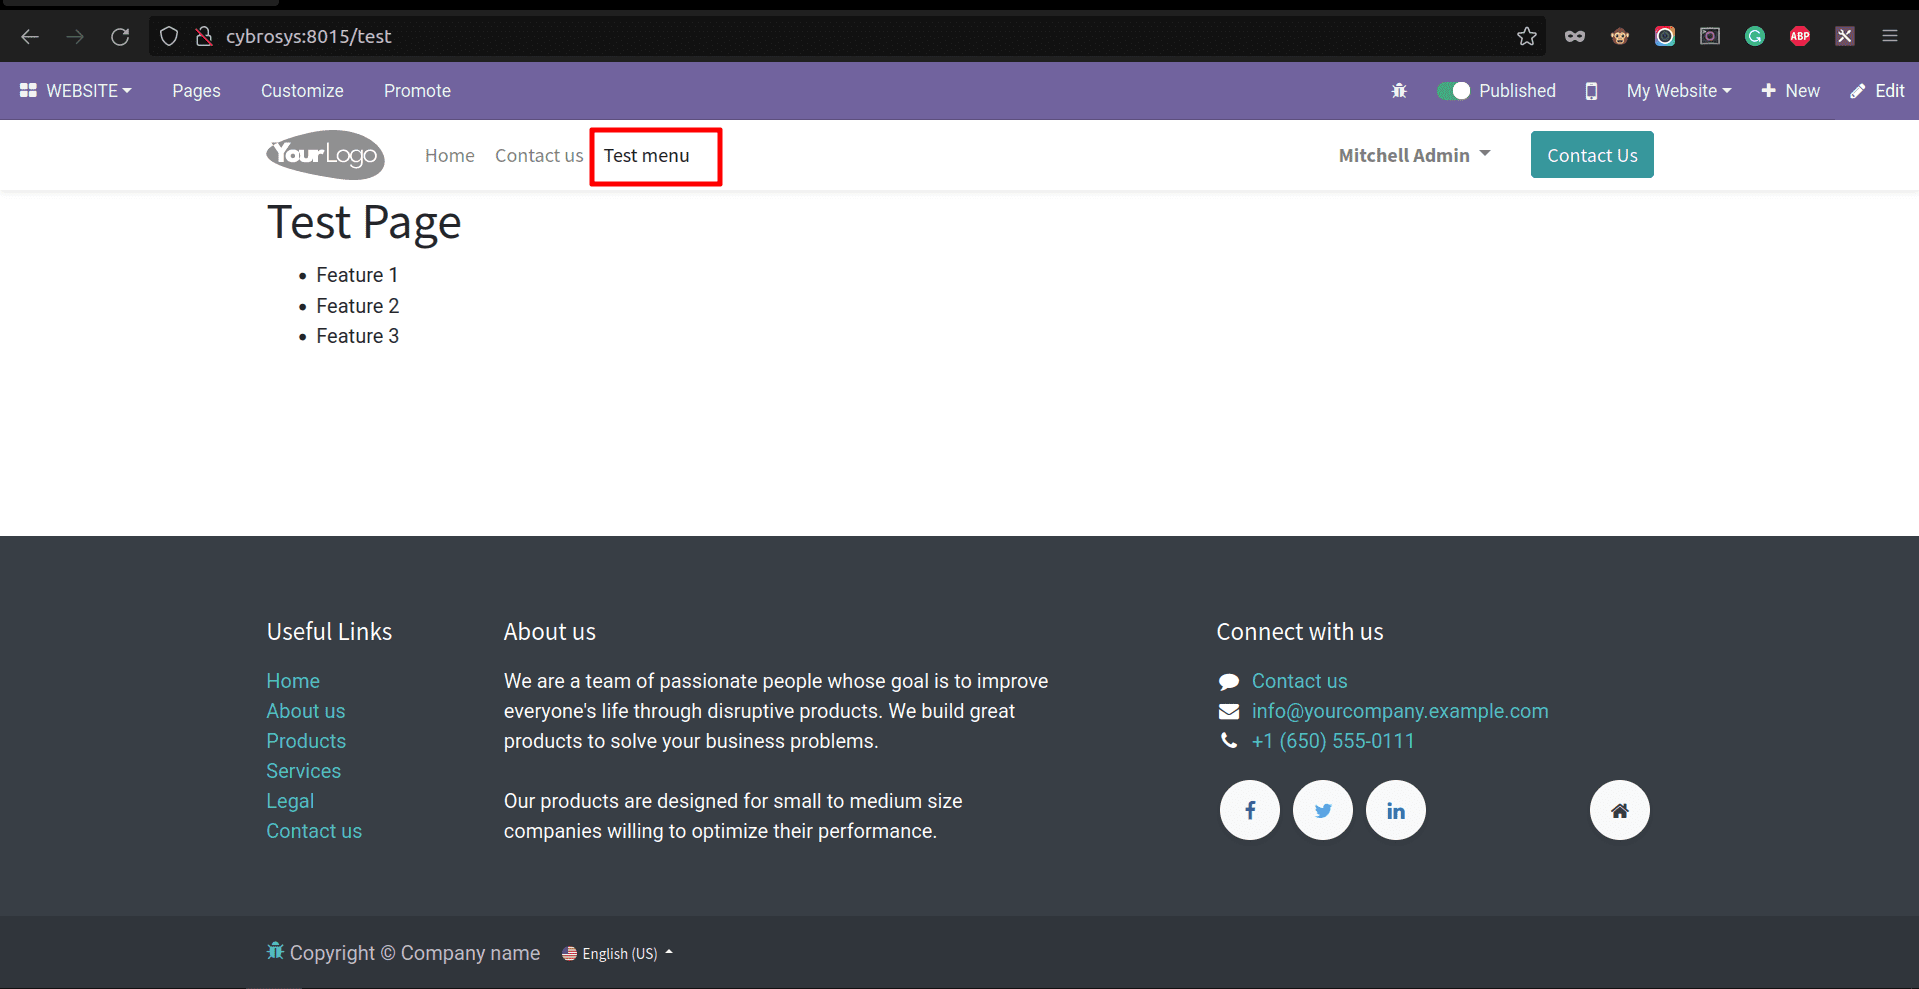
Next, we can check how to create a menu for this page.
<record id="test_page_menu" model="website.menu">
    <field name="name">Test</field>
    <field name="page_id" ref="test_page"/>
    <field name="parent_id" ref="website.main_menu"/>
    <field name="sequence" type="int">99</field>
</record>
The page_id parameter indicates the template ID for the page layout.
Then you can add your own CSS / SCSS styles to make your page content more colorful and attractive.
Create a CSS/SCSS file inside the static folder using the class test and enter the path to the asset. Insert the asset XML file inside the manifest file.
style.scss
.test-heading {
    color: #613659;
}
.test {
    background: #c197d2;
    padding: 1em;
    border-radius: 7px;
    margin: 2em 0 3em;
    li {
        display: block;
        position: relative;
        color: #FFF;
        padding: 2em;
        text-align: center;
        margin-bottom: 1em;
        font-size: 1.0em;
        background-color: #613659;
    }
}
Add your style sheet to the manifest as a frontend asset:
'assets': {
'web.assets_frontend': [
'/theme_name/static/src/scss/style.scss'
],
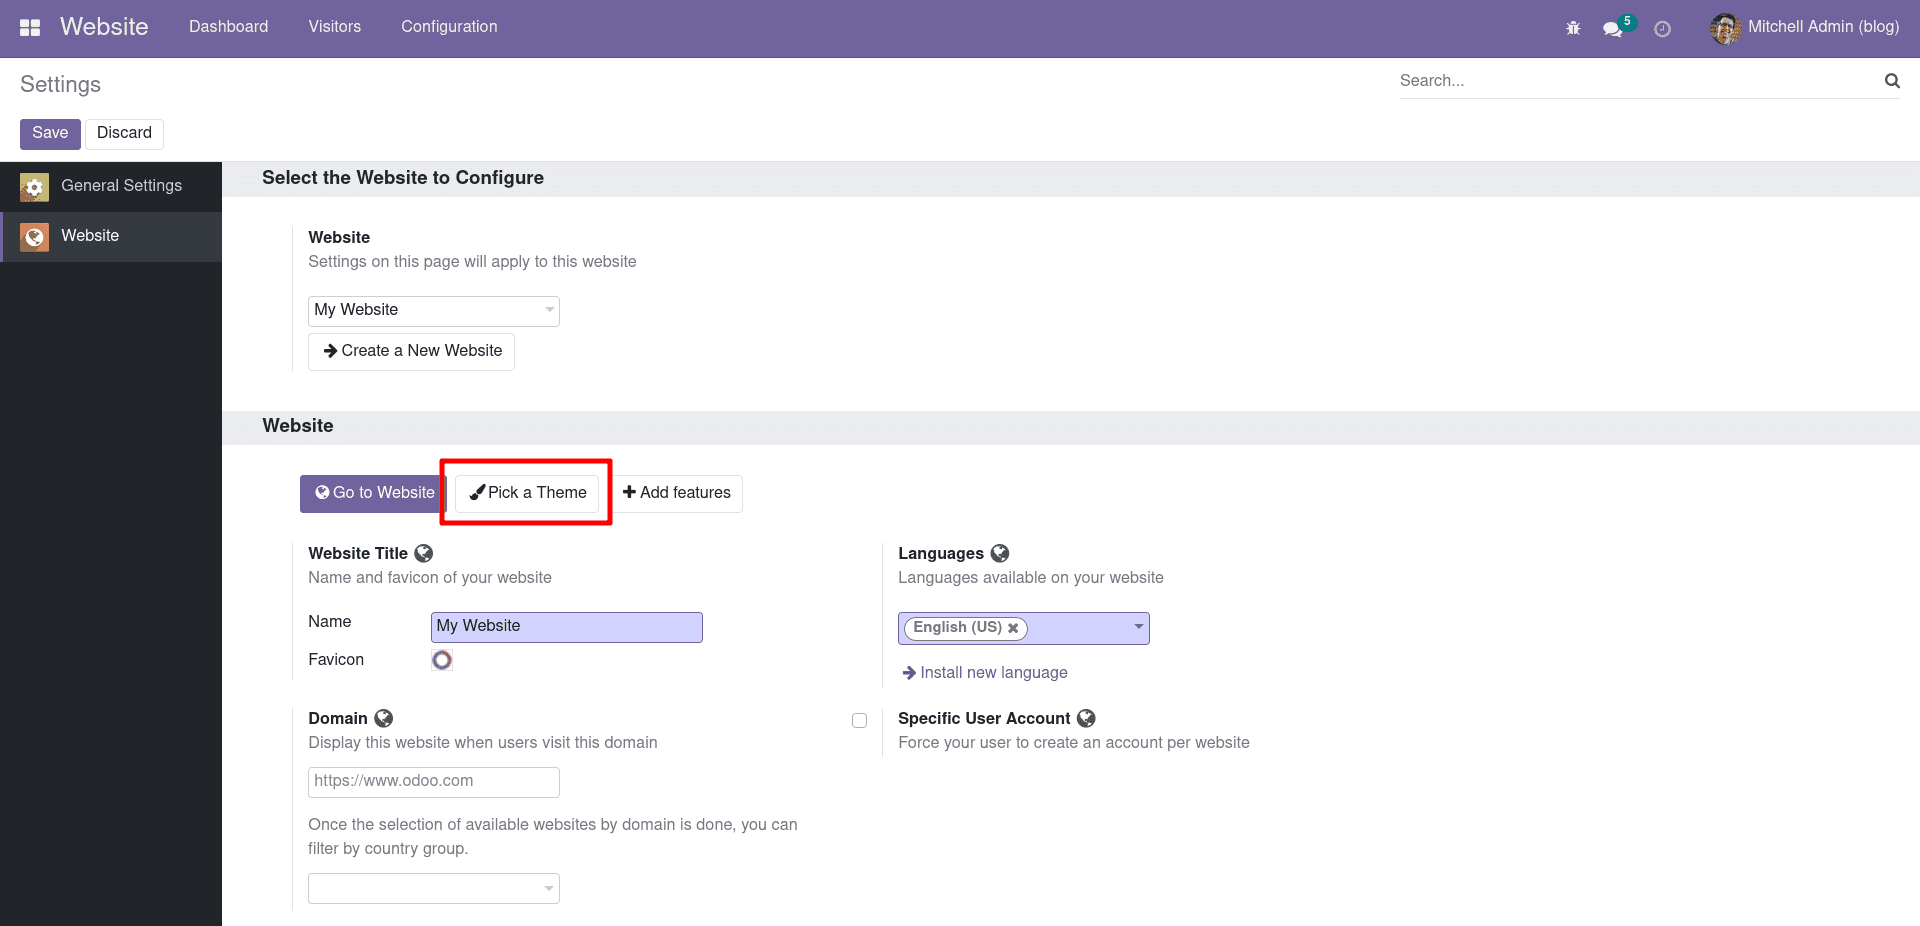
},Upgrade your theme:
You can go to the website ? configuration ? settings ? pick a theme
After the upgrade you can view your page as seen below.
You can design web pages like this. You can create snippets and use drag and drop to add snippets to your webpage.
Creating a basic snippet:
1. Create a template (XML):
<template id="test_snippet" name="Test Snippet">
  <section class="container oe_structure">
    <h1 class="test-heading">Test Snippet</h1>
    <ul class="test">
      <li>Feature 1</li>
      <li>Feature 2</li>
      <li>Feature 3</li>
    </ul>
  </section>
</template>
2. Register the snippet to the building blocks (XML):
<template id="test_snippet_register" inherit_id="website.snippets" name="Test Snippet Register">
	<xpath expr="//div[@id='snippet_structure']/div[hasclass('o_panel_body')]" position="inside">
    	<t t-snippet="theme_name.test_snippet" t-thumbnail="/theme_name/static/src/img/test_thumbnail.png"/>
	</xpath>
</template>
t-snippet = this attribute is used to mention the theme_name.snippet_id
t-thumbnail = used to add a thumbnail for snippet
3. Add the styles (CSS / SCSS) in the manifest as assets.
4. Add the test_snippet.xml to the manifest.
'data': [
    	'views/test_page.xml',
    	'views/snippets/test_snippet.xml'
],
5. Upgrade your theme and click the edit on the navbar then you can see the created snippet under the Structure.
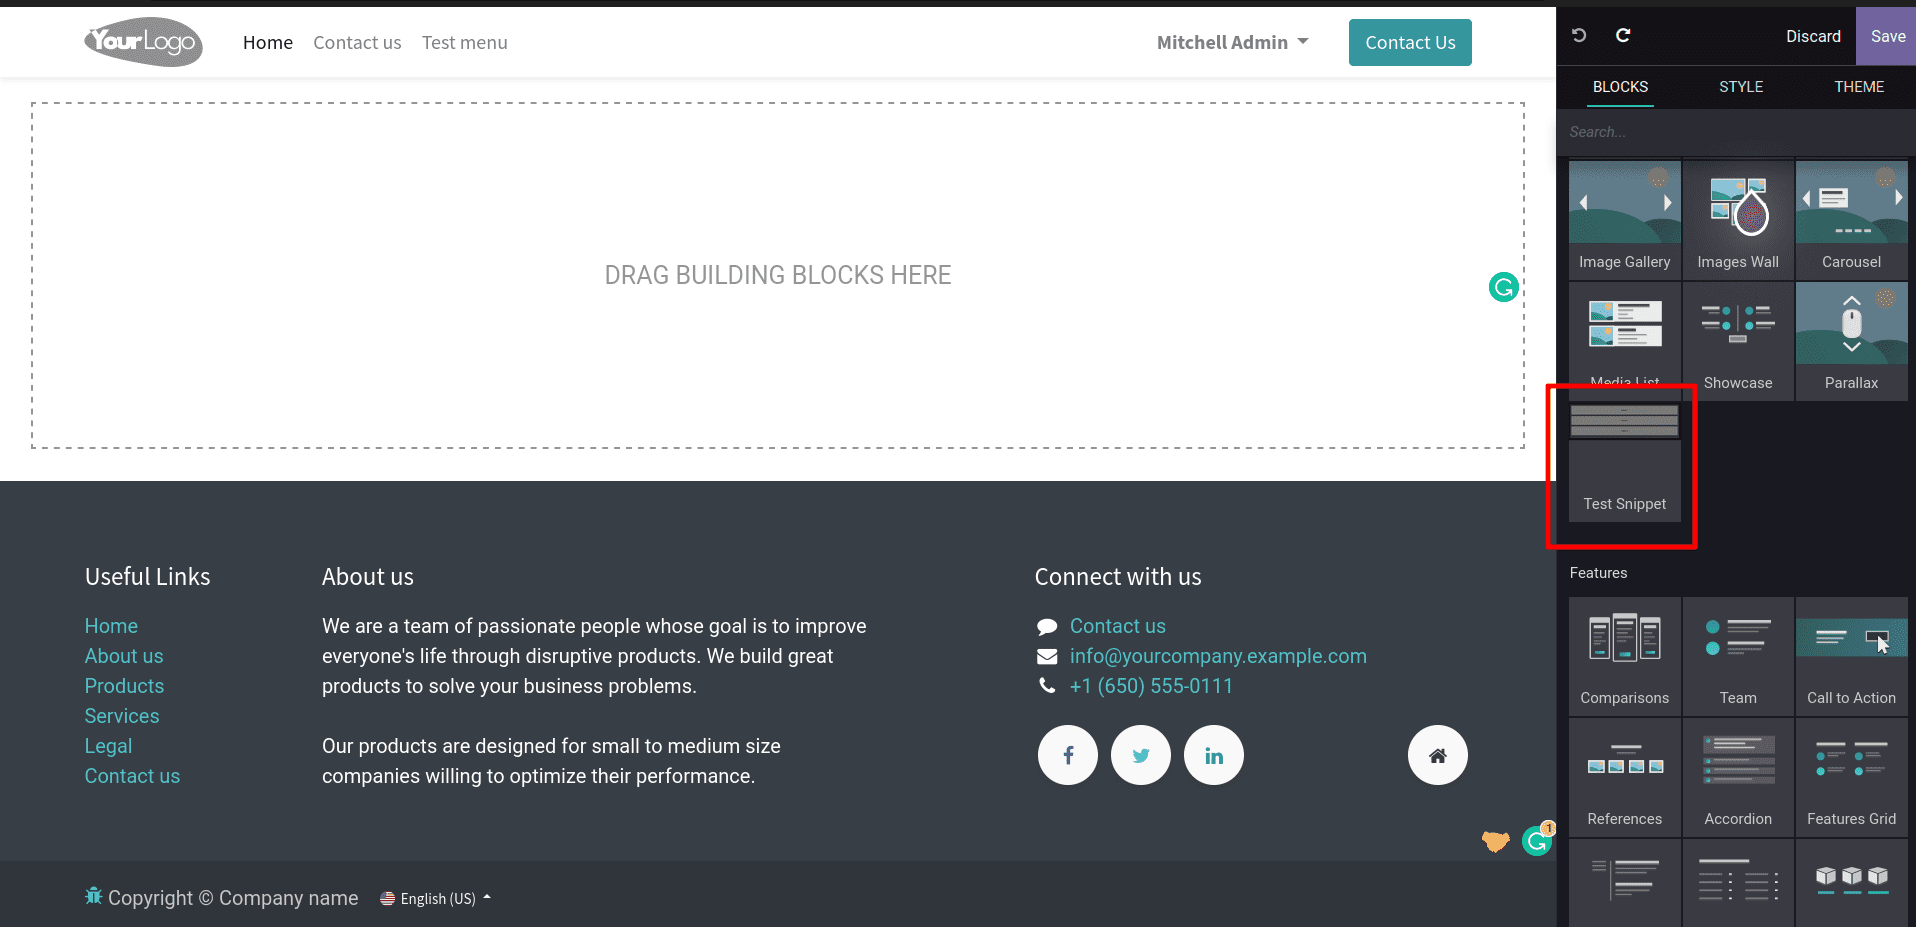
6. Drag and drop the snippet to your pages.
You can check out the following blogs to learn more about how to create snippets.
1. How to Create a Snippet in Odoo 15 ERP
2. How to Create a Custom Responsive Snippet in Odoo 15
We hope this blog helps you to create a custom theme module in Odoo15.