Systray functions as part of the notification space of the Odoo interface. The prime objective of systray is to show the icons of sure programs in order that the users get quick access to the notifications and are regularly reminded of what's happening around them. Systray makes positive that during a single click, the user is familiar with each notification that's coming back.
In Odoo, default icons embody a drop-down list hooked up to the logged user name and app launcher icon. However, the systray is customizable. we will add icons to the systray consistent with our would like.
We can easily add or remove the icon from the systray by installing or uninstalling the associated module.
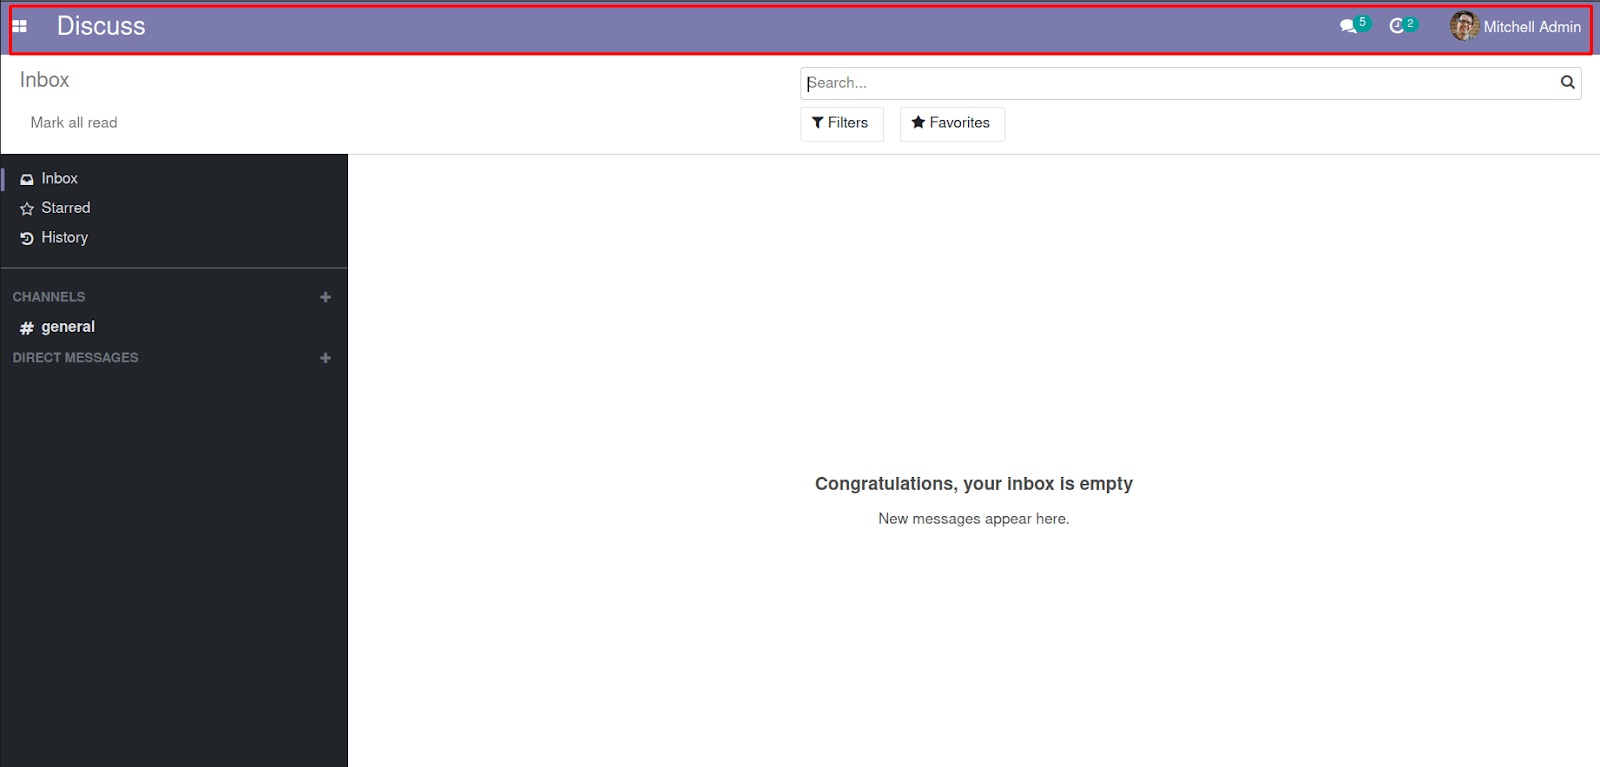
The marked space shows the systray of Odoo
Let’s check up on a way to add an icon to the systray.
Firstly, we've to make a view for the icon to show in the systray, for that let’s create a template.
The below template will show a square icon in the systray. And while clicking the icon we get a dropdown list with a text box with a button. We can call a python function while clicking the button and will show the address of the user in the text box.
<?xml version="1.0" encoding="UTF-8"?>
<templates id="template">
   <t t-name="address_systray">
       <li class="o_mail_navbar_item">
           <a class="dropdown-toggle o-no-caret" data-toggle="dropdown" data-display="static" aria-expanded="false"
              title="Add" href="#" role="button">
               <i id='fa-plus' class="fa fa-plus-square-o" role="img" aria-label="Add"/>
           </a>
           <ul class="o_mail_navbar_dropdown dropdown-menu dropdown-menu-right" role="menu">
               <li class="o_mail_navbar_dropdown_top" style='height:55px;width:250px;'>
                   <div class="container">
                       <form class="address_form" name="f_translate">
                           <input type="text" id="address" class="form-control" name="address"/>
                           <center>
                               <input type="button" class="ass" id="add" title="Add" value="Add"/>
                           </center>
                       </form>
                   </div>
               </li>
           </ul>
       </li>
   </t>
</templates>
After creating the template we need to add this icon to the systray menu, for that we need some javascript code.
For writing the javascript code we need to extend the Widget class. The Widget class is a crucial building block of the user interface. And also we need to add the SystrayMenu class since we are adding new icons to the systray menu(The class SystrayMenu that manages the icons within the menu bar). And we need to require the RPC class to call the python function.
Let’s look at the common syntax of the javascript code to add an icon to the systray menu
//define the odoo.define method
var SystrayMenu = require('web.SystrayMenu');
var Widget = require('web.Widget');
var rpc = require('web.rpc');

var ActionMenu = Widget.extend({
         template: 'systray_cloud.myicon',//provide the template name
     events: {
        //add events here
        },
   //some functions
   });
   SystrayMenu.Items.push(ActionMenu);//add icon to the SystrayMenu
   return ActionMenu;//return widget
});
In our case, the javascript code will as follows
odoo.define('systray_task.address', function (require) {
   "use strict";
   var core = require('web.core');
   var QWeb = core.qweb;
   var Widget = require('web.Widget');
   var SystrayMenu = require('web.SystrayMenu');
   var rpc = require('web.rpc');
   var Address = Widget.extend({
       template: 'address_systray',
       events: {
           "click #add": "add_button"
       },
       add_button: function (event) {
           event.stopPropagation();
           var self = this;
           rpc.query({
               model: 'res.users',
               method: 'get_user_address',
               args: [],
           })
           .then(function (result){
               if (result){
                   self.$('#address').val(result);
               }
           });
       },

   });
   SystrayMenu.Items.push(Address);
   return Address;
});
In the above js file, I have added a click event for the button in the drop-down list, and from the click function we called the python function using RPC query, and the return value is passed to the text box in the drop-down list.
We need to create a python file consisting of the function and need to add it into the init file.
from odoo import models

class ResUser(models.Model):
   _inherit = 'res.users'
   def get_user_address(self):
       user = self.env.user
       address = ""
       if user:
           address = user.partner_id.street + ","+user.partner_id.city+","+user.partner_id.state_id.name
       return address
Create an XML file to add the js file to the web asset.
<?xml version="1.0" encoding="utf-8"?>
<odoo>
   <template id="assets_backend" name="assets" inherit_id="web.assets_backend">
       <xpath expr="." position="inside">
           <script type="text/javascript" src="/systray_task/static/src/js/systray.js"/>
       </xpath>
   </template>
</odoo>
And finally, we need to add the XML file to the manifest file.
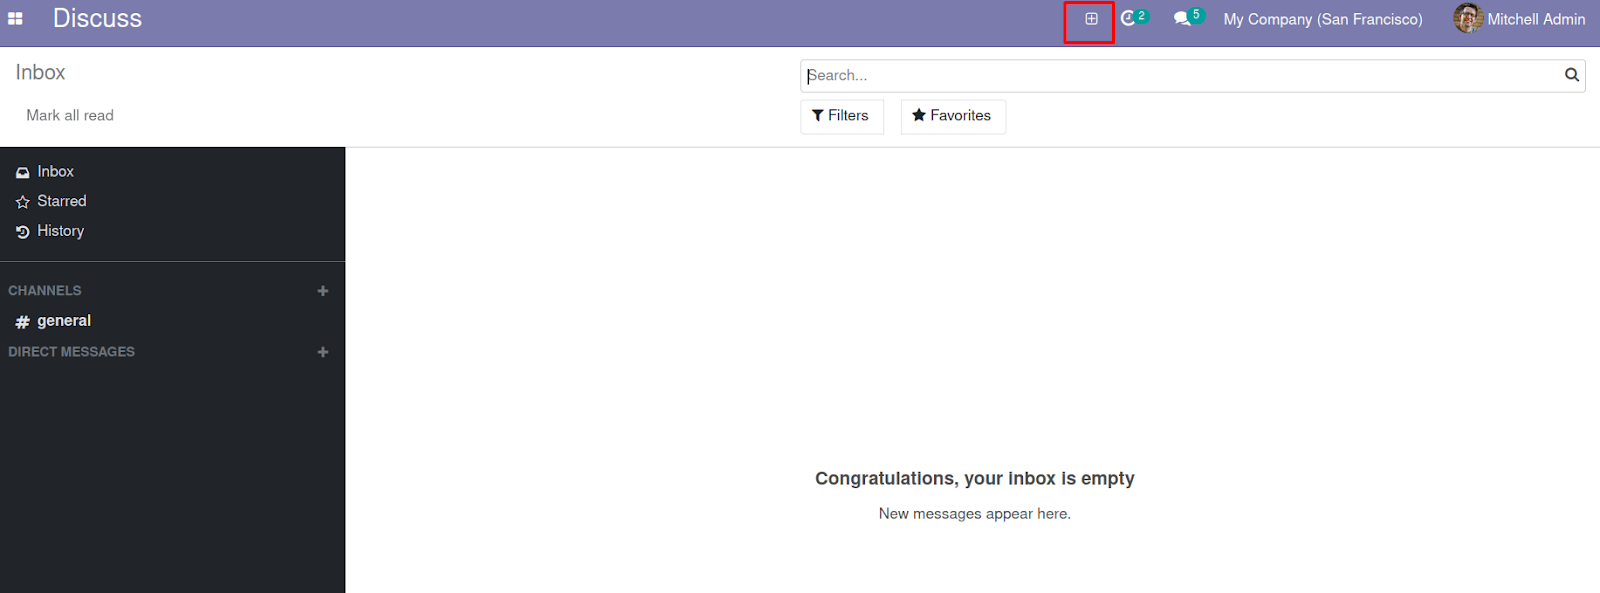
After installing the module you will get a new icon in the systray menu.
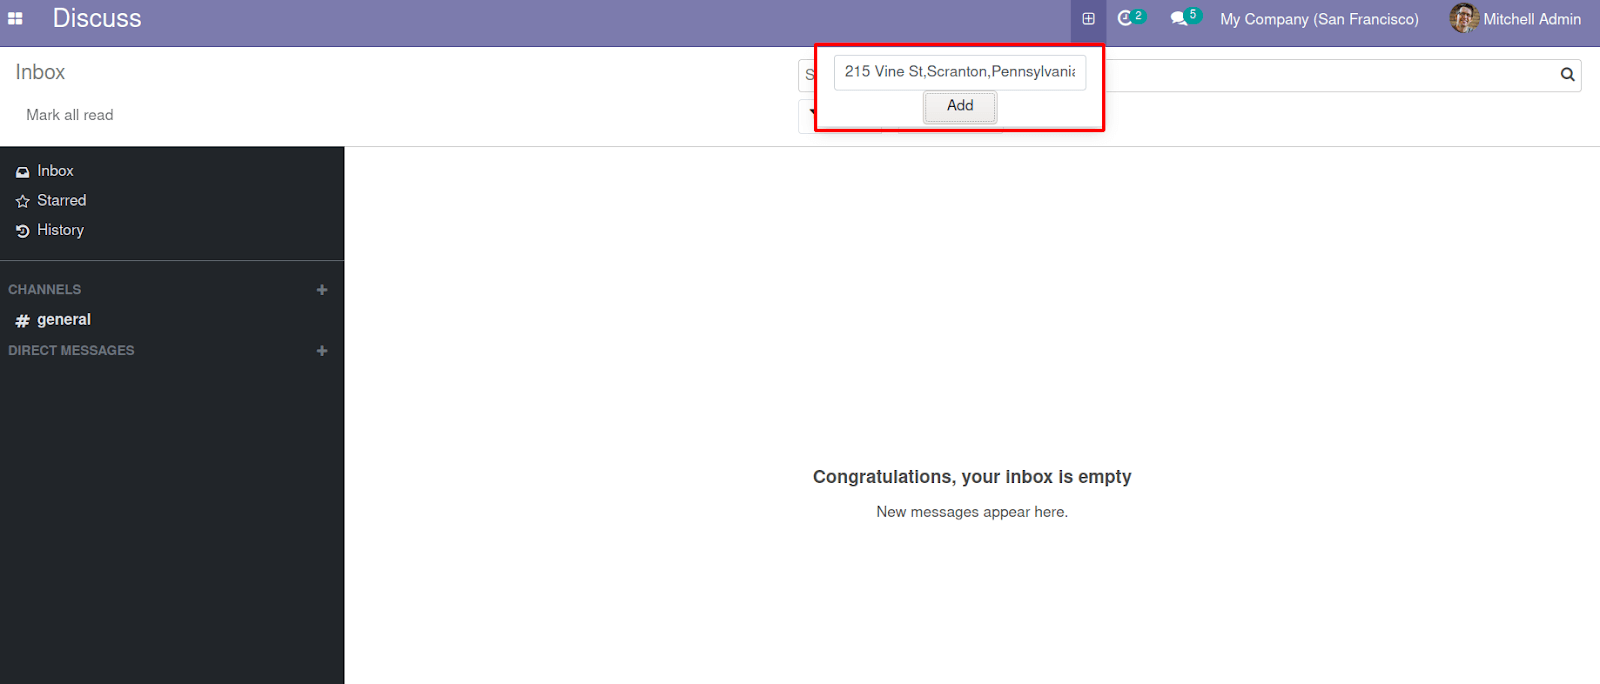
While clicking on the square icon you will get a dropdown menu.

By clicking the Add button you will get the address in the text box.