Systray is the top navbar of Odoo interface. The main objective of systray is to give quick access to important functionalities with a single click. In Odoo, the default icons include a drop-down list linked to the installed username and the app launcher icon. However, the systray can be customized.
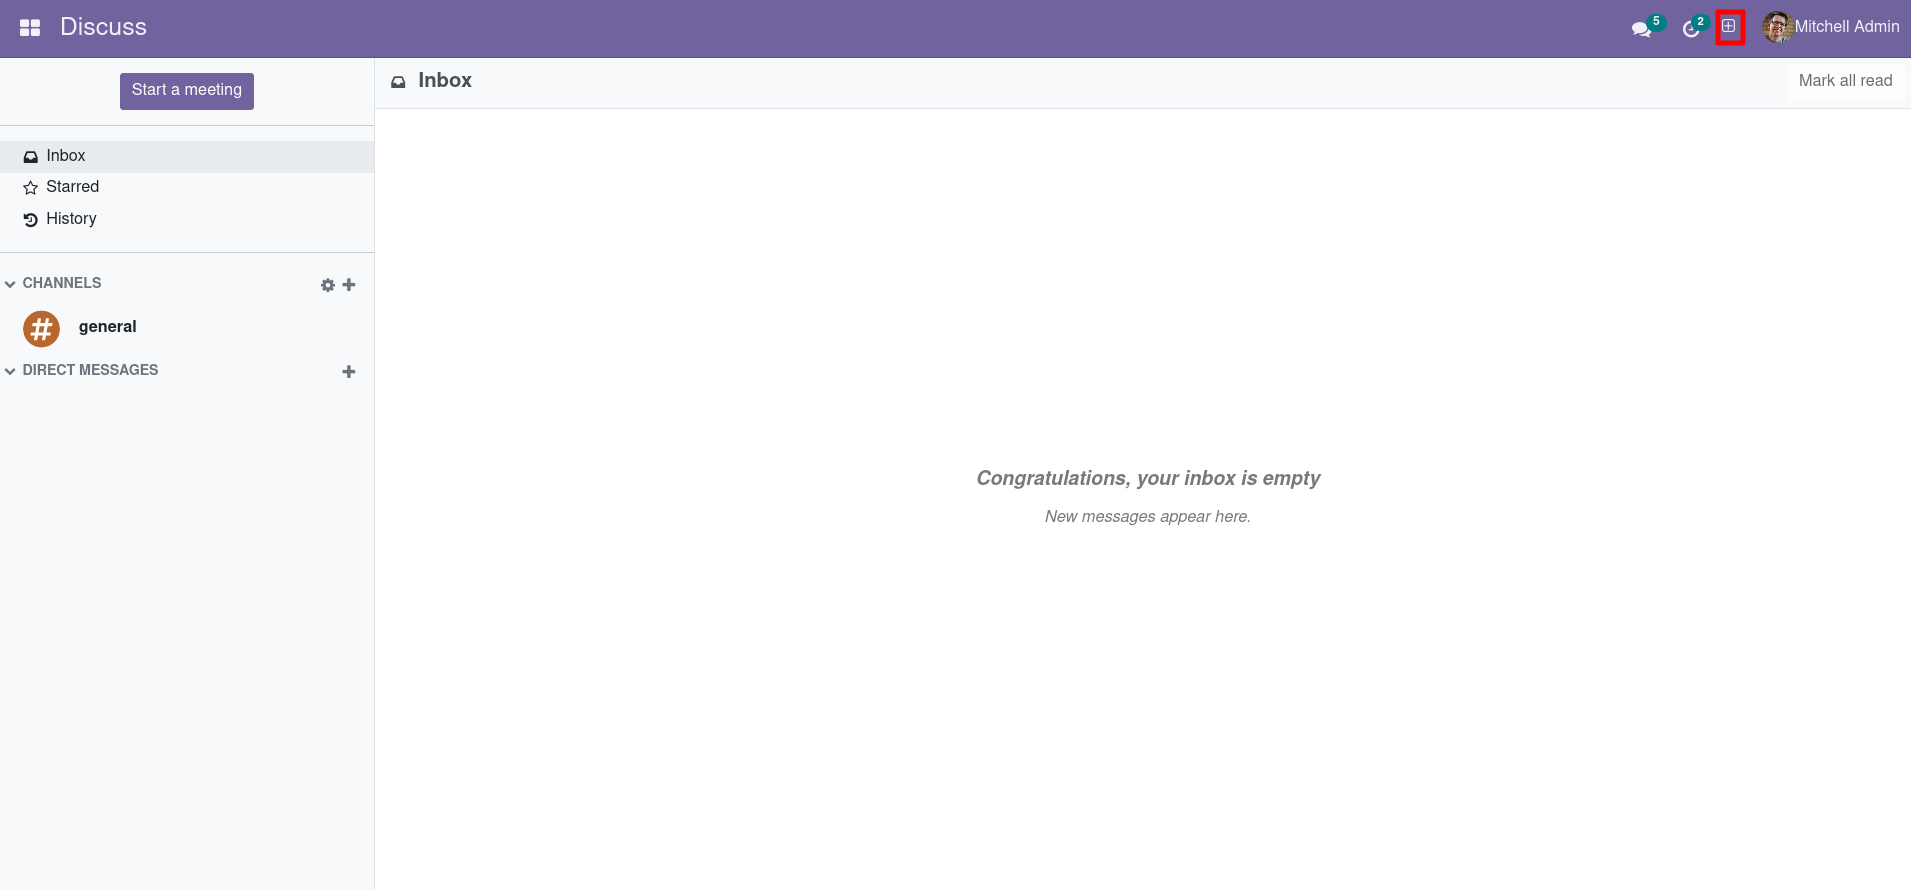
The marked space shown in the below screenshot is the systray.

Let’s look at how we can add an icon to the systray.
First, let’s make the view for the icon to show in the systray.
<?xml version="1.0" encoding="UTF-8" ?>
<templates>
  <t t-name="SaleOrderSystray">
      <div class="new_icon">
             <div class="icon_div">
                 <div class="toggle-icon" role="button">
                     <i id='create_so' class="fa fa-plus-square-o" role="img" aria-label="Create Sale Order"/>
                 </div>
             </div>
      </div>
  </t>
</templates>
The above template will add a square plus button to the systray. While clicking on the square plus button you will get a popup wizard to create a new sale order.
After adding the template to show the icon in the systray menu we also need to add some javascript code.
/** @odoo-module **/
import SystrayMenu from 'web.SystrayMenu';
import Widget from 'web.Widget';
var ExampleWidget = Widget.extend({
   template: 'SaleOrderSystray',
   events: {
       'click #create_so': '_onClick',
   },
   _onClick: function(){
       this.do_action({
            type: 'ir.actions.act_window',
            name: 'Sale Order',
            res_model: 'sale.order',
            view_mode: 'form',
            views: [[false, 'form']],
            target: 'new'
       });
   },
});
SystrayMenu.Items.push(ExampleWidget);
export default ExampleWidget;
First import the Widget and SystrayMenu classes. Then we need to extend the Widget class to create a new widget for our systray icon. Widgets are the most important tools to build a user interface in Odoo. Then we can specify the template or user interface of the widget. We can add events like click change etc… Here I have added a click event for the square plus icon which has an id of create_so. On that event, I gave a do_action to call the sale order.form.
After creating the javascript and XML templates we need to add them in the manifest file like below.
'assets': {
   'web.assets_backend': {
       '/systray_blog/static/src/js/systray.js',
   },
   'web.assets_qweb': {
       '/systray_blog/static/src/xml/systray.xml',
   },
},
After installing the module you can see the square plus button on the systray menu.
On clicking on the square plus icon the sale form will open as a popup.
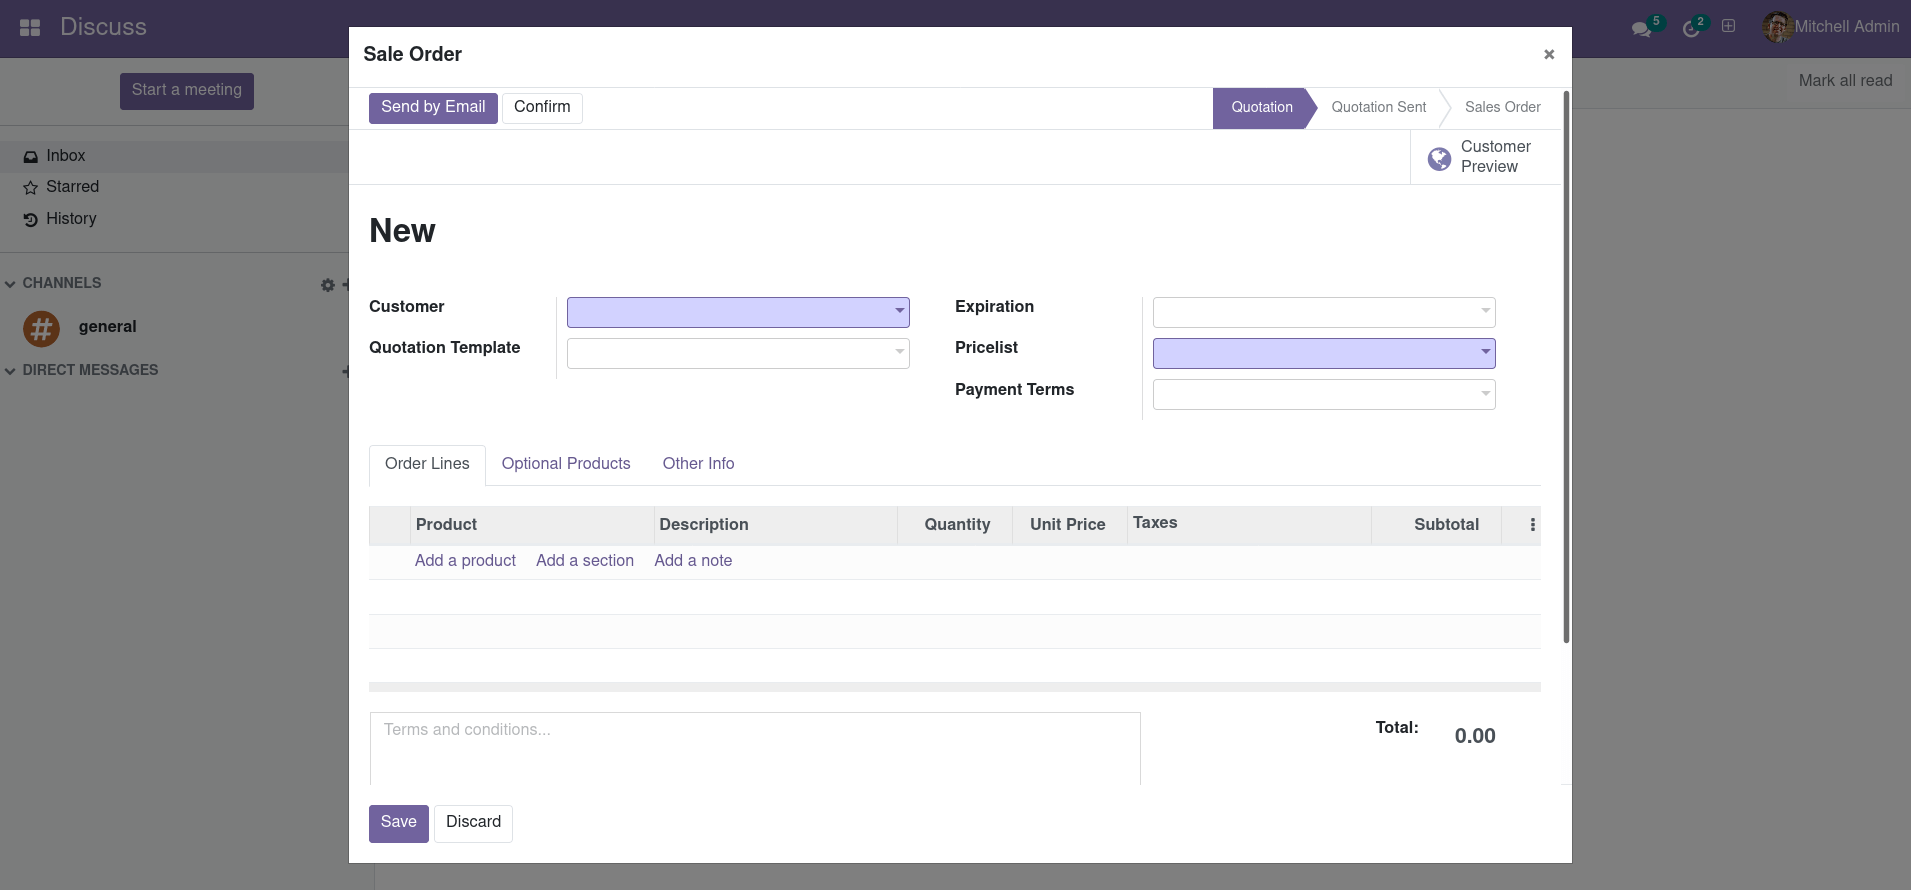
After the sale order form popups, you can fill the fields and you can save, discard, confirm or send the sale order by email from there.

After saving the sale order you can confirm or do anything that you can do on normal sale order in Odoo.