The Human Resource Department deals with the recruitment process dynamically and vibrantly in almost all companies. It handles the recruitment process through various stages. A recruiting team in an organization is targeted to hunt the talent acquisition team. A recruiting group can be small or large in an organization based on company size.
Many companies use the recruitment process through outsourcing methods. Most companies rely on recruitment software to make their tasks easier and get more talents. Odoo 15 is software that handles the recruitment process through various applications. The Recruitment Module and its related modules manage the task timely and efficiently.
How can we handle the perfect recruitment process?
An efficient organization is always oriented towards or is focused with a bull’s eye on the recruitment process with a specific sourcing model that intents the right time to right fit for the right job. This step-by-step process is perfectly handled by the Odoo 15. Usually, an all-inclusive recruitment process takes place with seven different phases. It differs with company management, size and structure of the organization, the workflow of the company, nature of the operations of work, and so on. The seven phases of recruitment are identifying the hiring needs, preparing and posting the job description as per the requirements, searching for the right candidate with the talents or skills, screening and shortlisting the candidates, Interviewing the executives, evaluating the availability of the candidates and passing the contract, orientation and introduction of the new employee to the organization and team members.
It is more difficult to manage recruitment with these processes manually, so by this stage, Odoo 15 handles your hiring process without any complexity and reduces your time and effort with more ease. The Odoo 15 enhances your recruitment process by organizing your vacancies and job applications, tracks the job offers, customizes the different phases of the recruitment based on the company and maintaining it, collects all integrated documents from the employee and the recruitment module is combined with other Odoo apps.
This blog gives you an acumen of how is configuration maintained in the Recruitment Module with Odoo 15 and enhances your tasks very easily within a few clicks.
Before moving forward to this blog, for a better understanding, have a look at the Managing Recruitment Process on your website with Odoo 15
So that this blog makes you more effective for your solutions.
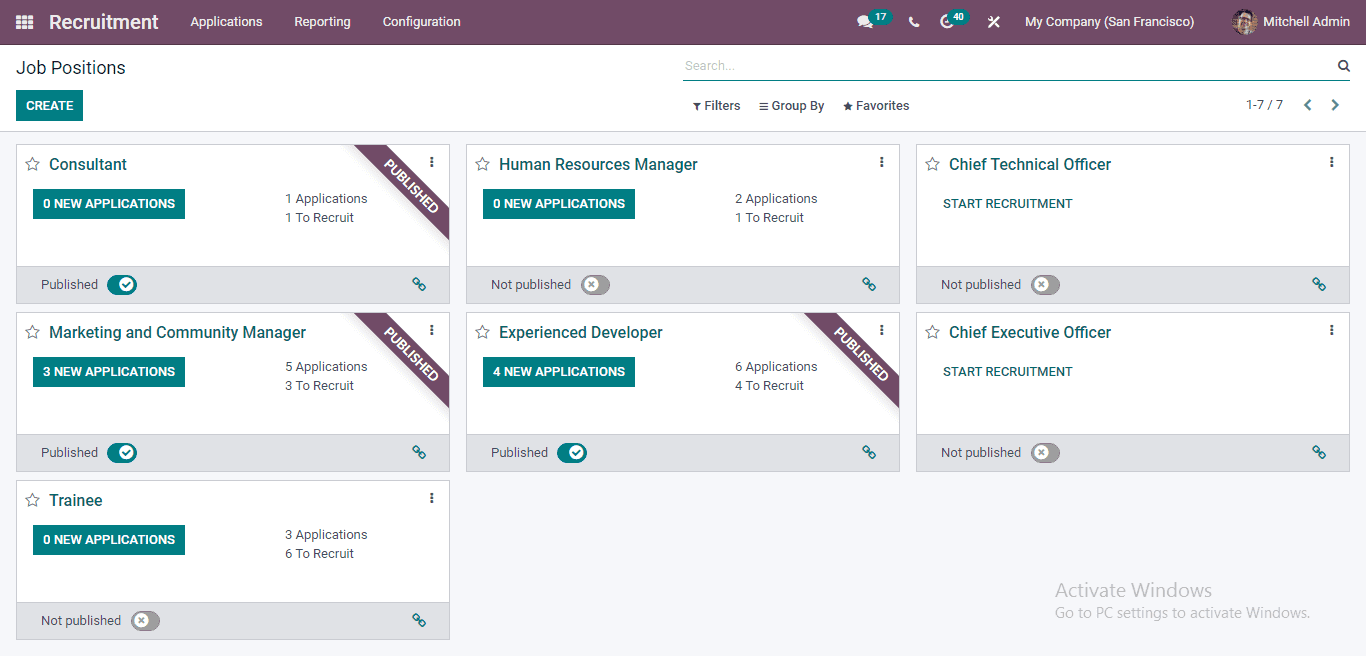
In the Recruitment module, there are three stages Applications, Reporting, and Configurations, namely.
You can see different subsections under the Configuration navigation tab below the screenshot.
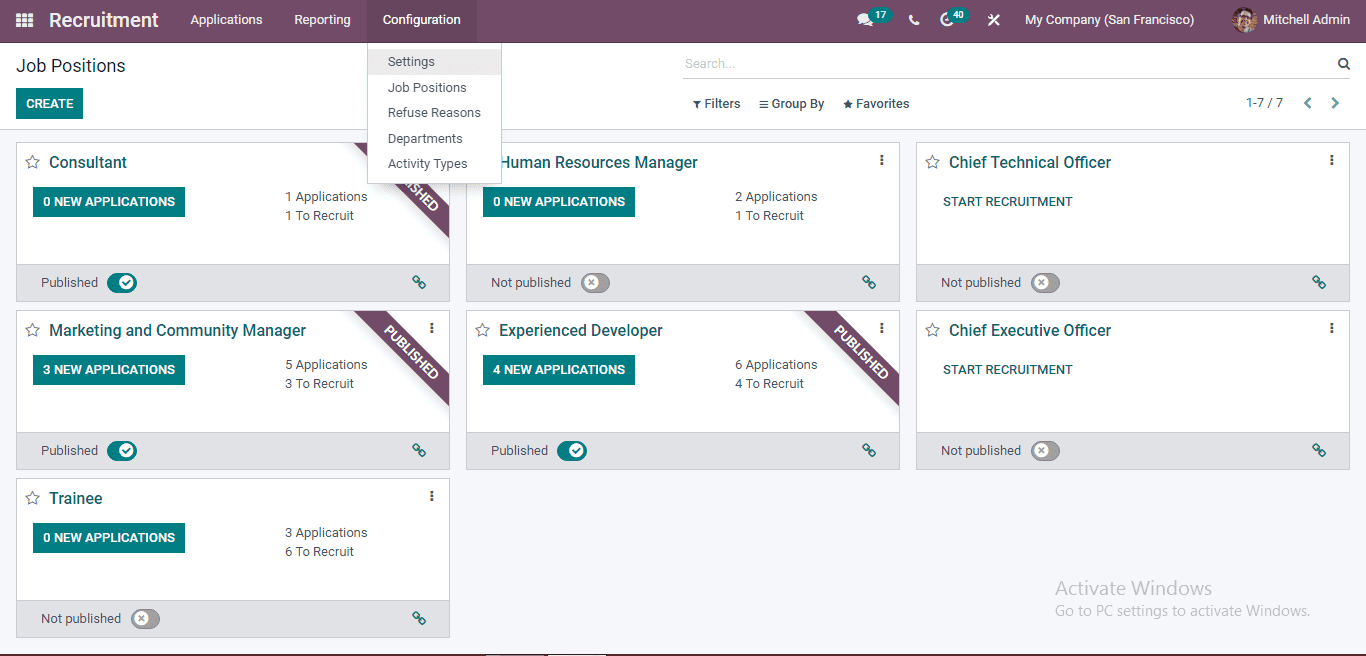
You can see the subsections as Settings, Job Positions, Refuse Reasons, Departments, Activity Types. By clicking on the Settings option, you get another window describing two sections: Job Posting and Recruitment Process.
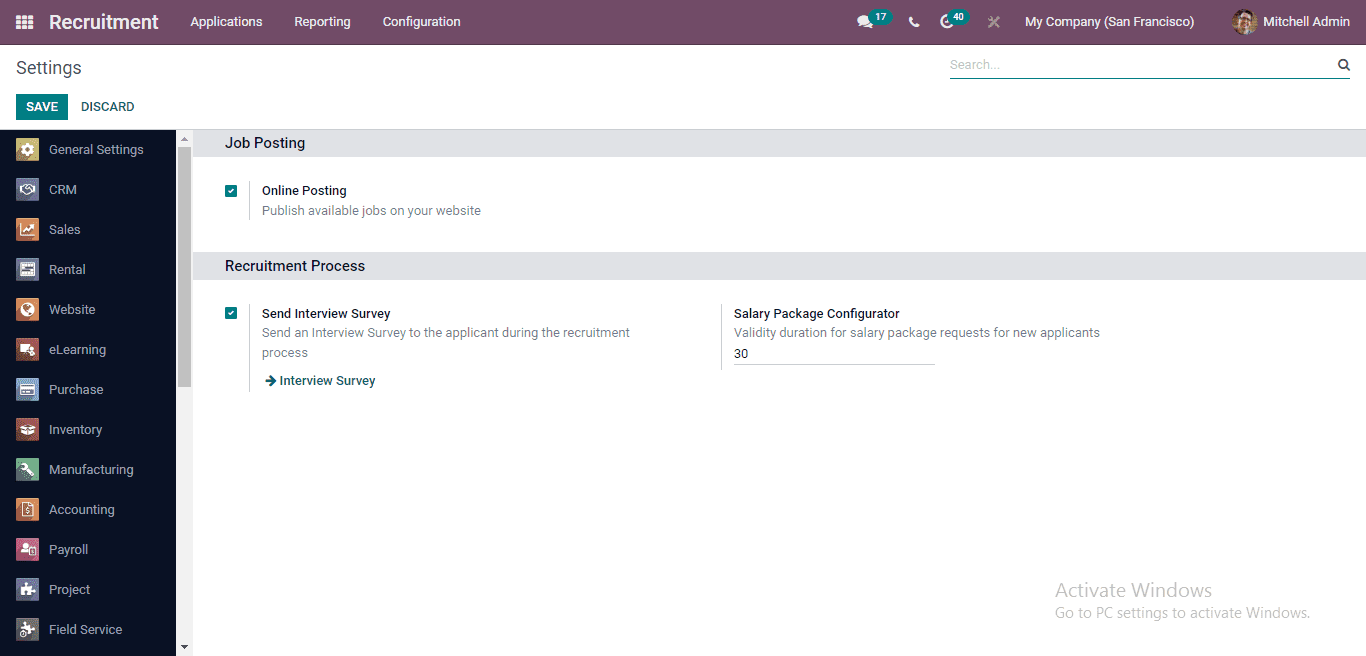
As seen in the above screenshot, you can see two sections. Job Posting is separated by Online Posting, which will allow you to post available jobs on your website, and by clicking on the option near to it, you can manage it and save the changes whenever in need. And thus, it is in operating mode. Next, you can see two other options under Recruitment Process: Send Interview Survey and Salary Package Configurator. By enabling the Send Interview Survey you can send the interview survey of the candidate when the recruitment process was held. And in Salary Package Configurator, you can set the permissions for duration validity for salary package requests for new applicants.
Now let us look into the following option in the Configurations tab. By getting access to the Job Positions in the Configuration tab, let's see what happens.
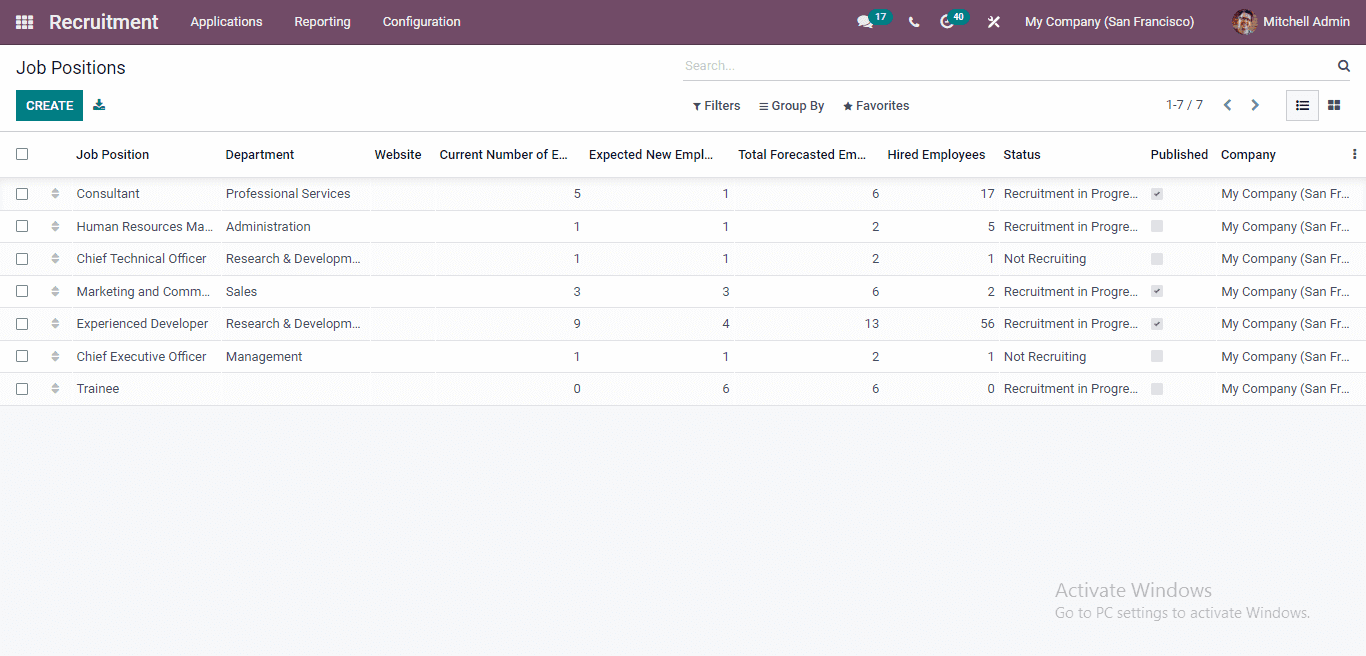
In the Job Positions submenu, from the Odoo Recruitment module, you can set the access with the Filters, Group By and Favourites options. For example, check the below screenshot by adding the Filter option ‘In Recruitment’ and see the change.
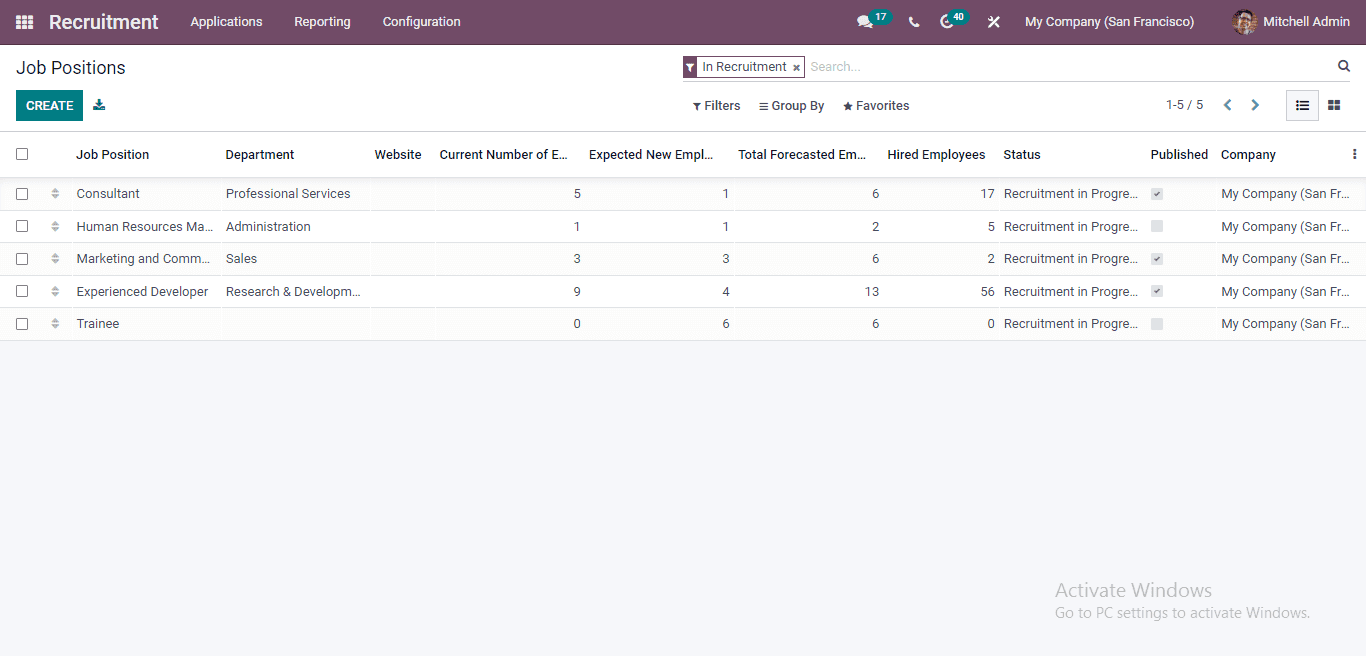
In the Job Position window, you can get the list of details of various Job Positions, Department, Website, Current Number of Employees, Expected New Employees, Total Forecasted Employees, Hired Employees, Status, Published, and Company as in the above screenshot given. In this section, by clicking on the CREATE button which is found on the top left corner of the window as seen in the screenshot, and form a new job position. Also, you can see the details of Job Positions in the List view and Kanban view. The above details are depicted in the List view.
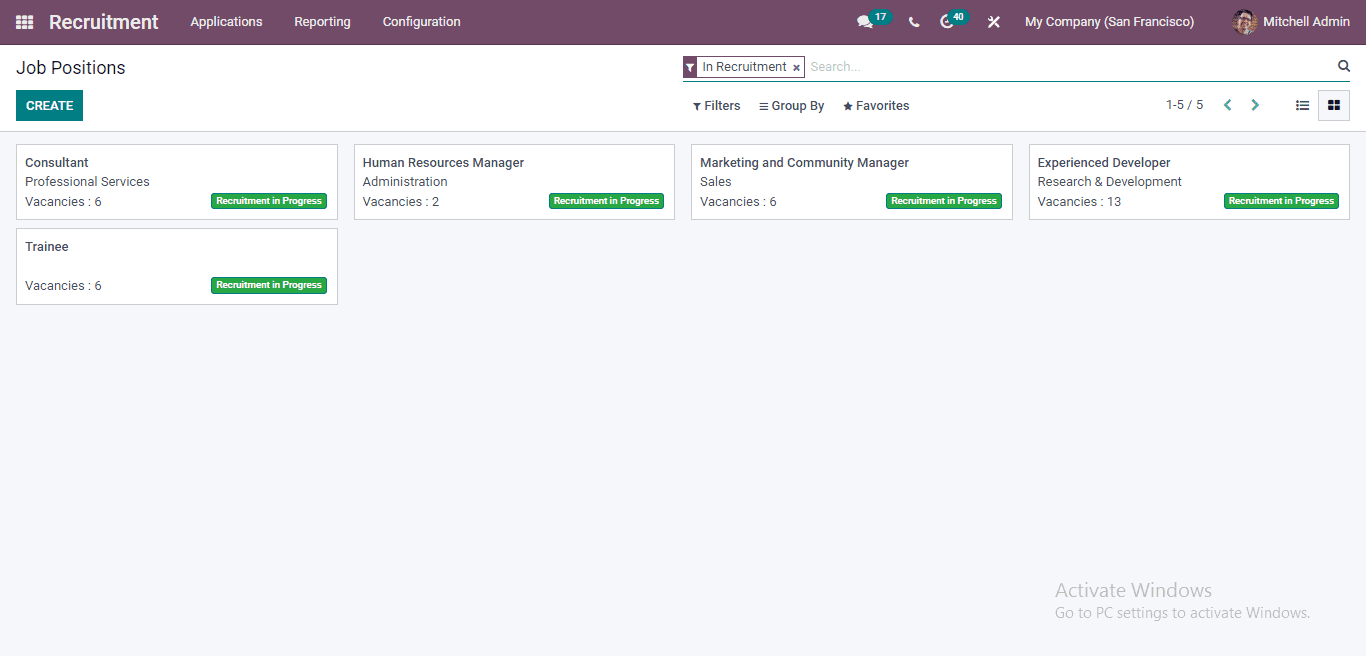
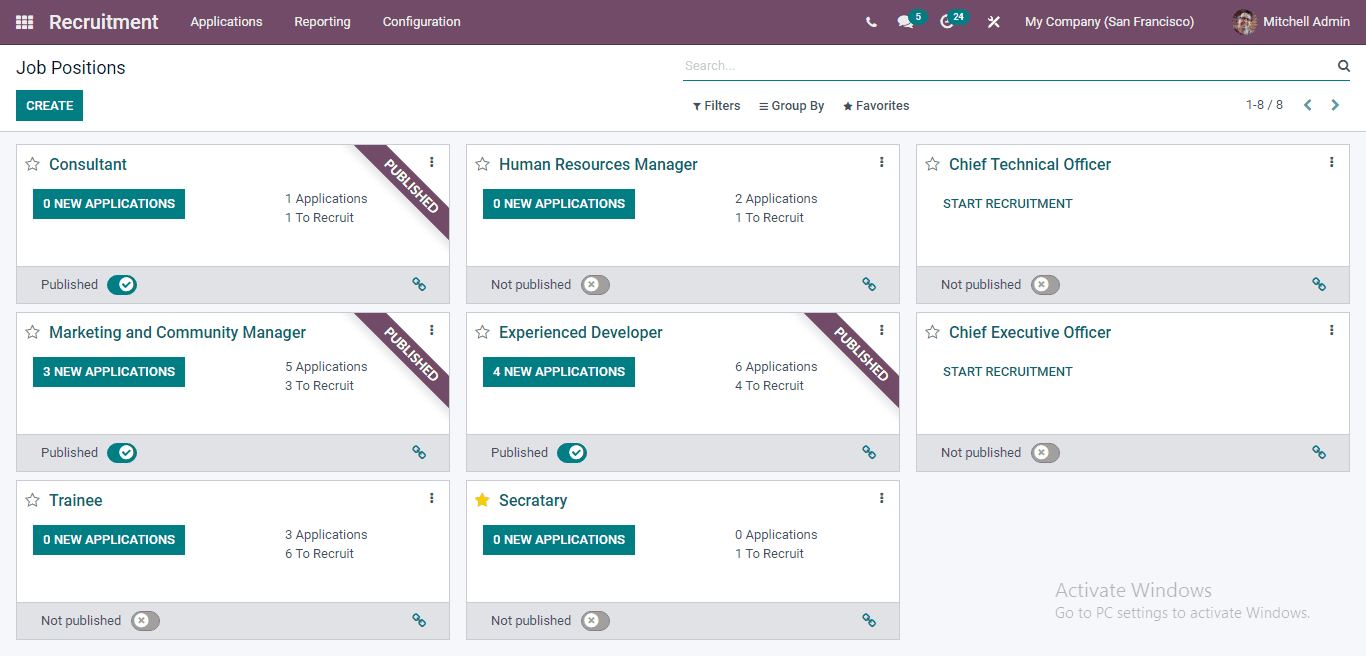
And in Kanban view, you get the window in this form with the details here as seen in the above screenshot. Also, you can generate a new Job Position in kanban by clicking on the CREATE icon.
By clicking on the CREATE icon, you get a pop-up window, as seen below screenshot.
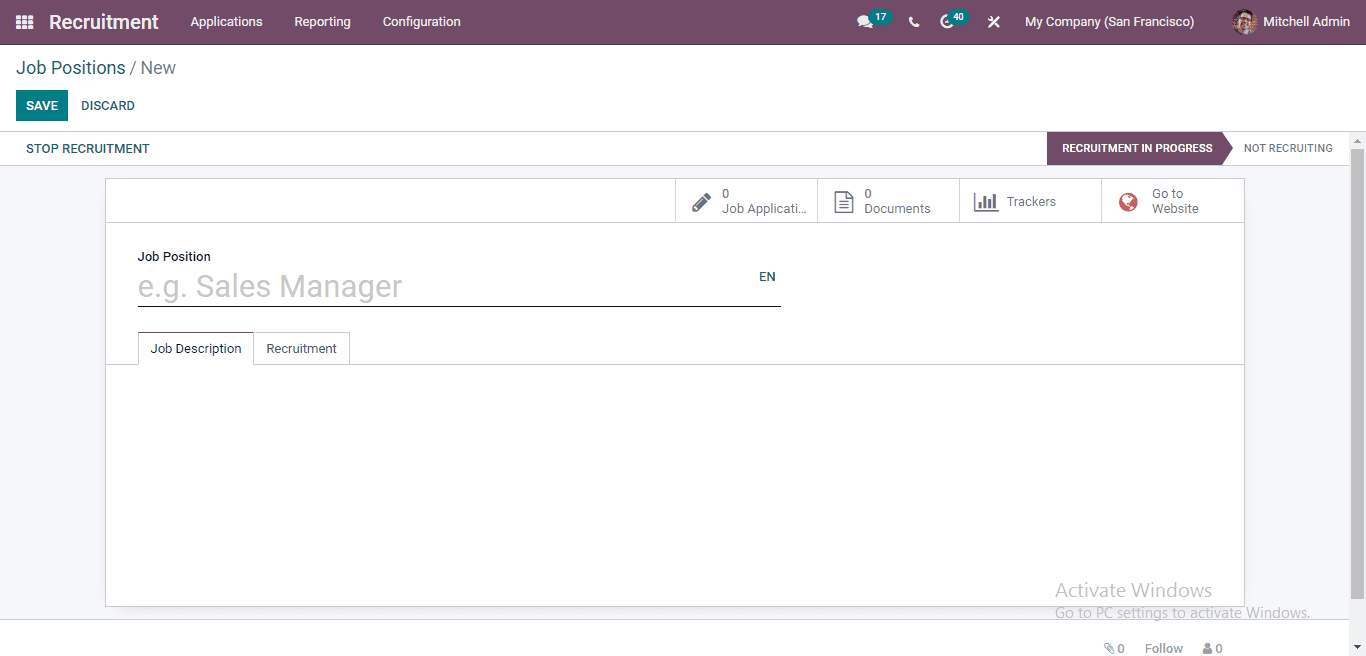
By clicking the CREATE button the Odoo redirects to a pop-up window. By filling all the details in all the fields. And after adding all the details, you can add a Job Description at the part below the given box and also, you could allocate the website name where you want to add the job position. Then you need to mention which Department of the Job Position is required. The Company details and Job location is auto-assigned by the Odoo. After adding all, the recruiting manager can specify how much new recruiting they expect. The number can be specified in the Expected New Employees field. In addition, if the Job Position added is Published on the website, you can activate the area with a tick mark by just clicking.
Moreover, you can use the Contract Template option if you are handing over a default contract with an offer if you are supposed to give. Also, you have a provision to select an Interview Form to answer or take the print to all the applicants who wish to apply for the job. At last, you can add the name of the Recruiter in the field given.
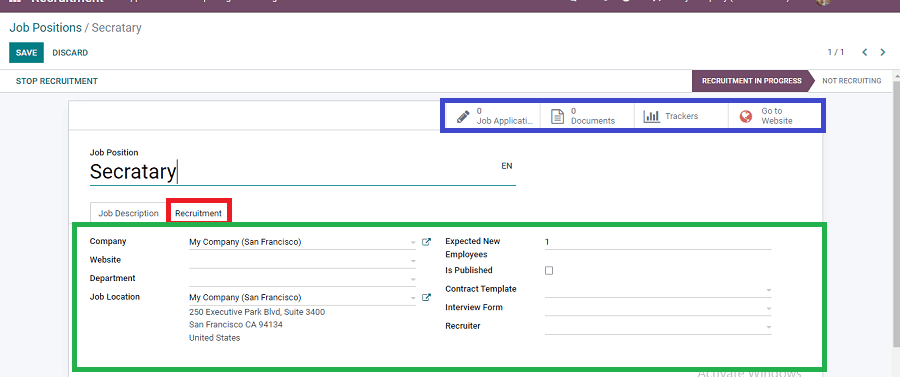
The above screenshot represents all the fields given; just fill and click on the SAVE icon then the Job Position is saved. Similarly, as seen in the above screenshot, you can see certain smart buttons like Job Applications, Documents, Trackers, Go To Website buttons. By using the Go To Website option, you can directly publish the job position on the website.
Also, you can create a job position from the home menu or the dashboard by clicking on the CREATE icon, as discussed in the Managing Recruitment Process on your website with Odoo 15. Now let’s discuss the next section, Refuse Reasons from the Configuration Tab. You get a pop-up window by clicking on the Refuse Reasons icon, as shown below.
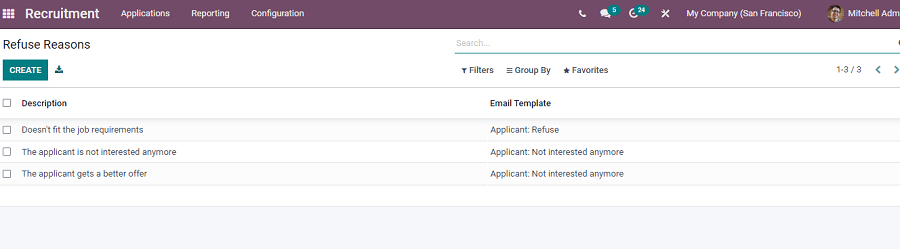
In this window, you get some of the refuse reasons options along with the description and Email template and if you want to add any new refuse reasons you can add and send them to the respective candidate. And if you require to create a new refuse reason, you can make it by clicking on the CREATE icon, where you can add the Description and Email Template by getting a new row and saving it by clicking on the SAVE icon for further use. This feature is mainly used if the applicant attempted the interview and didn’t fit the qualification or if the company is not satisfied with the performance; you can refuse the candidate with this feature. For this Refuse option, you can get it by moving in the Applications menu selecting All Application, and selecting the name of any candidate you want to refuse. By seeing the screenshot below, you can notice the option Refuse, which is highlighted.
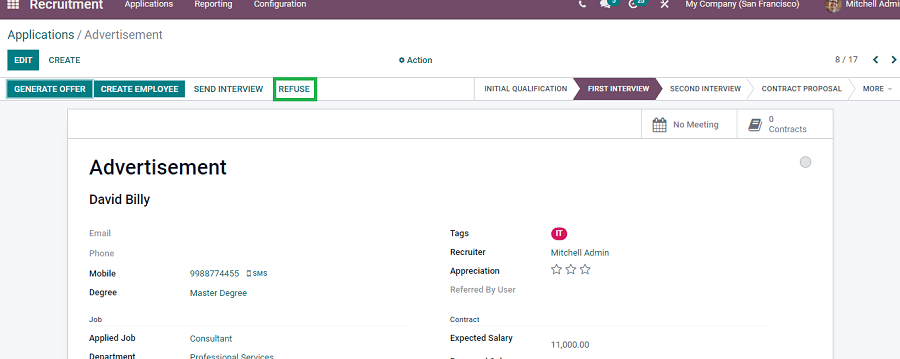
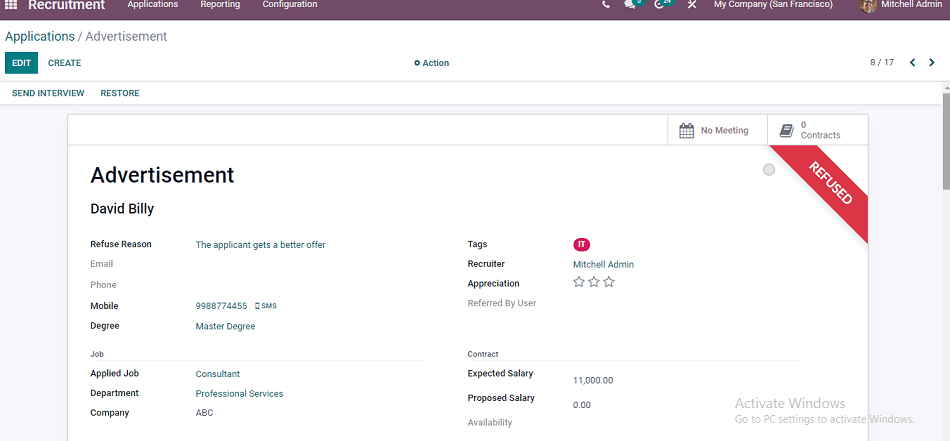
By clicking on the Refuse button, you will get a drop-down menu, and by inserting any of the apt reasons, you can click on the submit and if the applicant's Email ID is added, an Email template with the reason will be sent to the applicant. By clicking on SUBMIT, all will be done accordingly. After clicking on the Submit button, the window is marked with REFUSE, as shown in the screenshot below.
Now let us move on to the next section in the Configuration tab, i.e., Departments. The Odoo Recruitment module gives access to the Departments section by clicking on the Configuration Tab, and a window will open, as seen below.
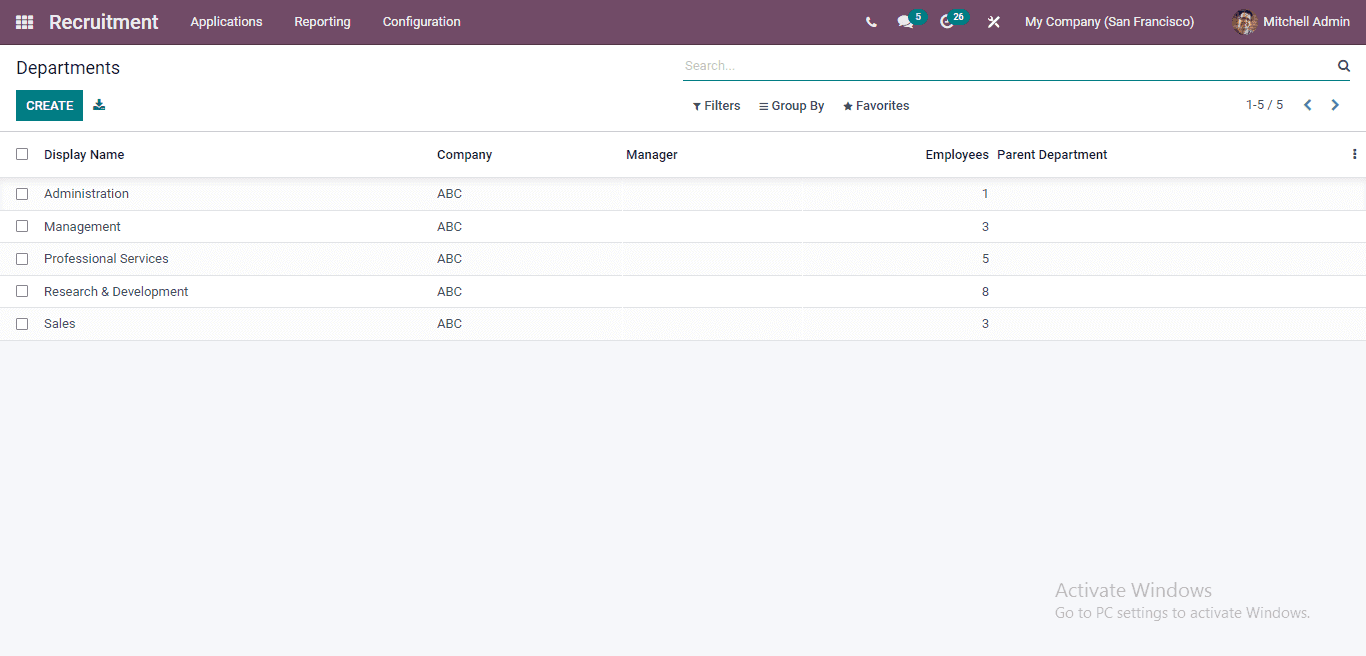
In this section, you get the details of the Odoo platform has entered already. It displays different sections with its information like Display Name, Company, Manager, Employees, and Parent Department. And by using the CREATE icon, you can create a new department. After clicking the CREATE button, you get another window shown below in the screenshot.
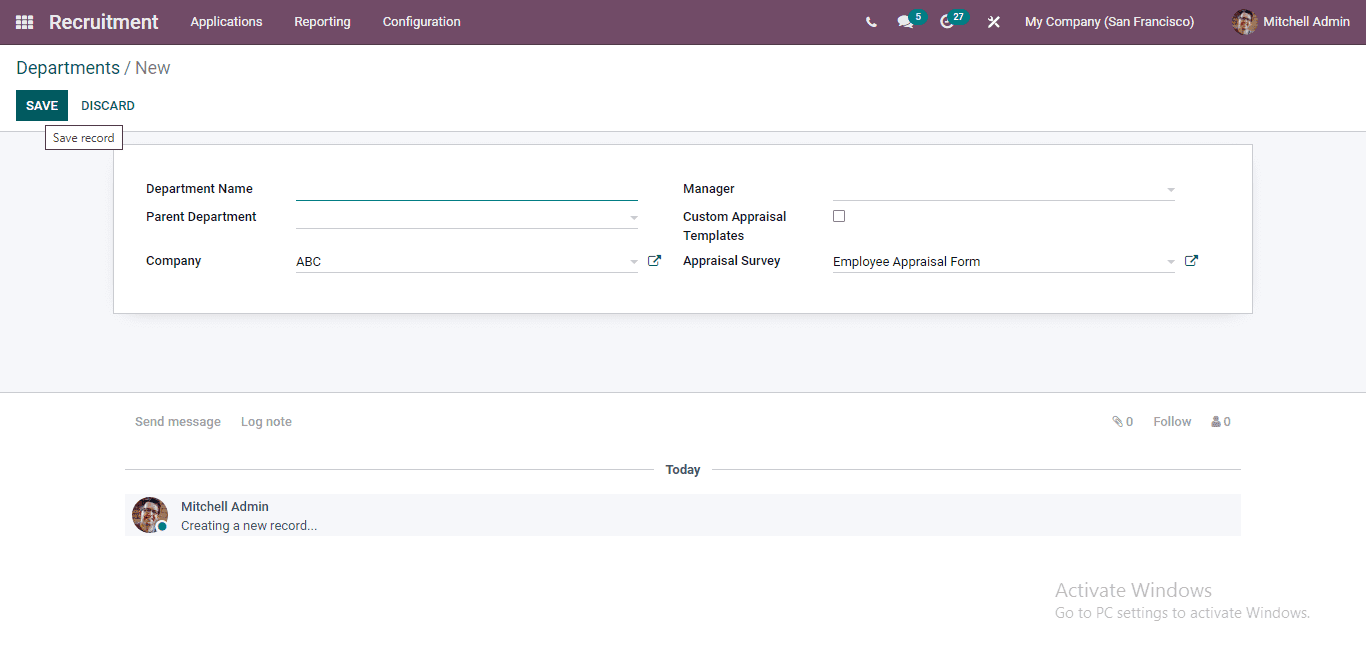
In this new Department creation form, after filling in all the details and adding the Parent Department, you can subcategorize the various departments in your company. And the sections Company and Appraisal Survey are auto-filled, and if necessary, you can modify them. Also, you can activate Custom Appraisal Templates. After adding all, click on the SAVE button.
Now let’s move on to the Activity Types. By clicking under the Configuration tab, you can access the Activity Types.
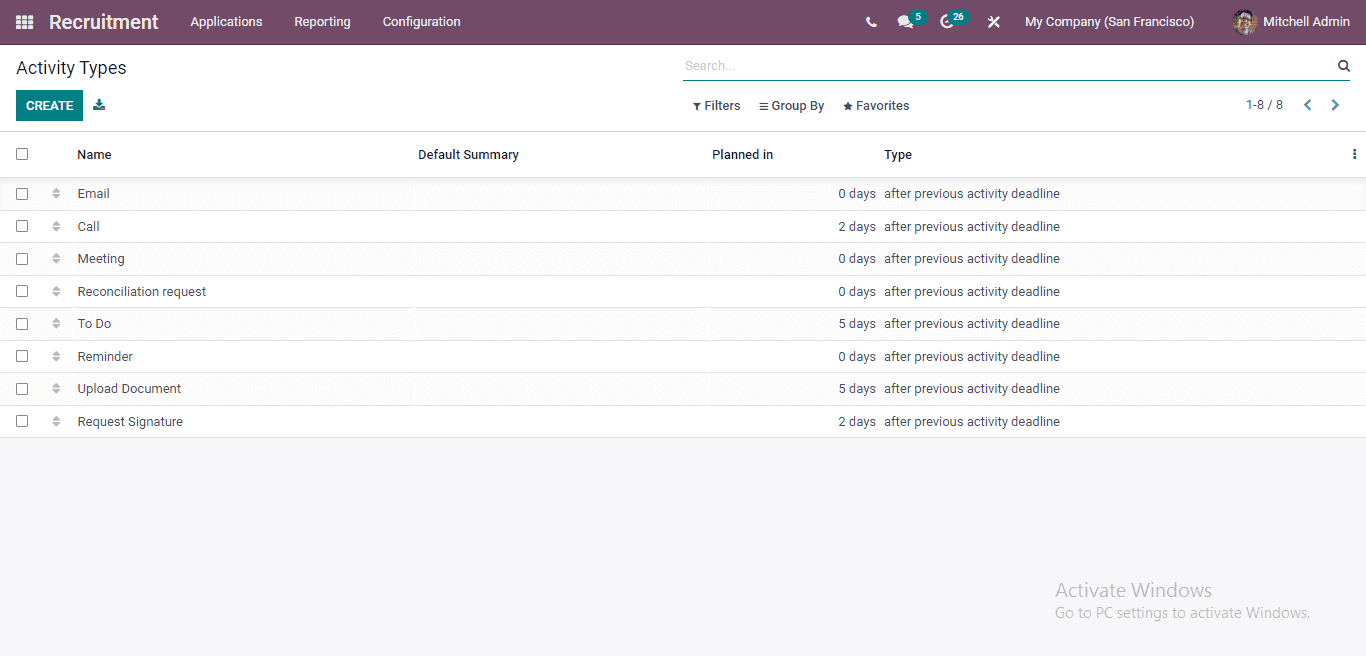
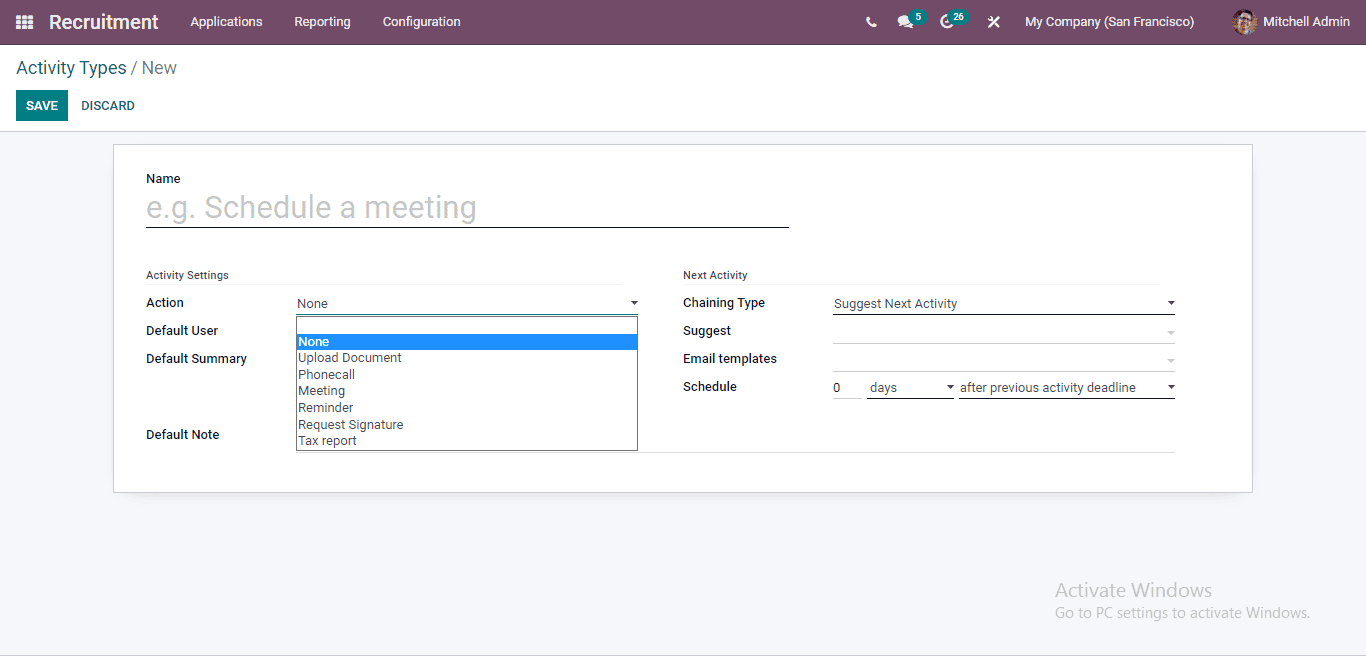
In this Activity Types, you get all the details you have already entered into this platform, and by clicking on the CREATE button, you can add a new activity type. Another window emerges by clicking on the CREATE button, as seen below in the screenshot.
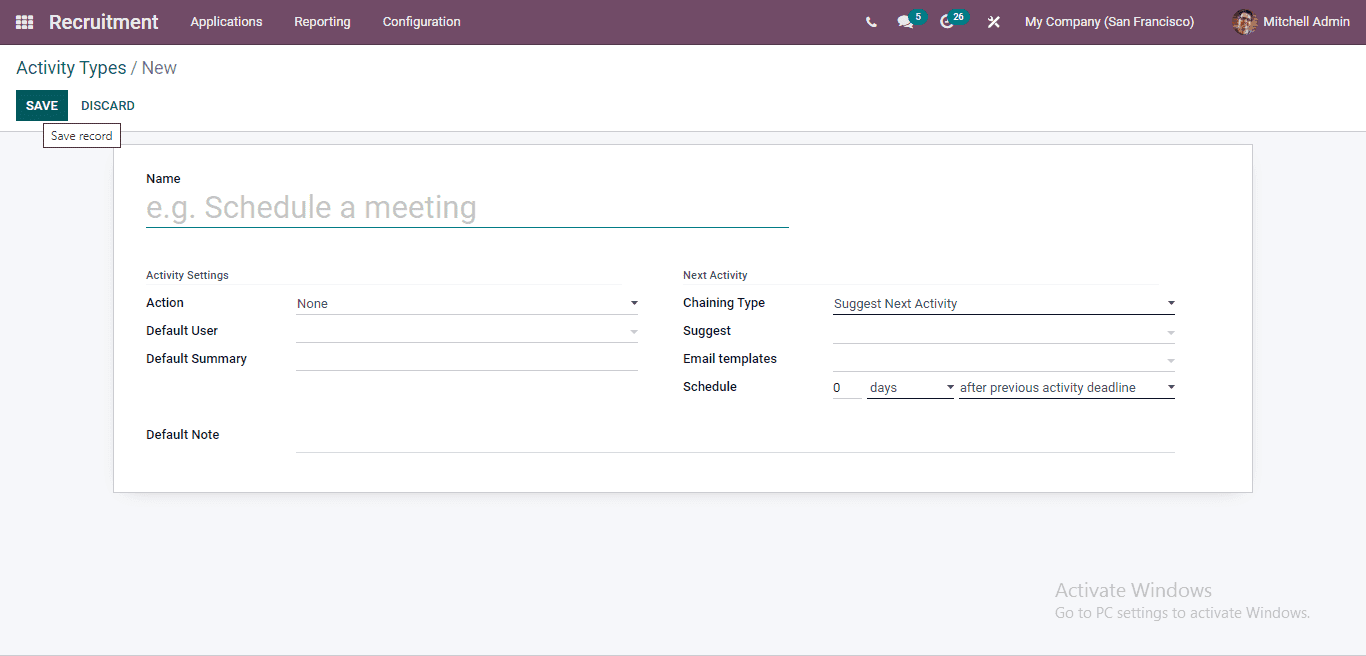
In this new Activity type creation form, you should mention the name of the Activity type, and under the Action section, you get a drop-down menu with a lot of options like in the screenshot below.
By selecting the Upload Document from the drop-down menu, you have to define the Folder and add Tags for quick access. It can be seen in the below screenshots highlighted portion.

After specifying all the details Default User, Default Summary, Default Note, Trigger, Email templates, Schedule, you can add an activity. The Odoo system will automatically enable the Activity type in the section. And if you need to plan the deadline it is enabled in the Schedule field. You can denote it in the form of the month, week, and days as your action deadline. You can describe the unit of delay by either the completion date of the activity or after the previous activity deadline. At this time, you can add the Default Note in the space provided.
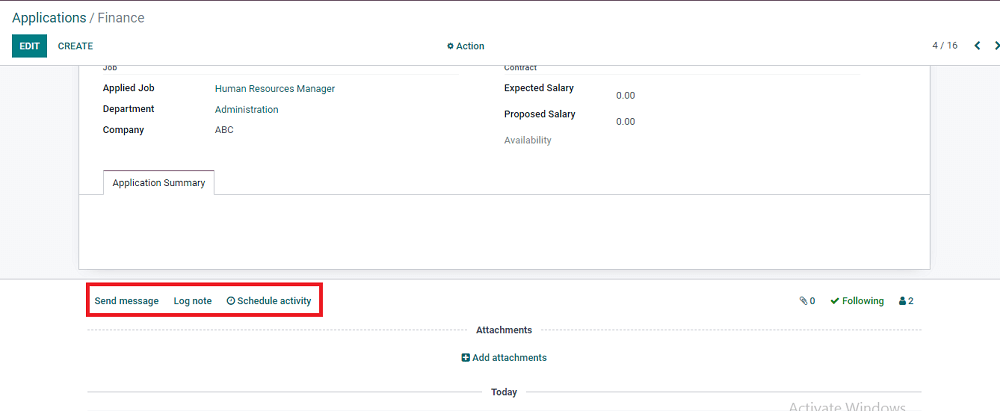
The Odoo enables you to schedule various activities based on the operations done by the company. With this module, the Odoo 15 enhances the schedule of different activities effortlessly while selecting the Applications window. In choosing the Application tab, select the All Applications submenu and choose a candidate of your details by scrolling down at the bottom part. You can see different options like Send Message, Log Note, and Schedule Activity. And by selecting the Schedule Activity from the bottom part, you get a pop-up window, as seen in the screenshot below.
You will get another popup window by selecting the Schedule Activity option, as shown below.
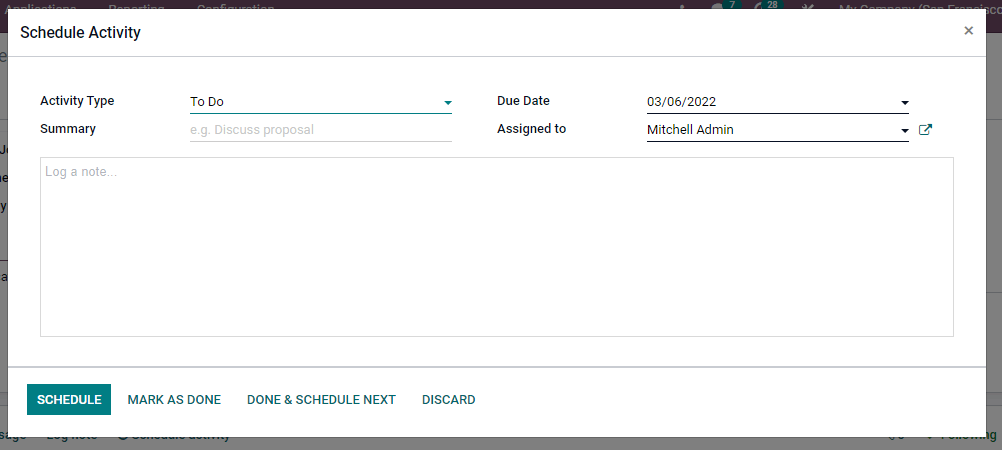
By adding all details and assigning a person along with the Log note, you can schedule the activity.
It is not only in the Recruitment module the Odoo enhances you to schedule an activity. Based on the operations of your company Odoo maintains to Schedule an activity.
With this blog, we have gone through a detailed analysis of how to configure different operations in the Recruitment module and in Scheduling an activity. Hope the blog was helpful and informative for you.